How To Plant Garlic Bulbs
Make sure you choose seeds from known sources and realize that as you will use these seeds through multiple growing seasons and their yields will improve over time.
In areas that get a hard frost, plant garlic as early as 6 to 8 weeks before the first fall frost date, before the ground freezes, the timing may vary with local climate! Garlic can be planted in the spring, but fall planting is recommended for most gardeners. Plant in the fall, and you’ll find that your bulbs are bigger and more flavorful when you harvest the next summer. Garlic grows best in rich, well-drained soil with plenty of organic matter such "chicken manure ", and free of weeds.
Follow these simple tasks, and you will enjoy planting, growing and harvesting your own organic garlic at home.
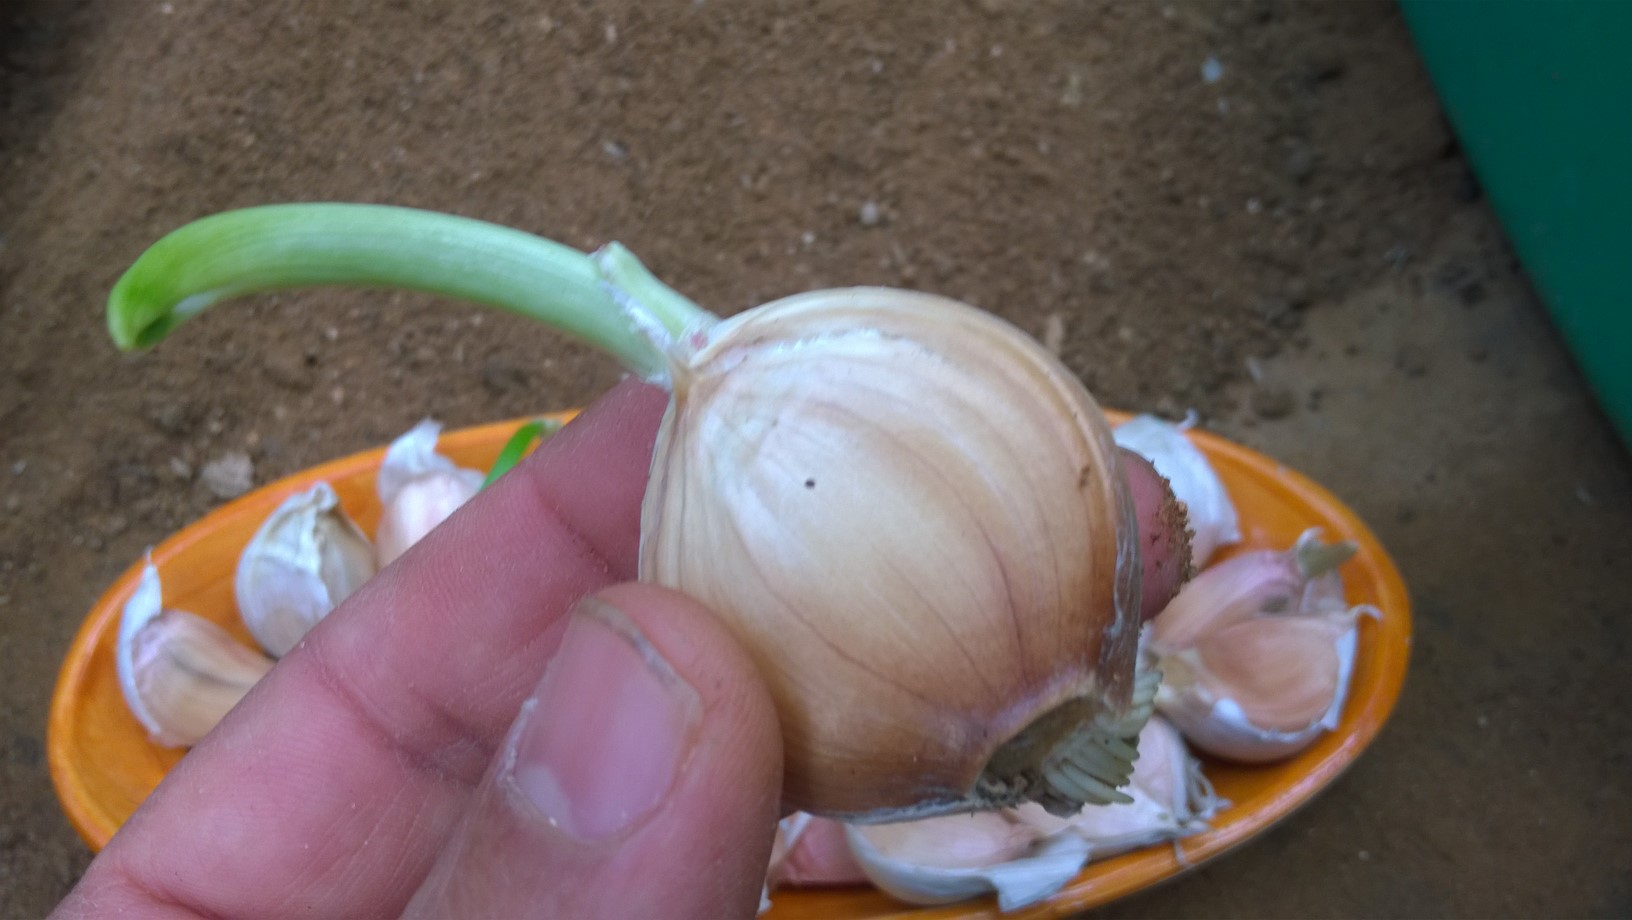
- Break a garlic bulb apart into individual cloves, be careful to keep the papery skins covering each clove intact, examine each bulb carefully and remove any bulbs that display mold or abnormalities that may indicate disease.
- Select the biggest, firmest, bulbs with the biggest cloves. Big, healthy cloves will produce big heads of garlic.
- Choose a location with full sun, that receives at least 6 hours of direct sunlight per day.
- Dig a furrow about 3 inches deep. Place the cloves into the furrow one by one, spacing them 6 to 8 inches apart. Be sure the flat root end is down, and the pointy end is up.
- Cover the cloves with 2 inches of soil water well, after planting lay down a protective mulch of straw, chopped leaves or grass clippings.
Watch How to Plant Garlic Bulbs Video
My Garlic Update Video
In cold winter regions, the mulch should be approximately 4 inches thick. Mulch will help to prevent the garlic roots from being heaved out of the ground by alternate freezing and thawing.
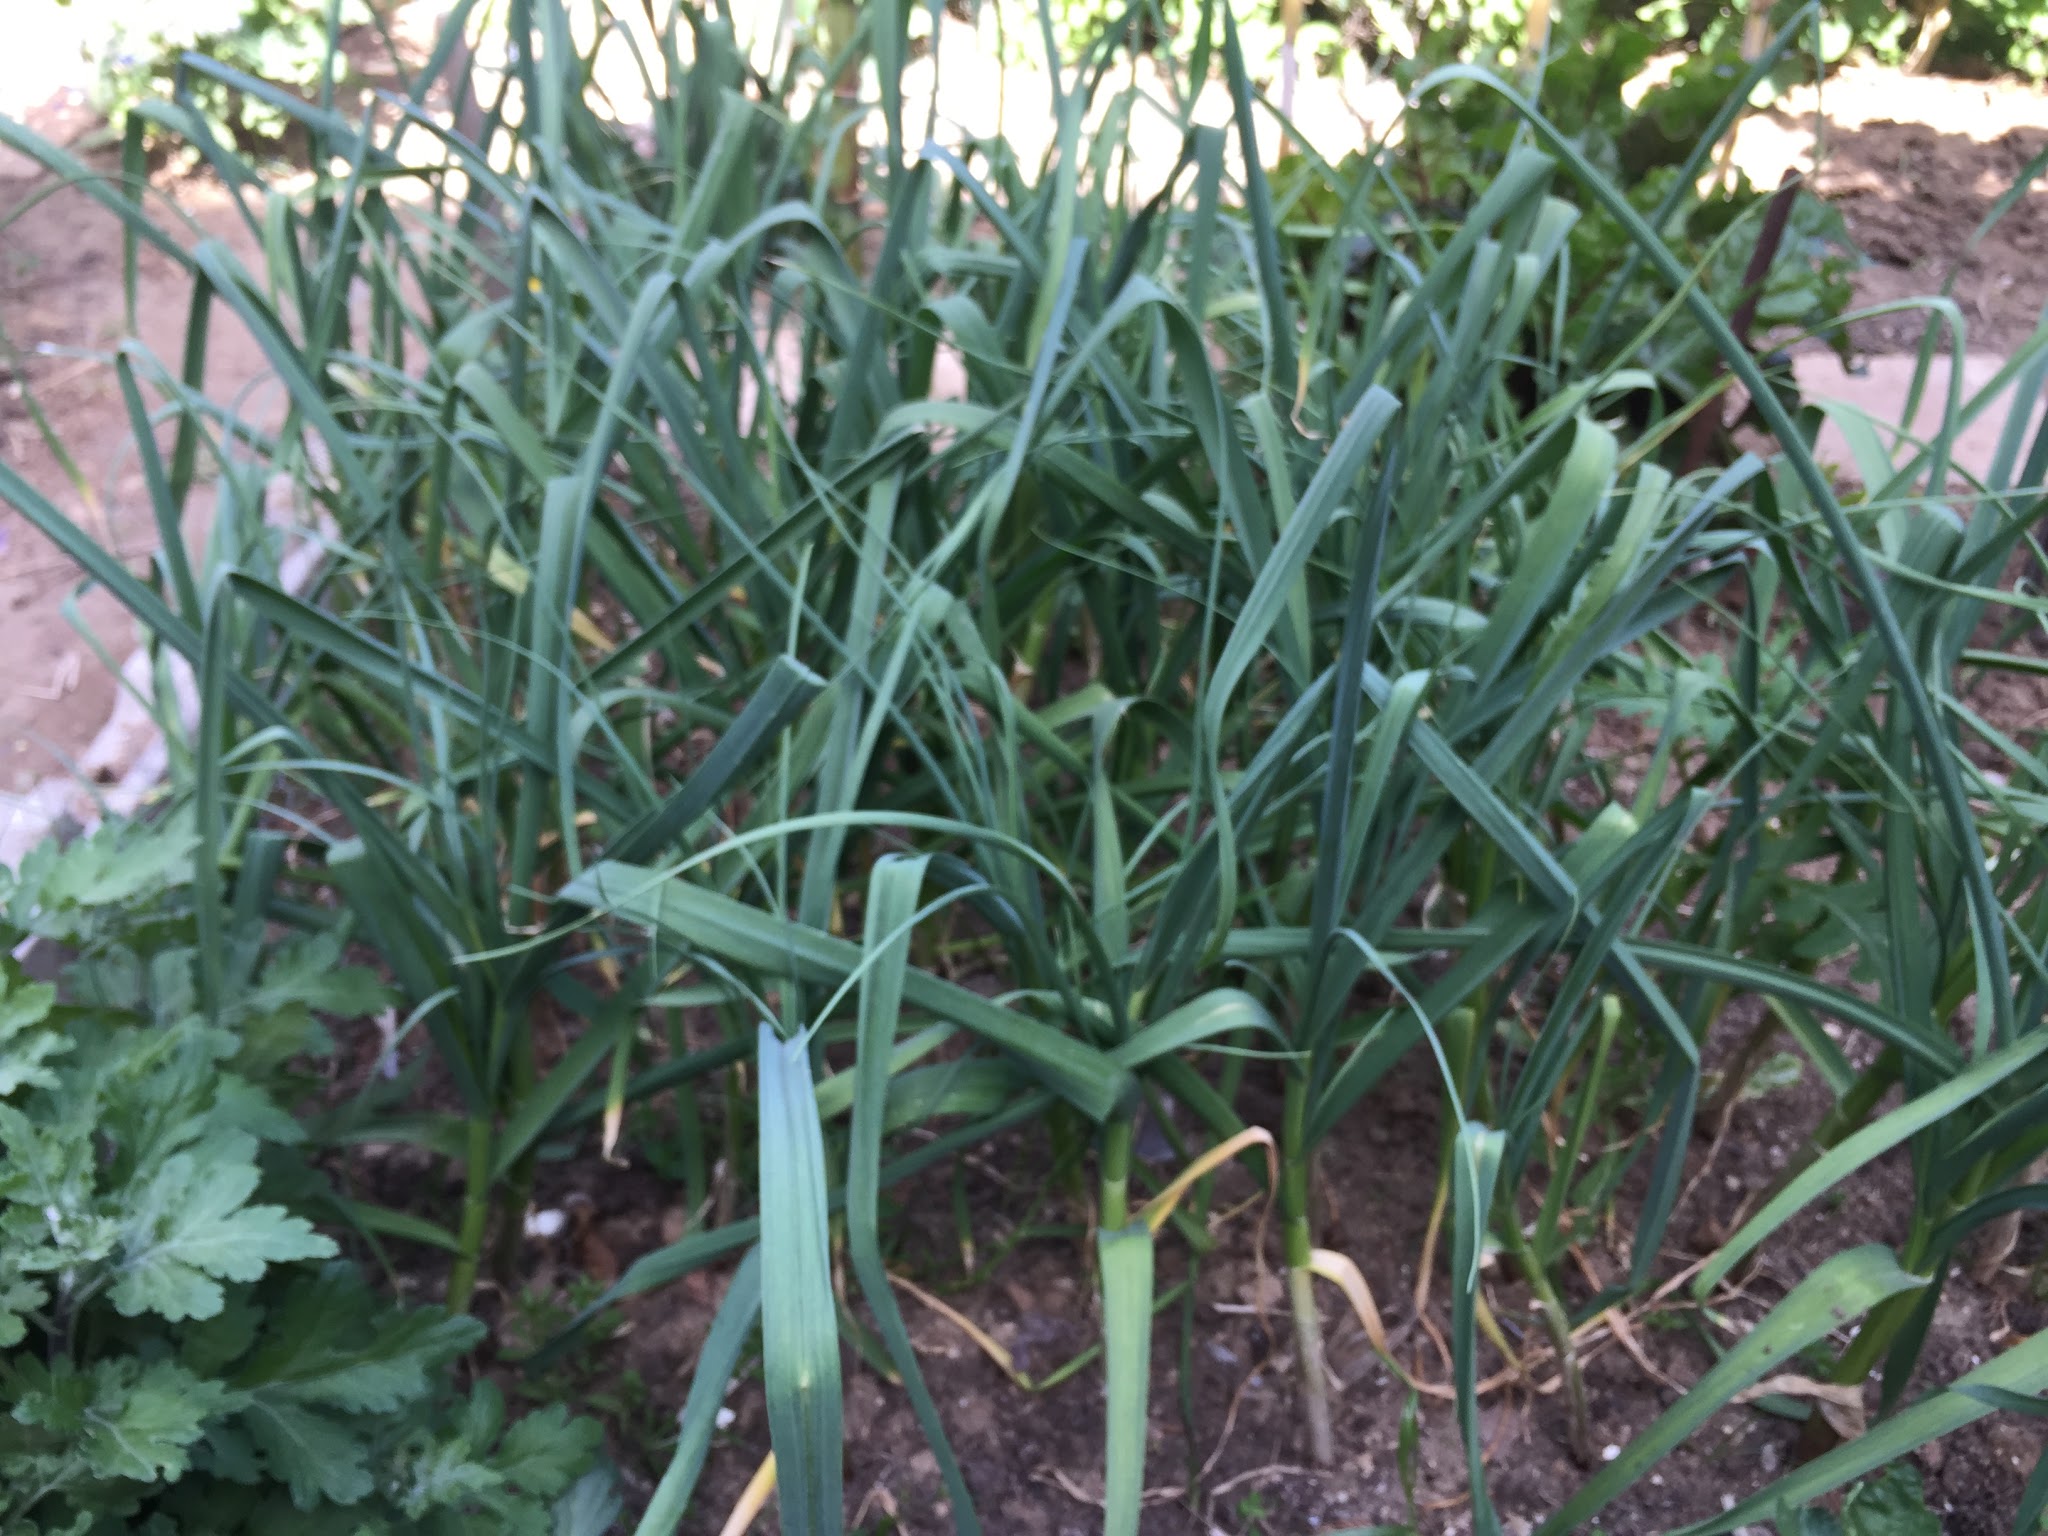
When the leaves begin to grow, it is important to feed the garlic plants to encourage good growth.
If the mulch has decomposed, add a layer to help retain moisture and keep weeds under control. In late spring, some garlic varieties produce flower stalks that have small bulbs. Cut these stalks off. This will ensure that all the food the plant produces will go into the garlic bulb itself and not the clusters of bulbs.
Fertilizing Garlic
I use composted chicken manure to fertilize my garlic as composted chicken manure not only helps to build the health of the soil by adding organic matter and increasing water holding capacity, but it also acts as a fantastic fertilizer adding vital nutrients like nitrogen, phosphorus, and potassium to your garlic plants.
Watch How to Fertilize Garlic With Chicken Manure Video
Garlic Pests And Diseases
Garlic has very few problems with pests, there are however two diseases which you may find on your garlic crop, Rust and White rot. Rust appears as rusty colored spots on the leaves, and the only cure apart is avoiding growing garlic in the same place for 3 years. Garlic can also be affected by White rot, which decays the roots and eventually the bulb. White rot is a fungus that attack garlic in cool weather. The spores can live in the soil for many years. The fungus affects the base of the leaves and roots. Just make crop rotation.
How To Harvest Garlic
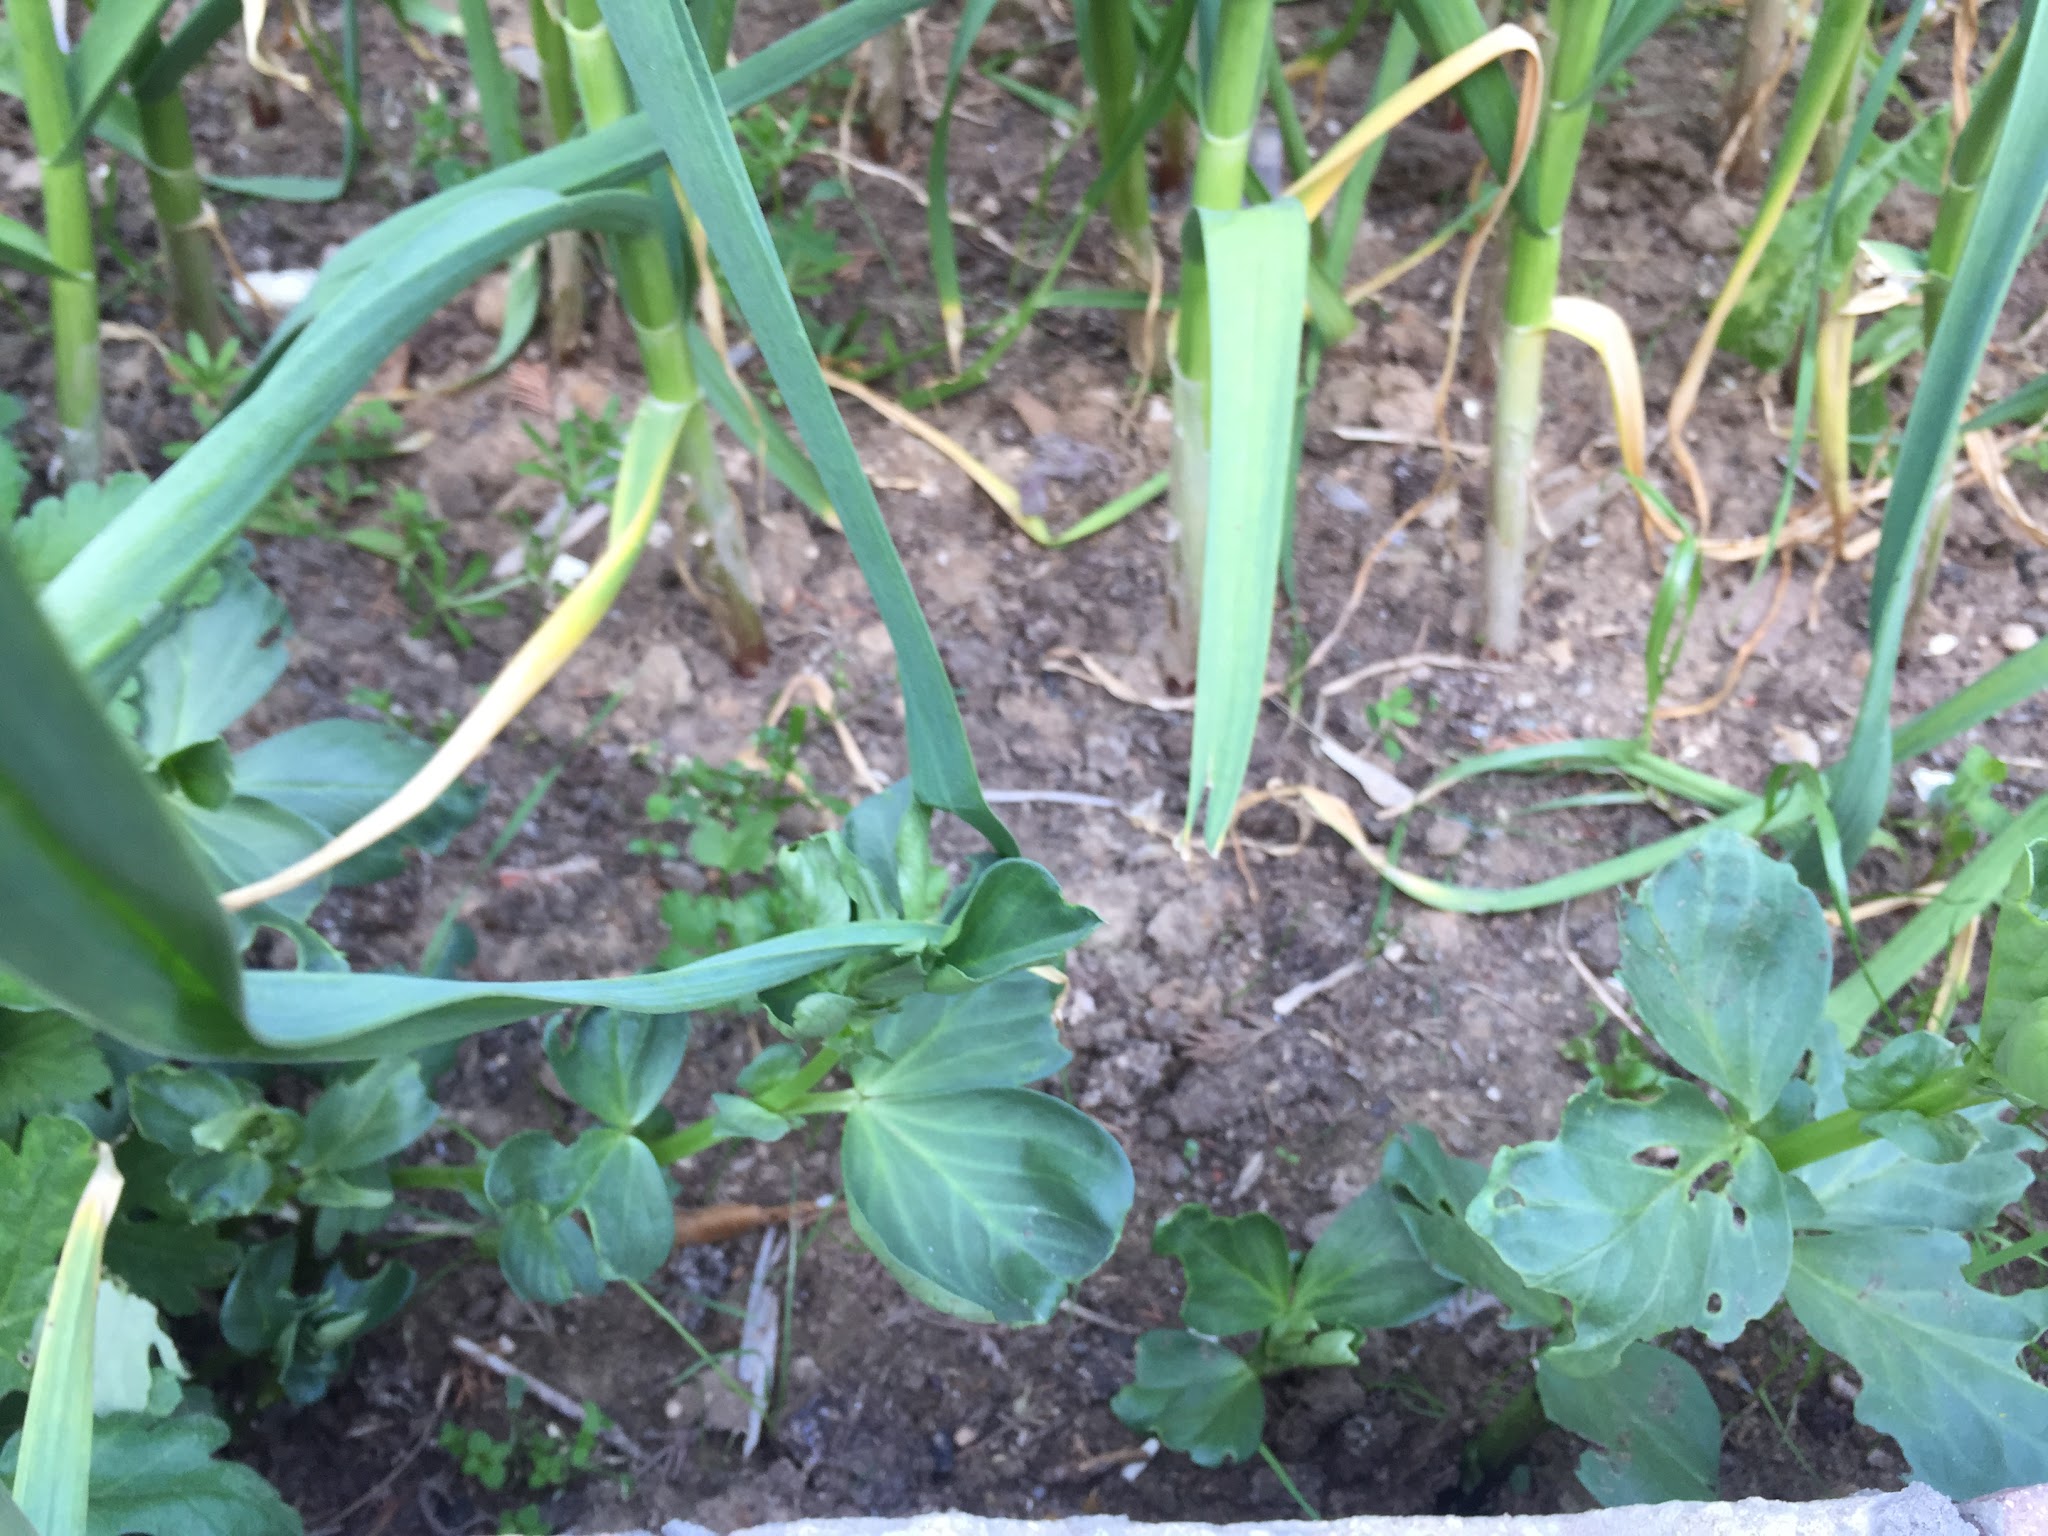
Knowing when to harvest garlic is an important thing. Harvest time depends on when you plant, so it is best to check upon your plants regularly. In warmer climates, as mine, I begin to harvest my organic garlic as early as spring. Once the tops of your garlic plants start to die back, and you see the leaves starting to decline, you know it’s time to harvest. When you see the leaves starting to decline, stop watering. This dry spell will help to cure the garlic.
Harvesting too soon will result in smaller cloves that don’t store well and leaving the bulbs in the ground too long causes the cloves to burst out of their skins, making them unstorable and vulnerable to disease, so you have to harvest your garlic when the tops begin to yellow and fall over, before they are completely dry.
It’s a good idea to check up on one or two plants, to see if the bulbs are big enough. Just remove a bit of soil around the stalk to get a good look and when the bulb is big enough, and you are satisfied with the size, you should proceed with the harvest. If not, then you can wait a bit more, but when about half of the leaves are brown, you should dig out all of your garlic, no matter the size.
Lift the bulbs with a spade and be careful not to dig too close to the heads. Pull the plants, carefully brush off the soil, and let them cure in an airy and shady spot for at least two weeks.
Watch Harvesting My Organic Garlic Video
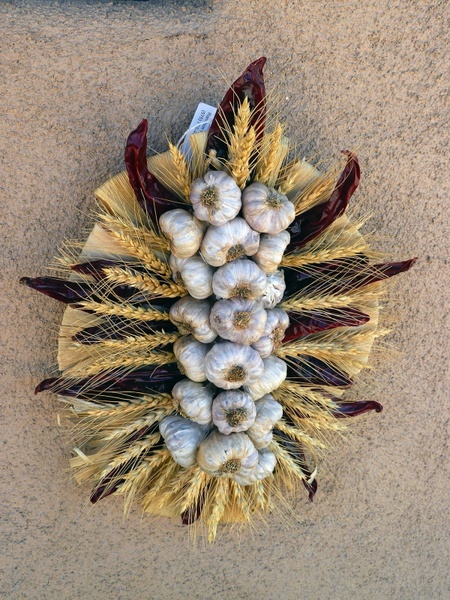
How To Cure And Store Garlic
Now that you know how to grow garlic, try to grow your own and enjoy an endless supply of one of the world's healthiest foods!
Please let us know your thoughts, experiences, or questions in the comments below. If you like this, you can share with your friends!
This website is a participant in the Amazon Services LLC Associates Program, an affiliate advertising program designed to provide a means for sites to earn advertising fees by advertising and linking to amazon. Some of the links to products on this site are affiliate links. These are products that I've used or recommend based from homesteading experience. I do make a small commission (at no extra cost to you) from these sales.(alert-warning)


