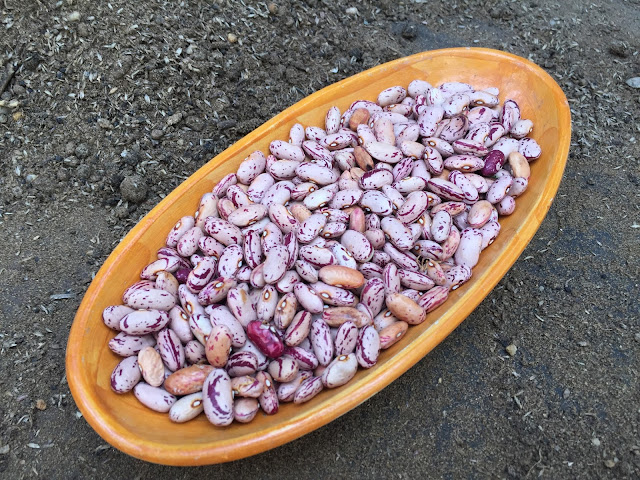
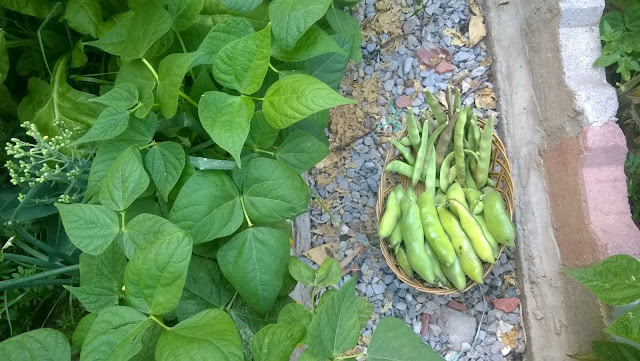
Dry or dried beans:also called shell beans.Are beans grown to full maturity and left in their pods to dry before being shelled and stored for later use. Dried beans can be stored in a cool, dry place for up to a year or more. Many beans that can be eaten fresh and immature also can be grown to maturity and dried.Beans can be planted in hills or rows depending on your individual landscape needs, personal preference, and the type of beans grown.
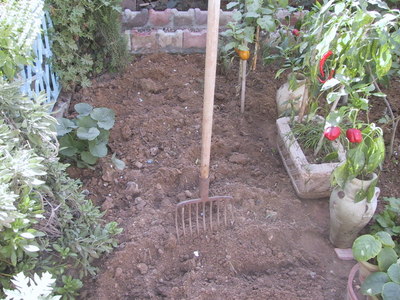
1: Preparing the soil
Plant beans in full sun. Beans will grow in partial shade but the harvest will not be full. Beans prefer loose, well-drained soil rich in organic matter. Beans prefer a soil pH of 6.0 to 6.8. Prepare planting beds in advance by working in plenty of aged compost. Avoid planting beans where soil nitrogen is high or where green manure crops have just grown; these beans will produce green foliage but few beans.
Beans prefer warm weather and shouldn’t be grown in cooler climates. These crops should be grown in sites receiving full sun in well-drained, fertilized soil. Preparing the soil with compost and manure before planting is highly recommended.
Go easy on fertilization. Remember that beans can obtain their own nitrogen. If you provide too much nitrogen in the form of fertilizer, the vines will get big but there will be fewer beans to harvest.
Beans should not be planted until all danger of frost has passed, usually about a week after the last frost in spring.
2: Planting beans in the garden
Beans are a tender annual that grow best in temperatures between 50° and 85°F. Beans will not set pods in temperatures above 80°F. Sow beans in the garden just after the average date of the last frost in spring when the soil temperature has warmed. The optimal growing soil temperature for beans is 60° to 85°F.
Require full sun and well-drained soil, plant the seeds about 3 to 6 inches apart or plant more densely and then thin to that distance once germinated, with about 1 to 2 feet between rows, depending on the size and shape of the garden bed. Because they don't require any support although they could use it if grown in an open area that tends to be windy.
bush beans can be planted without building any sort of trellis for them, and their shorter height is more conducive to fitting them into areas of the garden that wouldn't work for pole beans. Bush beans tend to produce a crop over a single period of about two weeks or so about 50 days after planting, depending on the variety, but to have a continuous harvest throughout the summer, do several succession plantings a couple of weeks apart for the biggest yields.
3: Planting beans indoors
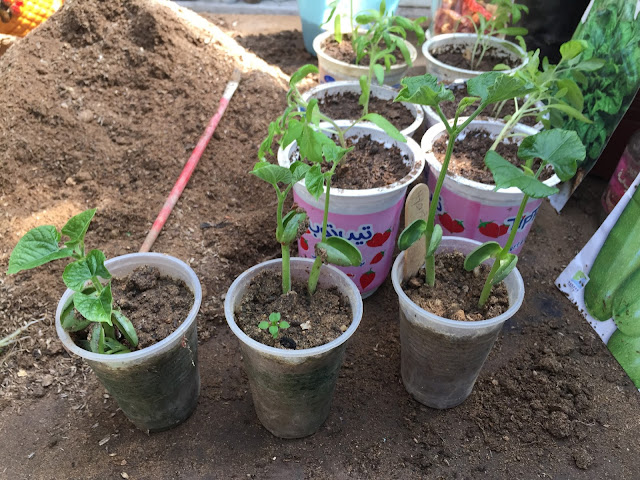
Take a pot, fill with multi-purpose compost to just below the top. Make a hole about 5cm / 2in deep in the compost, drop the seed in and cover with compost. Keep the compost moist and place the pot in a warmish place (dark or light). Keep a watch on the pots daily and immediately the seedlings appear (roughly seven days after sowing indoors) move the pots to a light and airy windowsill or a frost free greenhouse.
A week or so after the seedlings first appeared harden them off over the next week.
Plant the potted seedlings outside. To do this, dig a small hole just a bit larger than the pot, tip the pot up into your hand and remove the seedling and root ball, disturbing it as little as possible. Place it in the hole and fill in with crumbly soil, firm the soil in gently and water well. Each plant should be 20cm / 8in apart and rows should be 50cm / 20in apart.
4: Taking care of beans
Beans requires regular, steady water, 1-1 ½” (2.5-4 cm) per week. Beans are relatively shallow-rooted, so regular water is needed. This is important during hot, dry weather.During the first few weeks after planting, overhead watering is good for summer vegetables like beans, but drip irrigation is preferable once they begin flowering and setting fruit.Defending leaves from pathogens becomes less of a priority once plants start flowering and fruiting commences. Do not water on the foliage of mature summer vegetables because is an invitation to bacterial and fungal leaf diseases.
Beans requires regular, steady water, 1-1 ½” (2.5-4 cm) per week. Beans are relatively shallow-rooted, so regular water is needed. This is important during hot, dry weather.During the first few weeks after planting, overhead watering is good for summer vegetables like beans, but drip irrigation is preferable once they begin flowering and setting fruit.Defending leaves from pathogens becomes less of a priority once plants start flowering and fruiting commences. Do not water on the foliage of mature summer vegetables because is an invitation to bacterial and fungal leaf diseases.
5: Harvesting Beans
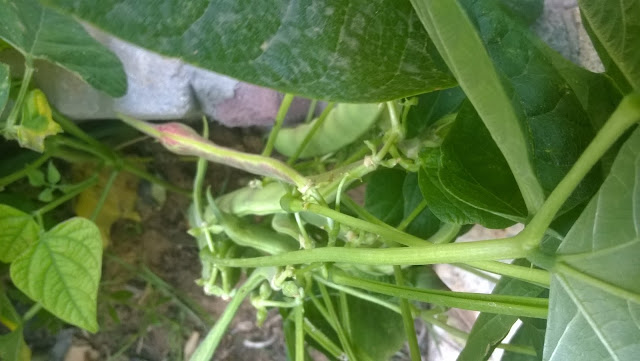
Watch plants carefully as beans start to form and harvest every 2-3 days.Beans are ready to pick when the pods are well formed.Be sure to lift up the bean plants and look under the foliage to pick every ripe bean. This will promote a continued crop. If beans are left on the plants too long, the seeds overdevelop and the pods become tough.If the pods are yellowing, the beans are too mature and can be left on the vine and picked later to use as dry beans.Harvesting the green beans early and often helps to ensure your green beans are tender and tasty, plus your plants provide a continual production all season.The bean pods should be firm, crisp, and show no visible bulges. A bulge will indicate that the bean is over-ripe. It will still taste good but might have a limp texture. A perfectly ripe green bean will make a snapping noise when broken into pieces. This is why some folks call green beans "snap beans".As the plants will continue to produce green beans over a long period of time, you should take care to not damage the plant when harvesting your beans. Use one hand to hold the stem and use your other hand to pick the bean. The blossom end of the stem will usually still be attached to the bean after you pick it. If you don't hold the stem, you risk breaking off other blossoms or branches or yanking the whole plant out of the ground by the roots.
6: Saving seeds
To save seeds each year you need to let the pods dry on the vine or harvest the pods once they are fully matured. Shell them by pulling the pods apart.Many bean pods will split at the side seams if you squeeze them gently.
After the growing season is over, pull the green bean plants up by the roots and add them to your compost pile.


