Starting plants from seed indoors is a great way to start gardening earlier in the season. With the right light, temperature and some simple equipment, some seeds are easy to grow from seed to harvest. Because each plant has unique seed-starting requirements, I advise you to start small by growing just a few varieties, such as tomatoes, marigolds and basil, as they are so easy to start indoors.

Ensure that your plants are organic from start to finish by starting your own seeds. When you start your own seeds, you can be sure that your plants have been raised organically. And by sprouting and nursing your own seedlings, you don't have to wait for warm weather to get your hands dirty, it's easy and fun. But when seedlings die, it can be extremely frustrating. Here's step by step what you need to know to keep them alive and healthy.

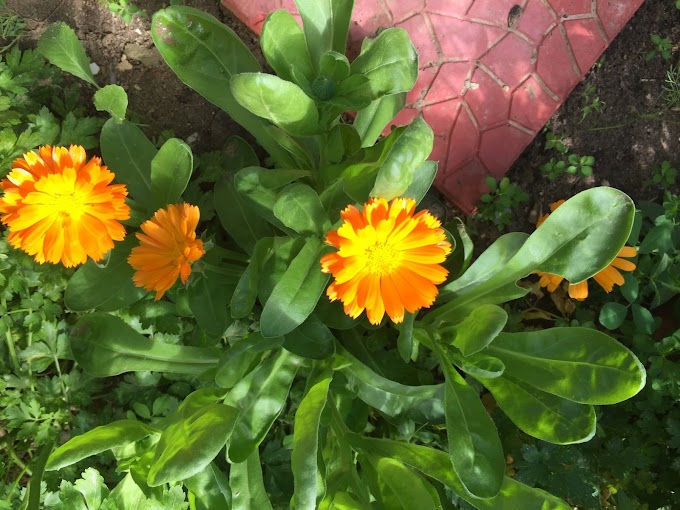
. Choose the Right Plants
Some plants lend themselves to home germination better than others.
. Plant at the Right Time
Start by finding the average last frost date in your area. To calculate your planting dates, you need to count back from the last frost date in one-week increments. Start reading the back of the seed packets. They have a wealth of information: germination temperature, light requirements, depth to sow, and when to sow. Timing is everything. Count backwards from your frost-free date the required number of weeks stated on the package to have your plants ready at just the right time.
. Choose the Good Soil
Make your own seed-starting mix by blending equal parts of perlite, vermiculite, and peat. Add 1/4 teaspoon of lime to each gallon of mix to neutralize the acidity of the peat.
. Sow the Seeds Carefully
Moisten your medium in the containers before sowing the seeds. Drop seeds onto the surface of the mix, spacing them as evenly as possible. Cover the seeds to a depth about three times the thickness of the seeds.
. Keep Them Warm


Cover with plastic wrap or glass to keep the environment humid, and place them near a heat vent or on a heat mat made especially for seed starting. Most seeds germinate well at about 70 degrees. Just remember that seeds take longer to germinate and plants grow more slowly when air and soil temperatures are cool.

At the first signs of sprouting, uncover and move the containers to a bright spot in a sunny window, or beneath a couple of ordinary fluorescent shop lights (4-footers with two 40-watt bulbs). The lights are worthwhile, the seedlings need 12 to 16 hours of light a day. Suspend the lights just 2 inches above the plants and gradually raise them as the seedlings mature. If plants have to stretch or lean toward the light, they can become weak and spindly.


. Transplanting Seedlings.

When the seedlings develop their second set of true leaves, it’s time to transplant them to individual pots, such as 3- or 4-inch plastic pots. Fill the new containers with potting mix, moisten the mix, and let it drain. To remove the seedlings from their original pots, squeeze each pot’s sides, and turn it upside down, keeping one hand around the soil ball. With both hands, carefully pull the soil ball apart, and set it down on a flat surface. There are many techniques for transplanting seedlings.

Watch these easy and simple techniques for transplanting Seedlings
How to Transplant Pepper Seedlings Video
How to Transplant Tomato Seedlings Video
. Hardening off plants.
In order to give your plants the best chance of success, it is best to ‘harden them off’ prior to leaving them outside full time. About 7 days before planting your pepper plants outdoors, help acclimate them to temperatures, sunlight, and wind. This is the process of hardening off, or gradually acclimating your new plants to outdoor conditions. These plants have spent their short lives in a warm, sunny, protected place and won't fare well if you don't expose them slowly to the elements. Before you intend to plant, put your transplants outdoors in an area where they'll be protected from the direct sunlight and wind. Leave them out for a few hours and bring them back inside. Repeat this each day, gradually increasing the amount of time they're outside and the degree of exposure to sun and wind. Gradual exposure helps your plants toughen up and reduces the possibility of injury. With proper hardening off, they’ll have an easier transition to the garden and begin producing sooner.
Starting seeds indoors has many benefits, including an earlier harvest. So get ahead on your gardening by starting seeds indoors and producing your own transplants!
From HERE a wide range of organic vegetable and herb seeds as well as fruit and flowers!
From HERE a wide range of organic vegetable and herb seeds as well as fruit and flowers!
Please let us know your thoughts, experiences, or questions in the comments below.
Happy Gardening!
Some of the links on this site are affiliate links. I do make a small commission (at no extra cost to you) from these sales.