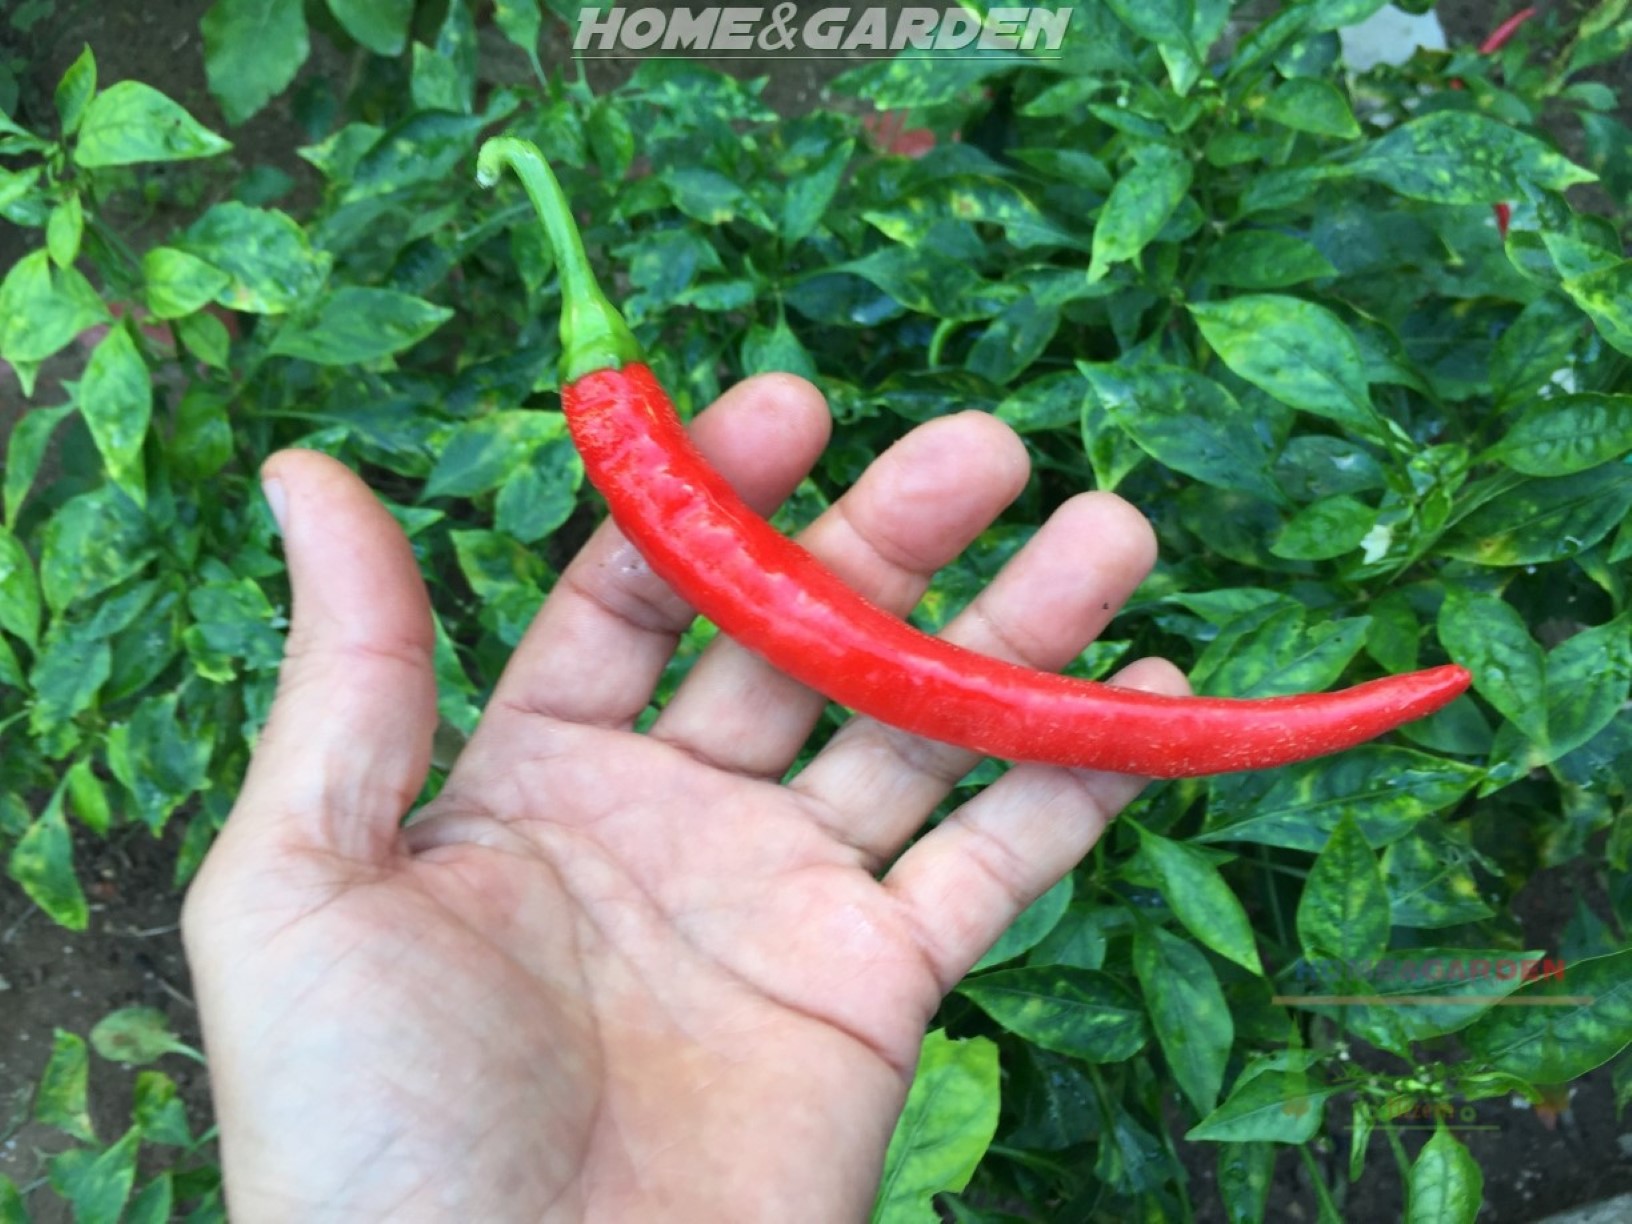
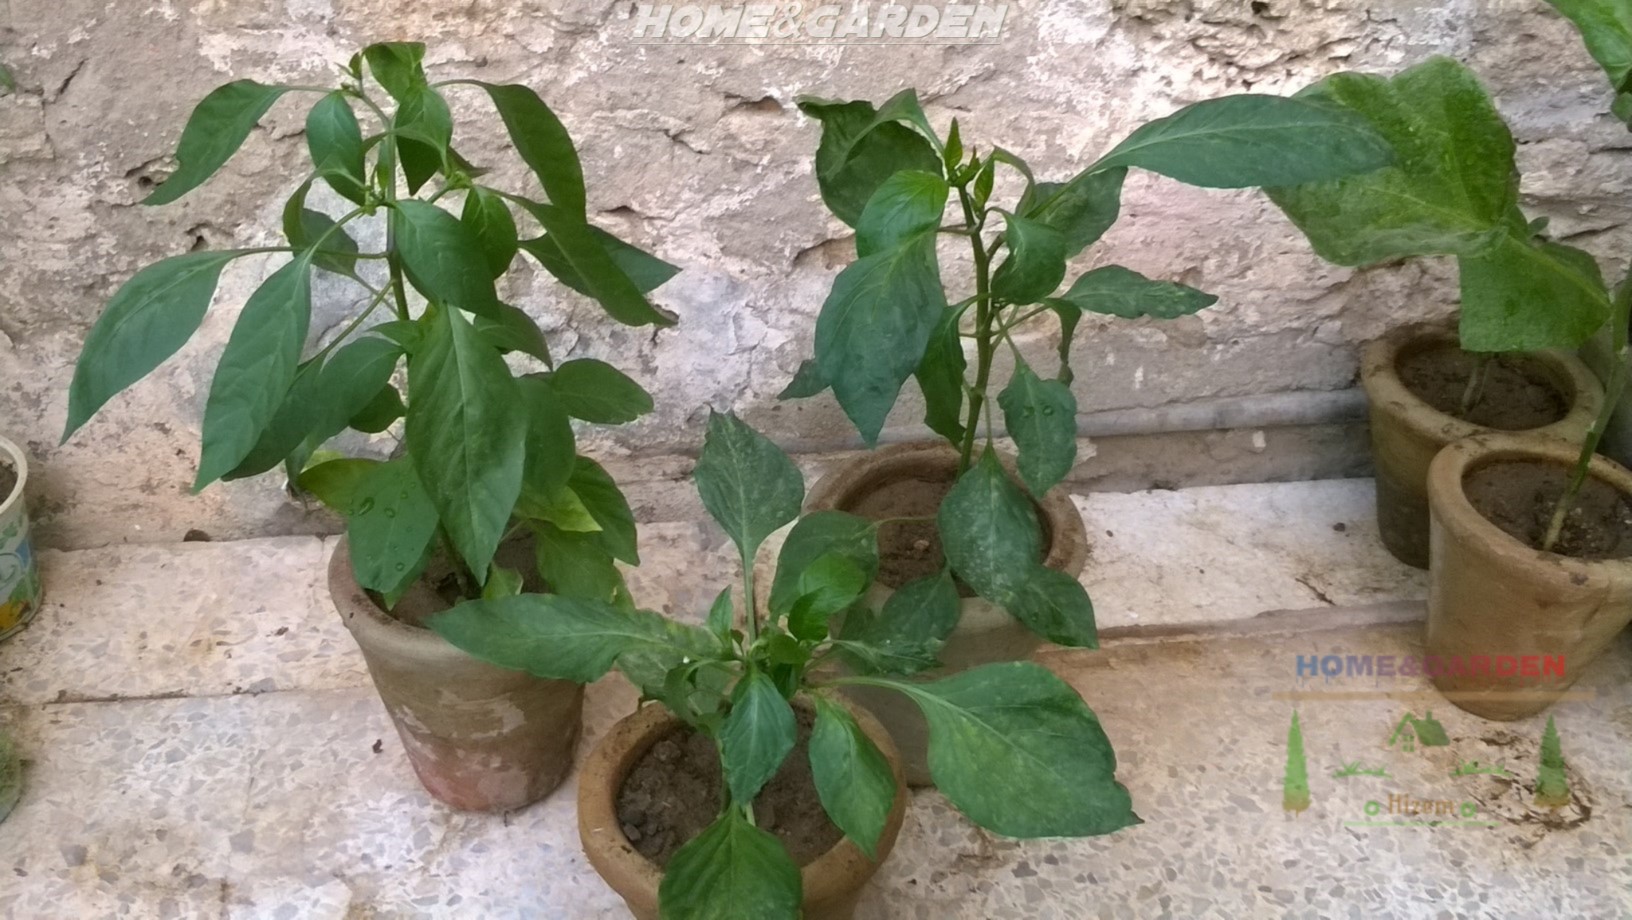
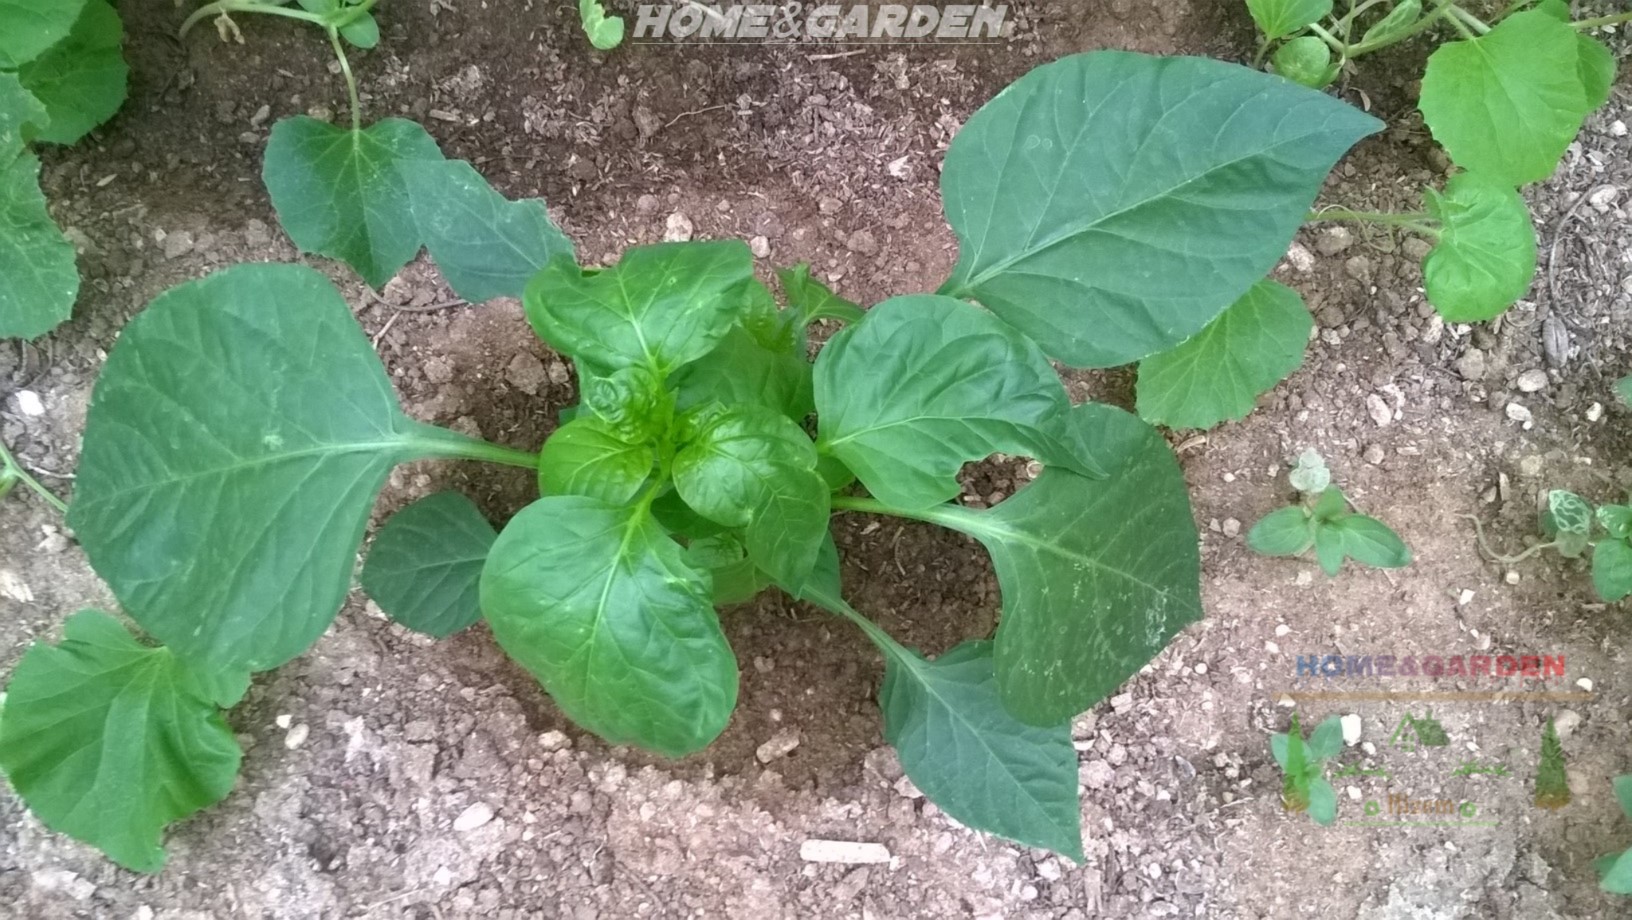
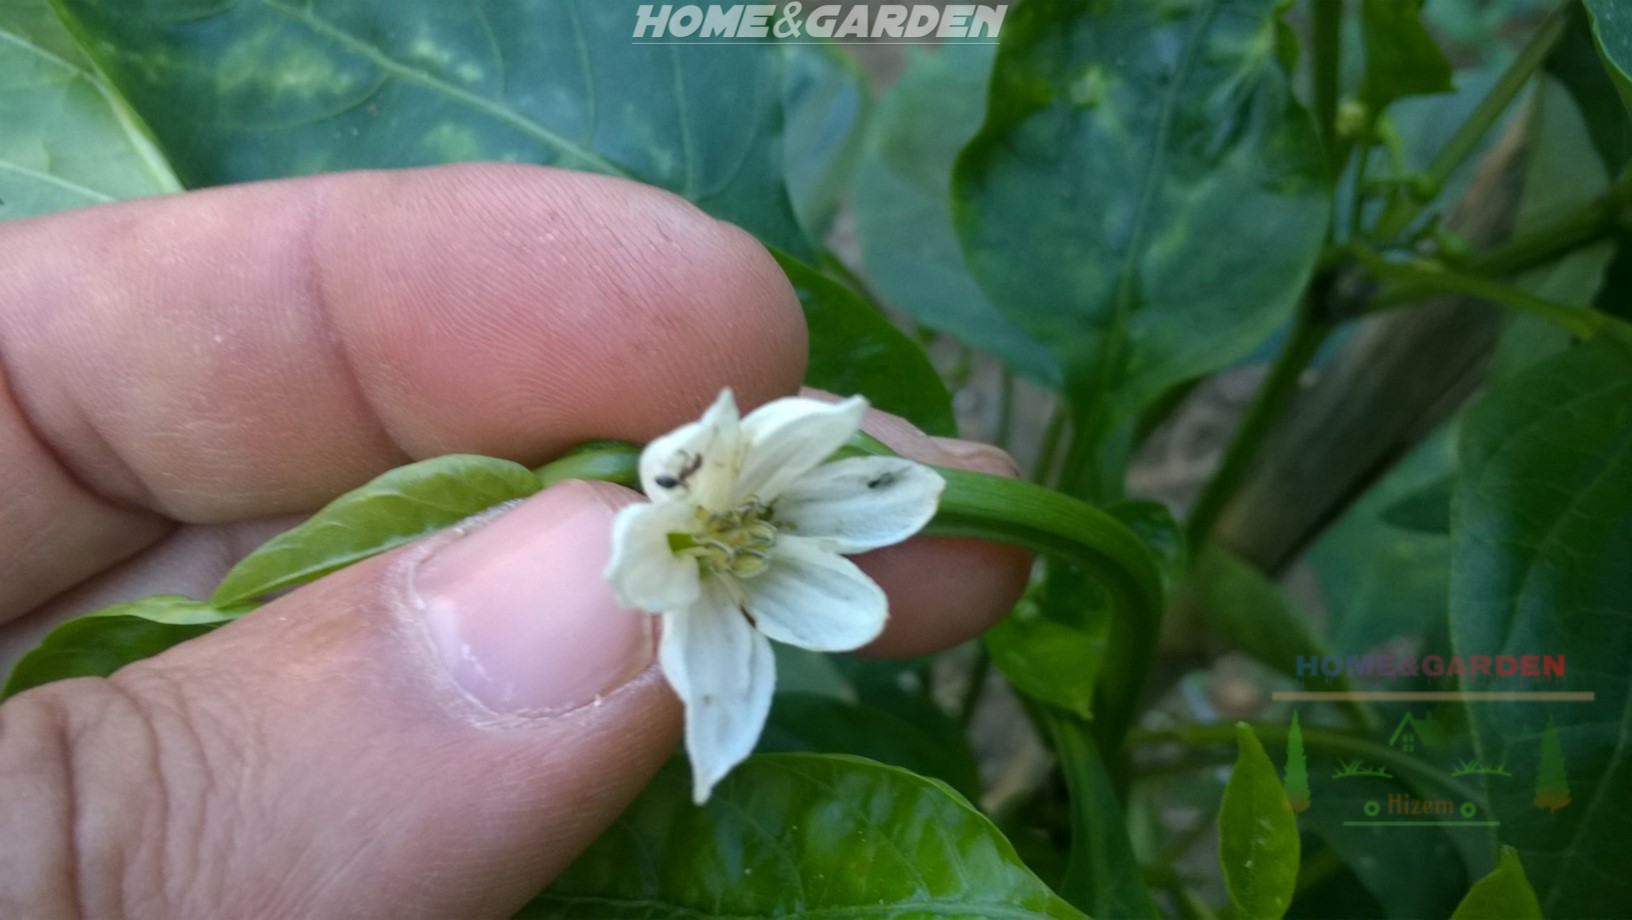
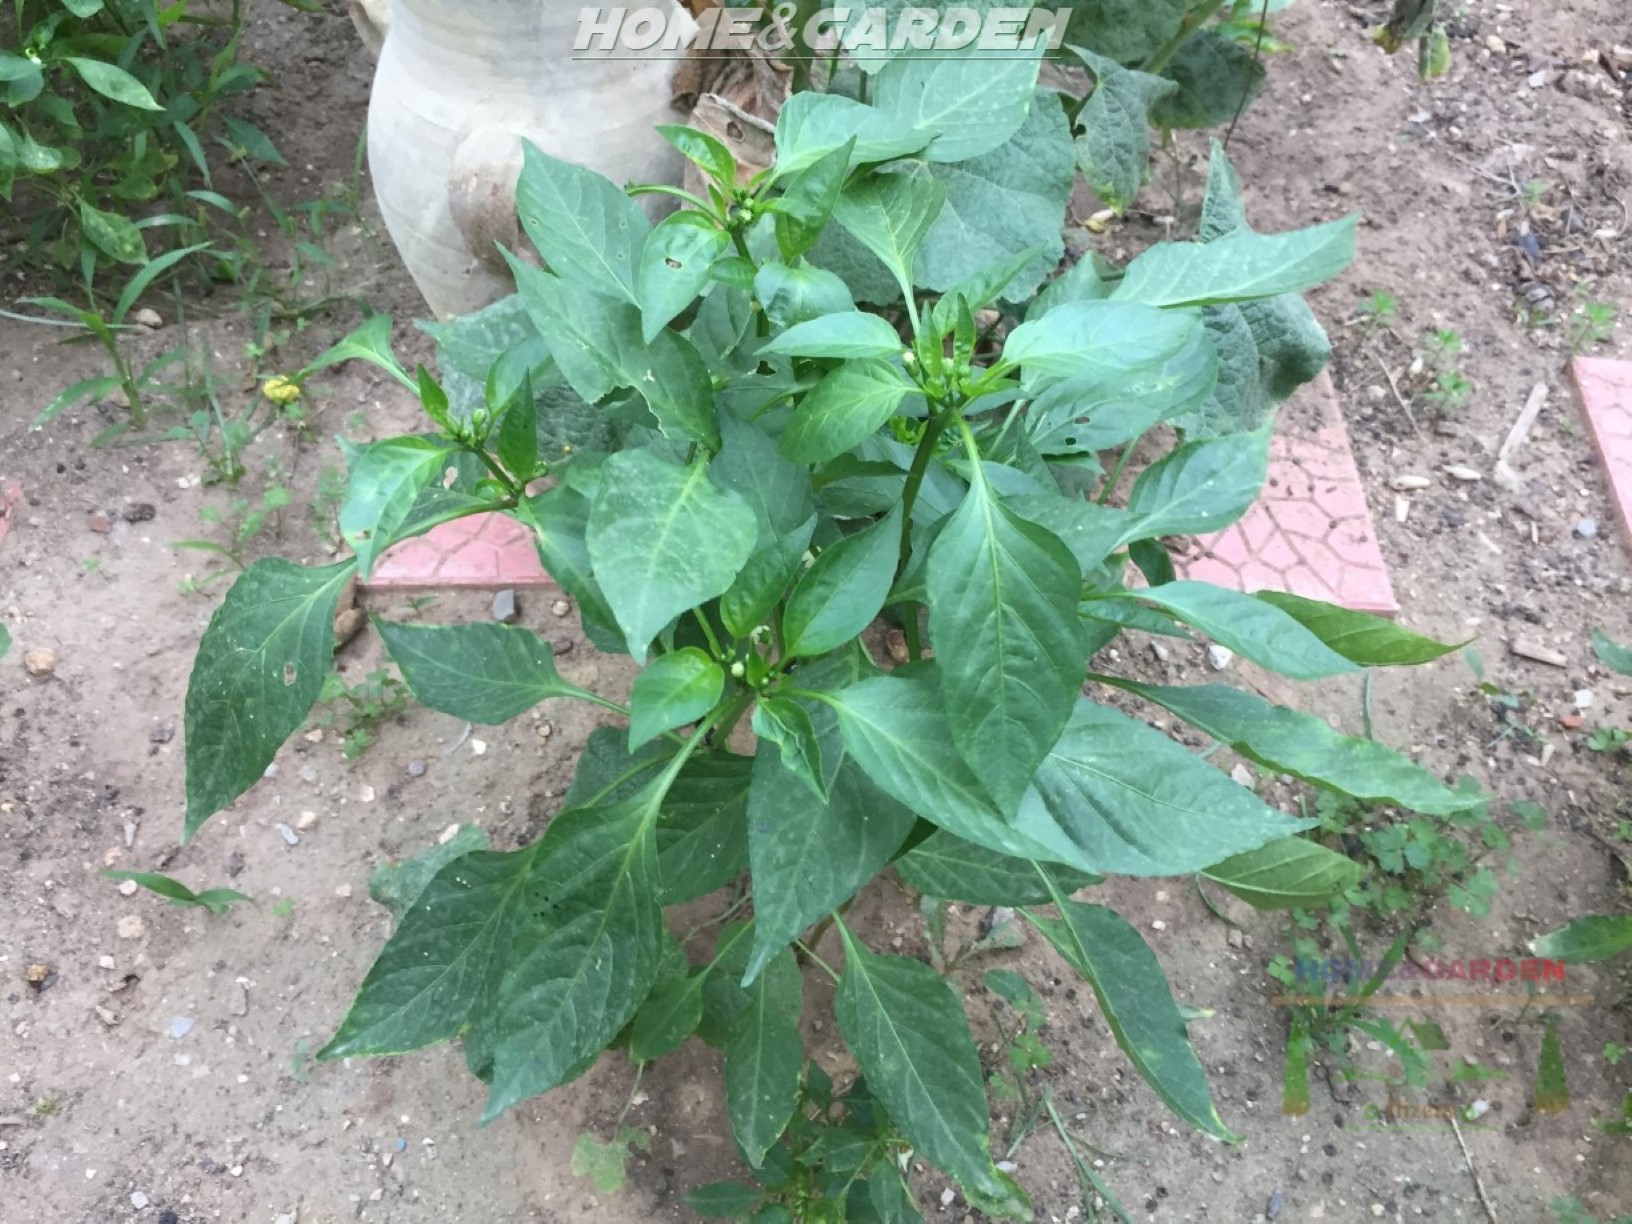
There are some differences between growing hot peppers and other vegetables. What works well for sweet peppers, cabbage, carrots and other vegetables won’t necessarily work for hot peppers. Even seasoned gardeners have trouble starting hot peppers. I encourage beginners to start with hot pepper transplants. The hardest part, germinating, is already completed for you. As a member of the nightshade family, hot peppers have some specific requirements that seem counter-intuitive when you’ve grown other fruits and vegetables in the past.
Pruning or Topping Pepper Transplants
Various reasons are presented as to why pruning peppers may be needed. One of them is helping the plants develop sturdier stems. On the other hand, gardeners want to make or force a bushier pepper plant with more side shoots. This eventually results in more flowers and, possibly, more peppers.
Just pinch your pepper transplants from the bottom to let them put more energy into growing rather than producing pods. This is especially very good to do prior to transplanting to the garden, as the plants will put more energy into their roots for good growing rather than producing fruits.
Pruning pepper plants will help manage high wind and strong support for heavy crops of peppers. With stronger stems you have less breaking as pepper stems can easily snap.
Watch Pruning or Topping Pepper Transplants Video
Your pepper seedlings are ready for transplanting in the garden when roots grow through the bottoms of their containers, but you must wait for ideal planting weather.
Hardening off Pepper Seedlings
Before you plant your pepper seedlings, you will need to harden them off by gradually exposing them to outdoor conditions. This process helps the seedlings adjust, so they will be less stressed when you plant them.
About 7 days before planting your pepper plants outdoors, help acclimate them to temperatures, sunlight, and wind. This is the process of hardening off, or gradually acclimating your new plants to outdoor conditions. These plants have spent their short lives in a warm, sunny, protected place and won't fare well if you don't expose them slowly to the elements. Before you intend to plant, put your transplants outdoors in an area where they'll be protected from the direct sunlight and wind.
Leave them out for a few hours and bring them back inside. Repeat this each day, gradually increasing the amount of time they're outside and the degree of exposure to sun and wind. Gradual exposure helps your plants toughen up and reduces the possibility of injury. With proper hardening off, they’ll have an easier transition to the garden and begin producing peppers sooner.
Your Hot Pepper plants are ready to being outdoors, and you're moving them to their permanent place in your garden. After selecting healthy and strong pepper seedlings and brought them to your garden spot, make sure to transplant them correctly.
. Create a Favorable Soil Environment
Your Hot Pepper plants are ready to being outdoors, and you're moving them to their permanent place in your garden. After selecting healthy and strong pepper seedlings and brought them to your garden spot, make sure to transplant them correctly.
Transplanting Seedlings in The garden
Peppers are warm season crops that grow best at temperatures of "70-80° F" during the day and "60-70° F" during the night. So wait until the last frost date for your zone has passed, and nighttime temperatures are above "50° F"before transplanting seedlings in the garden.
The key of success is:
Hot Peppers want organically rich, well-drained soil. In advance of planting add plenty of organic fertilizer such well aged chicken manure to the planting bed, this will feed the plants during the growing season.
. A Proper Hole
A good planting hole is very important to how well the transplant adapts and grows. The planting hole should be at least double the width as the root ball of the seedling, and the soil in and around the planting hole should be loosened well to make it easier for the pepper plant roots to grow
. Prevent Transplant Shock
Transplant shock can be very common when transplanting pepper seedlings, the seedling may need a bit of help recovering. By adding phosphorus to the planting holes, this will help reduce transplant shock, and help the seedlings to develop stronger roots. Phosphorus is essential for root development. Use organic sources of phosphorus, such bone meal. Never use fertilizers that are high in nitrogen for newly transplanted seedlings.
. Transplant The Right Depth
Transplanting a pepper seedling too deep, or too shallow, can cause unwanted results. So set the plants slightly deeper, "up to an inch" than they were grown in the container.
Newly transplanted pepper plants need to be watered well until they have become well established in their new environment and began developing new growth.
How to Transplant Seedlings
After selecting healthy and strong pepper seedlings and brought them to your garden spot, make sure to transplant them correctly!
- Squeeze the pot to loosen the root ball. This will help the seedling root ball to slide out from the container.
- Slide your fingers on either side of the stem across the soil surface, then flip out the plant into your hand.
- Tease the roots apart slightly.
- Dig a hole large enough for a seedling.
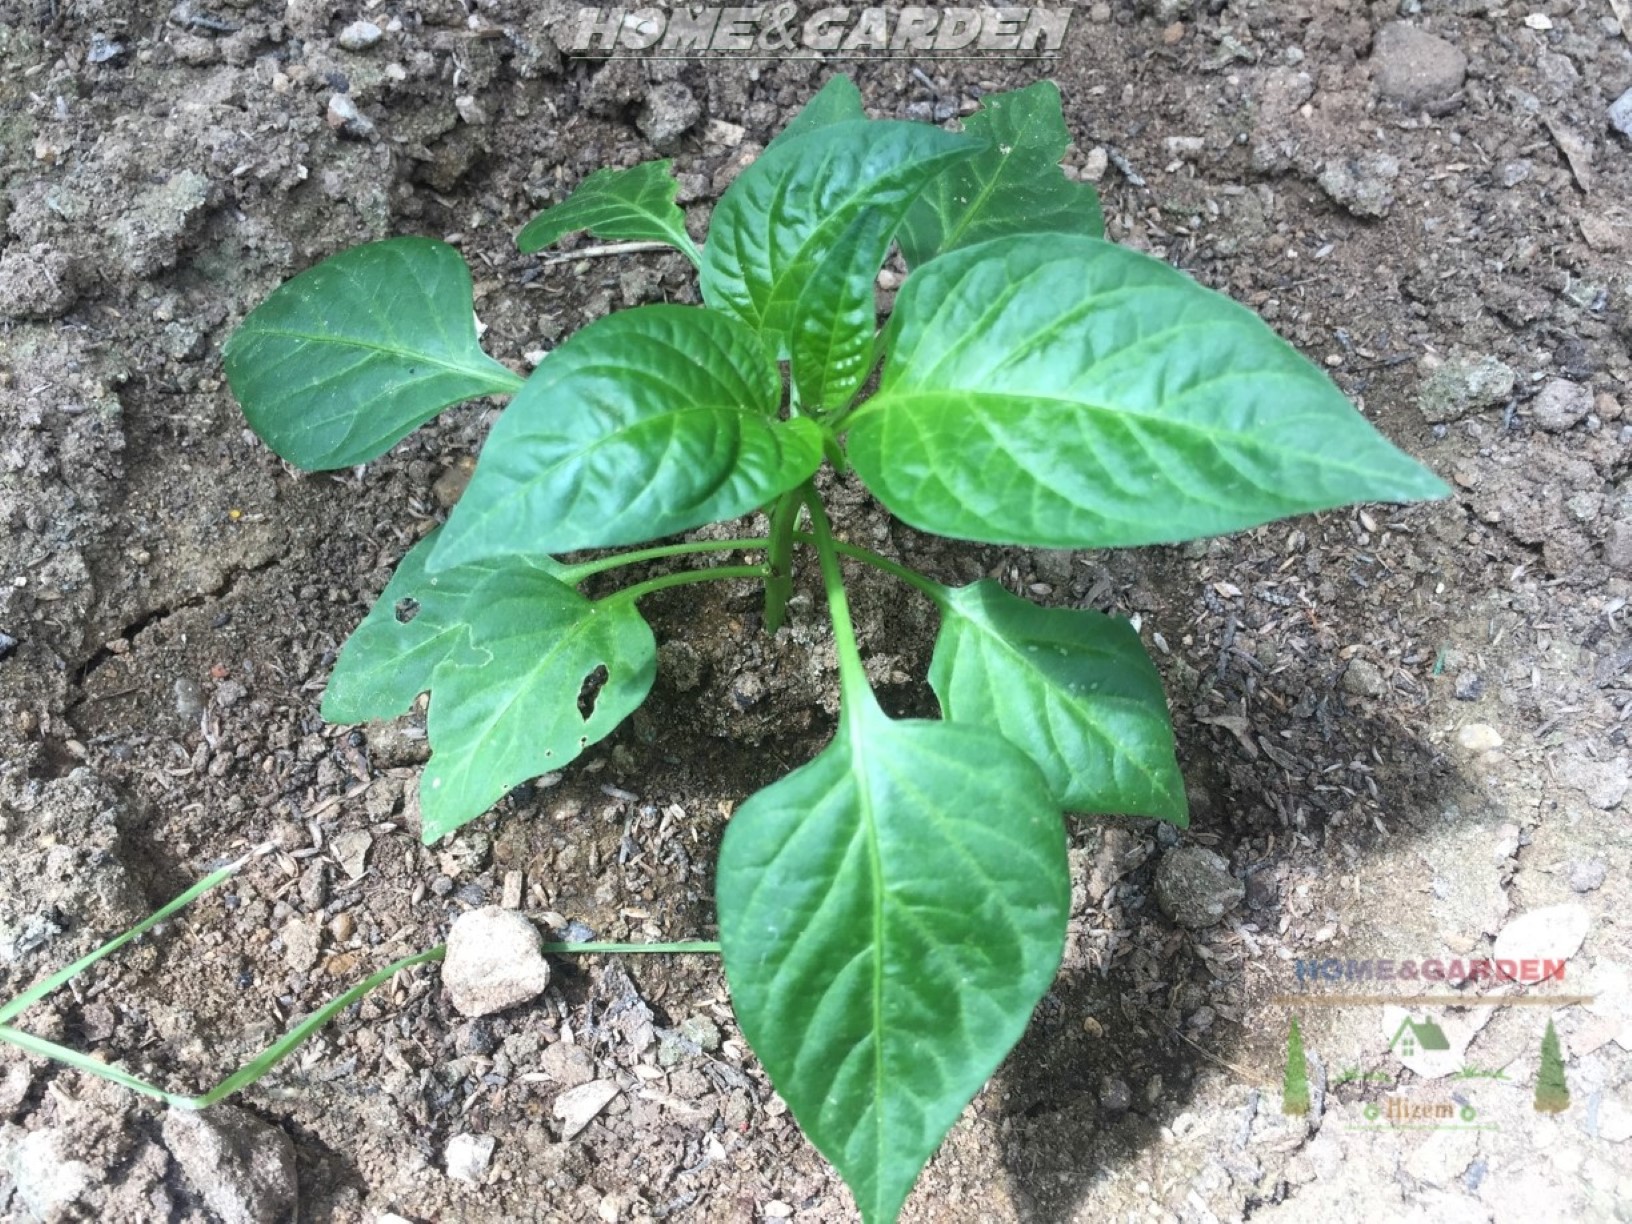
- Once the seedling is removed from the container, transplant it immediately. Do not leave the seedling sitting out.
- Set seedling in hole level with soil surface.
- Fill in the hole with garden soil, then press firmly around the pepper plant base to form a slight depression around the stem to accumulate water.
- Space the new plants far enough apart so that when they are fully grown, they are not crowded.
- Waters the transplanted seedlings immediately, this helps reduce transplant shock.
- Feed your pepper seedlings to kick their start growth. I always transplant each seedling with a hefty handful of well aged chicken manure. Remember that chicken manure has to be allowed to age before you use it in your garden. Four to six months is the recommended period of time to age chicken manure before applying it to a garden. Fresh manure can burn your plants, so use it with care! If you don’t have chicken manure, purchase specially formulated fertilizer for transplanting.
- Mulch seedling to maintain soil moisture and regulate temperature. You can add compost to the top of the mix to act as a mulch. Besides providing nutrients, it also helps with moisture retention and protects plant roots against harsh temperatures.
- Keep area weed-free.
- Pinch off all early blossoms that appear on your pepper plants. Don't worry, this won’t harm the plants. In fact, it helps them direct their energy into growing, and you will get lots of large fruits later in the season.
By using these simple tasks. You will ensure your new pepper plants are off to a great start and increase the chances of great harvests.
Watch Harvesting Organic Hot Peppers Video
Want to Grow Hot Pepper! Check out this Big List!
I hope this guide helps you learn how to plant and care of hot peppers ! Don’t hesitate to ask questions or reach out with any suggestions. So please let us know your thoughts, experiences, or questions in the comments below. If you like this, you can share with your friends!
Happy Gardening
This website is a participant in the Amazon Services LLC Associates Program, an affiliate advertising program designed to provide a means for sites to earn advertising fees by advertising and linking to amazon. Some of the links to products on this site are affiliate links. These are products that I've used or recommend based from homesteading experience. I do make a small commission (at no extra cost to you) from these sales.(alert-warning)
(full-width)


