-->
Type Here to Get Search Results !

How to Start Peas Indoors


To get your peas off to a good start and won’t have to worry about birds and rotting seeds, start your peas indoors. By doing this you will be sure that the seeds won’t rot before they sprout under the soil, resulting in a successful plant and many delicious peas to pick.

T(caps)o get your peas off to a good start and won’t have to worry about birds and rotting seeds, start your peas indoors. By doing this, you will be sure that the seeds won’t rot before they sprout under the soil, resulting in a successful plant and many delicious peas to pick. Keep reading and learn how it is easy to get them growing well each year by germinating peas indoor before planting them in the garden with simple tasks!

(toc)(Table of Content)

Germinating the Seeds 


With only a few simple tasks you can germinate your pea seeds, and in a week or two you can easily transplant them in the garden with no problems at all!

With only a few simple tasks you can germinate your pea seeds, and in a week or two you can easily transplant the seedlings in the garden with no problems at all!


There are several different ways you can germinate pea seeds, but this is my best and simple method with a very good success. 

You will need:


What to do:

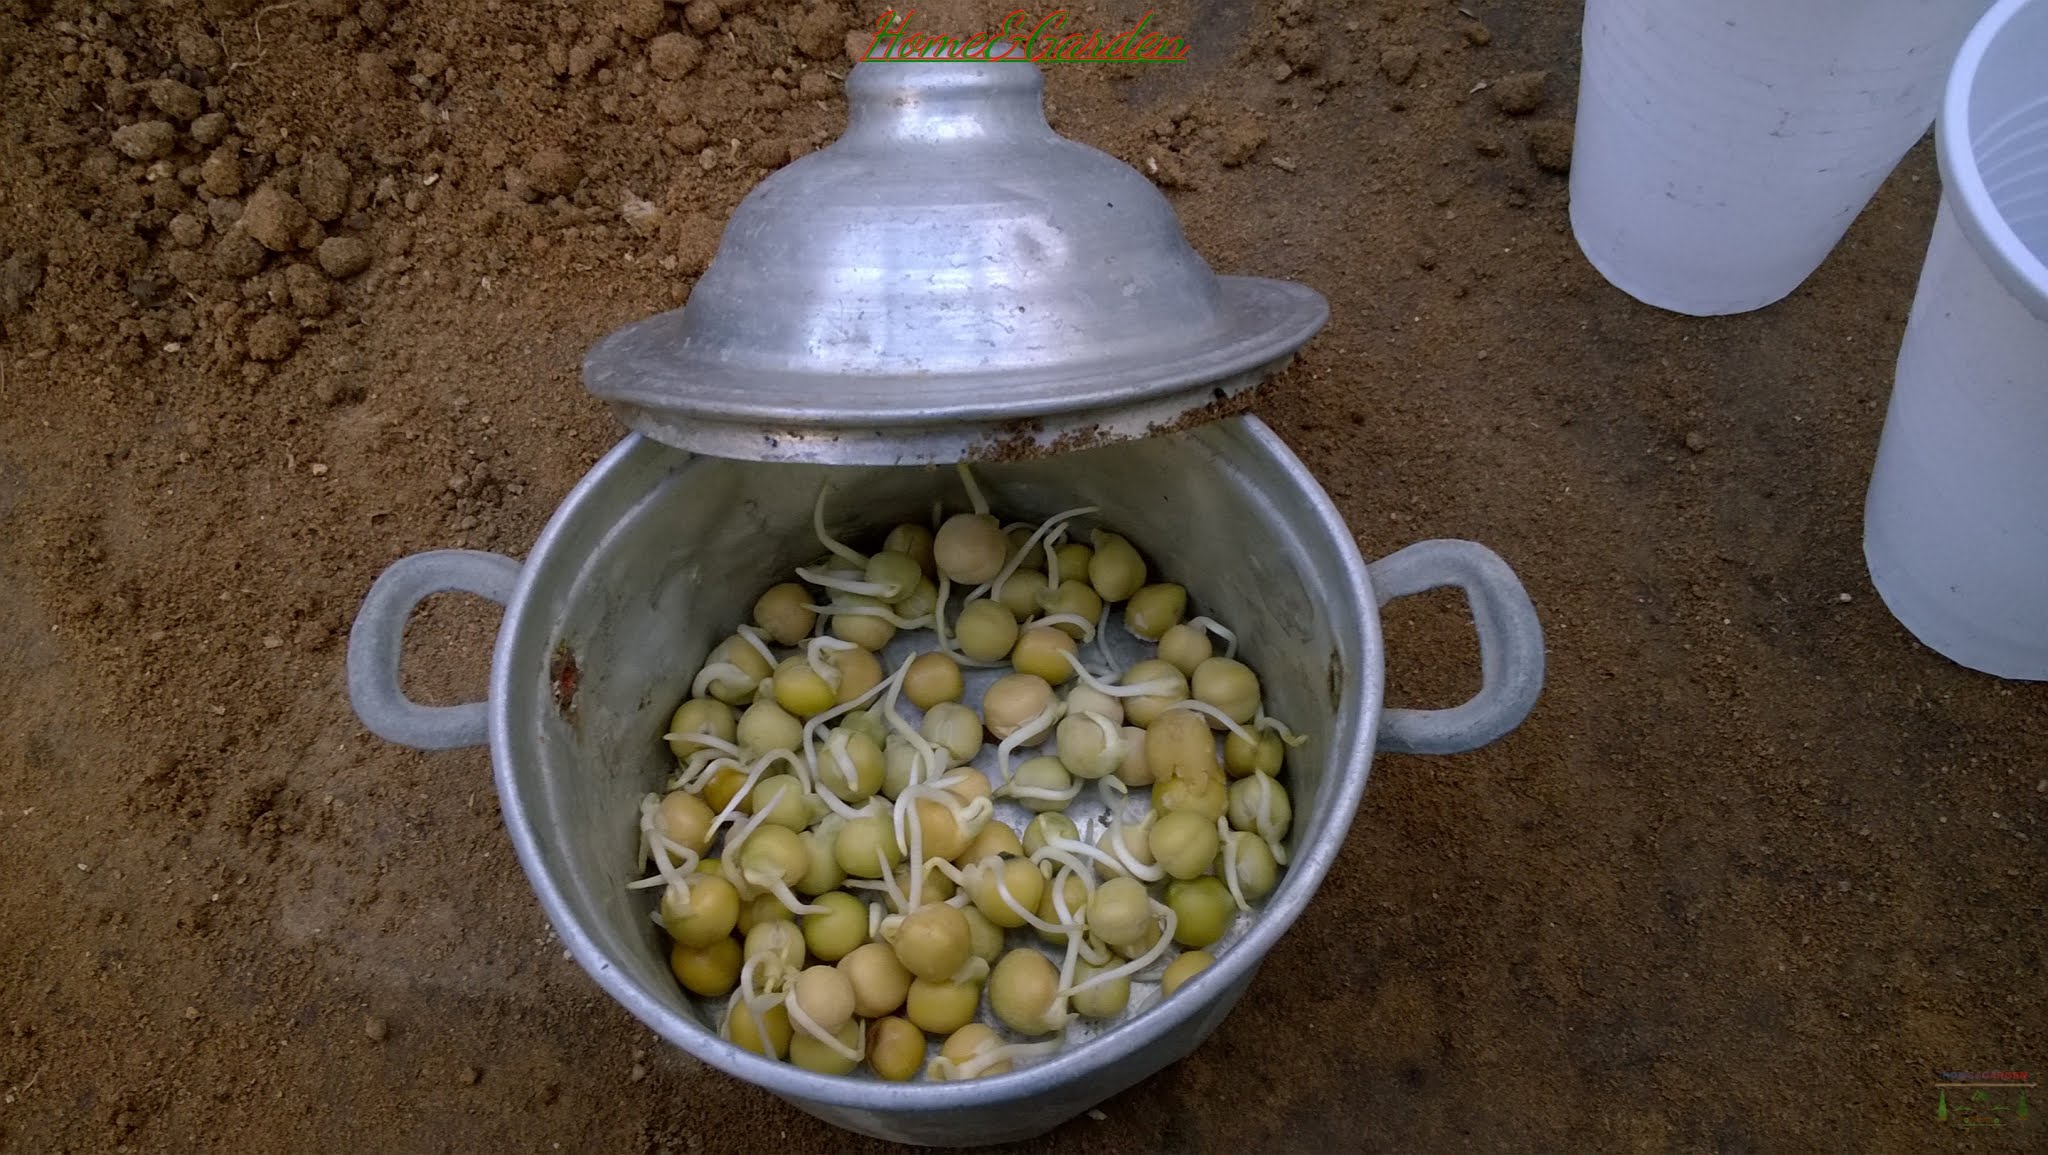
. Soak the seeds for 24 hours in the container.
. The day after, rinse thoroughly in a sieve.
. Put back the seeds in the container and cover.
. Rinse twice per day, once in the morning, once in the evening, then cover the container.
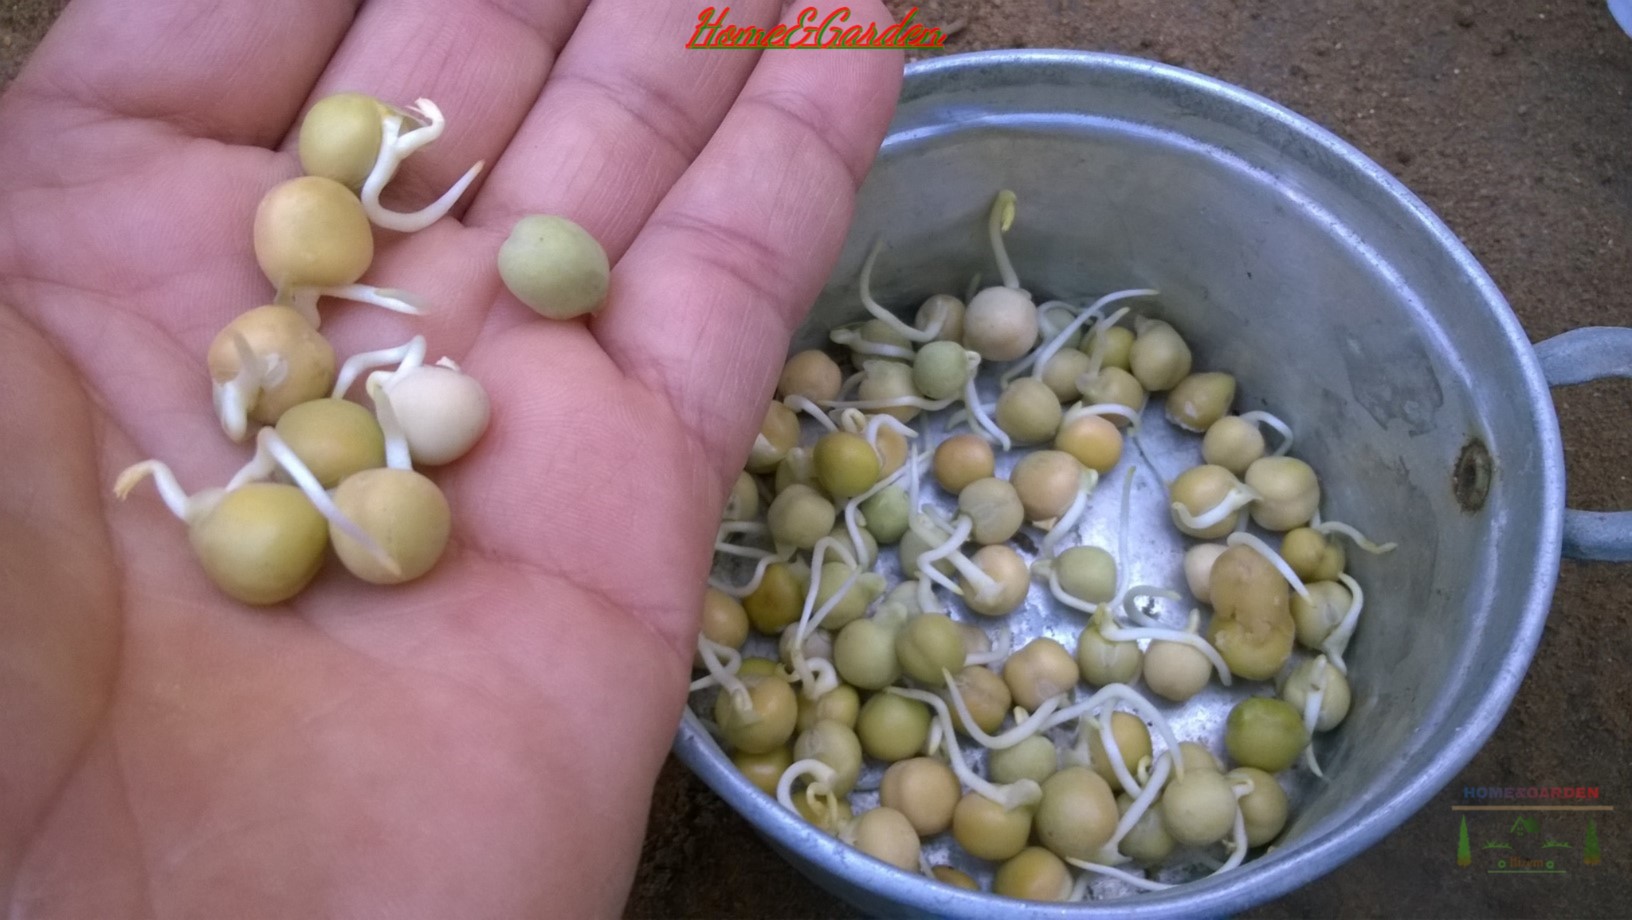
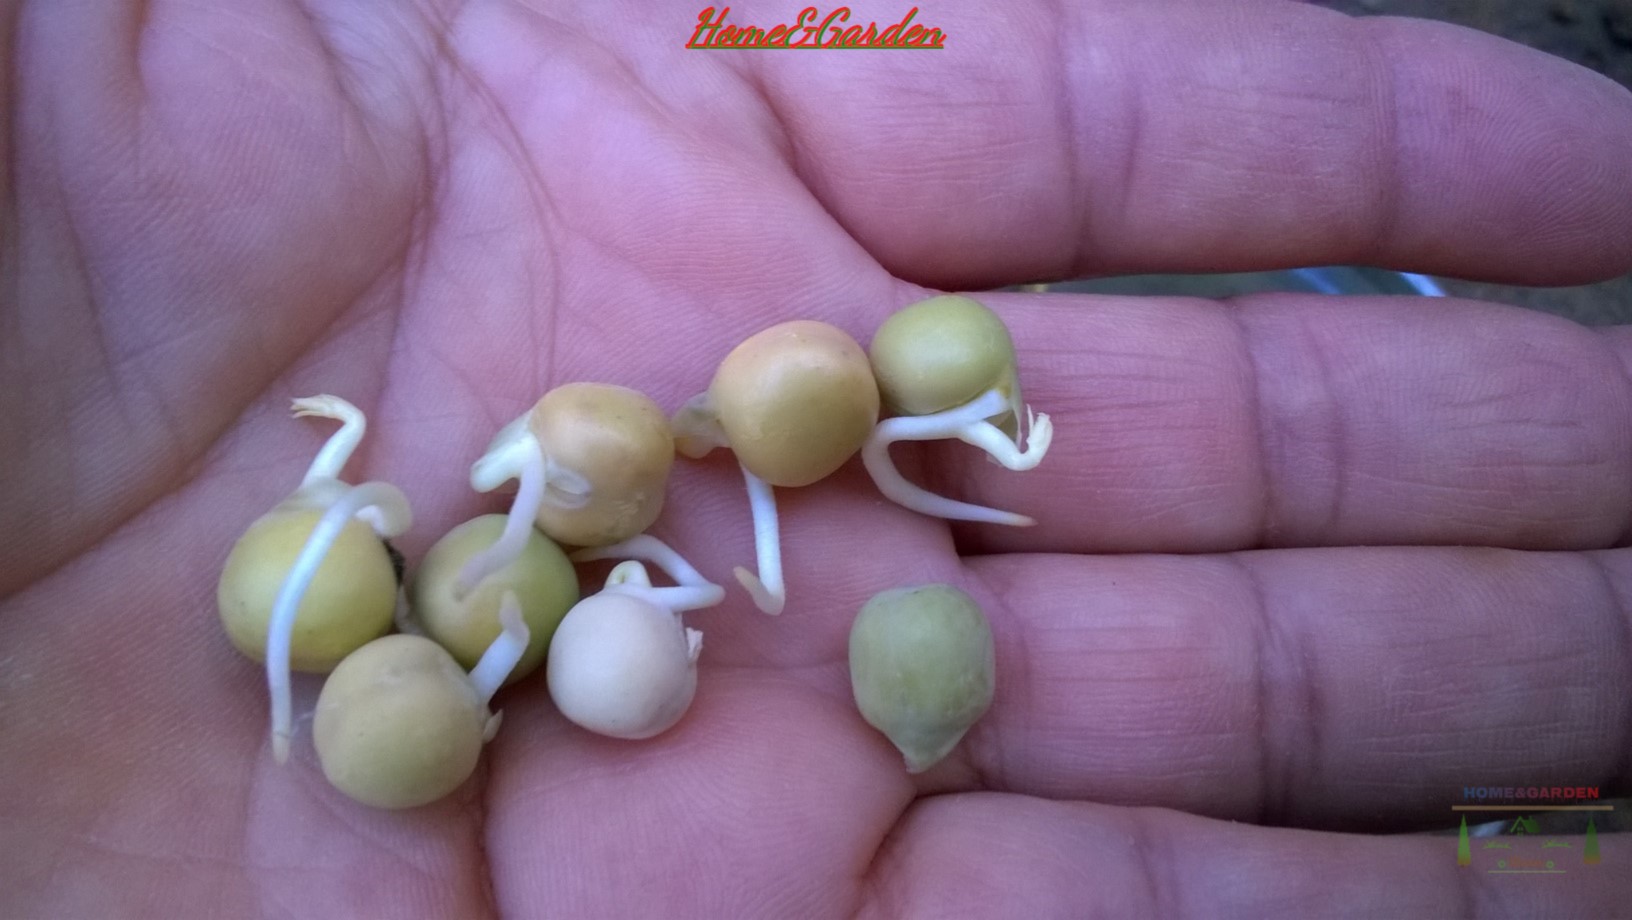
. Watch them sprout after few days!

Rinsing your sprouting pea seeds is absolutely essential to good success.


Rinsing and Cleaning the Seeds 


All pea sprouts require rinsing a minimum of twice a day. To rinse sprouting seeds, simply run cold, clean tap water over the sprouts, and then allow them to drain thoroughly.

Rinsing your sprouting pea seeds is absolutely essential to good success. The process of wetting the seeds and leaving them to stand at room temperature produces an ideal growing environment for bacteria and mould. All pea sprouts require rinsing a minimum of twice a day. To rinse sprouting seeds, simply run cold, clean tap water over the sprouts, and then allow them to drain thoroughly.

 Planting Sprouted Peas Seeds 


Fill your plastic pots to the half with seed starting potting mix, simply drop three sprouted seeds in every pot and gently cover to the top. Use a spray to water smoothly. The soil should stay constantly moist, but not soggy. 

Fill your plastic pots to the half with seed starting potting mix, simply drop three sprouted seeds in every pot and gently cover to the top. Use a spray to water smoothly. The soil should stay constantly moist, but not soggy. Your peas will emerge in three days.

 Your peas will emerge in three days. By this way you will have a very good start and won't have to worry about birds and rotting seeds. 

Now the seedlings need their space. Thin the seedlings by keeping the ones that look healthy and strong, and snip the rest so there's just one plant per pot. Do not pull them out as this can disturb the roots of the remaining seedling.

Just remember that if your seed starting potting mix is moised, there's no need to water, your peas will emerge, and after you can water them. Always label your pots, so you know what's growing!

Thinning Seedlings 


Thinning seedlings ensures that plants have plenty of room to grow. Seedlings that are growing too close together will eventually end up competing with each other. This means that, as the seedlings grow into mature plants, their growth will be stunted. The sooner you thin your seedlings is the better, so plan to thin out seedlings once they get a few sets of their true leaves, but not more than 3–4 sets.
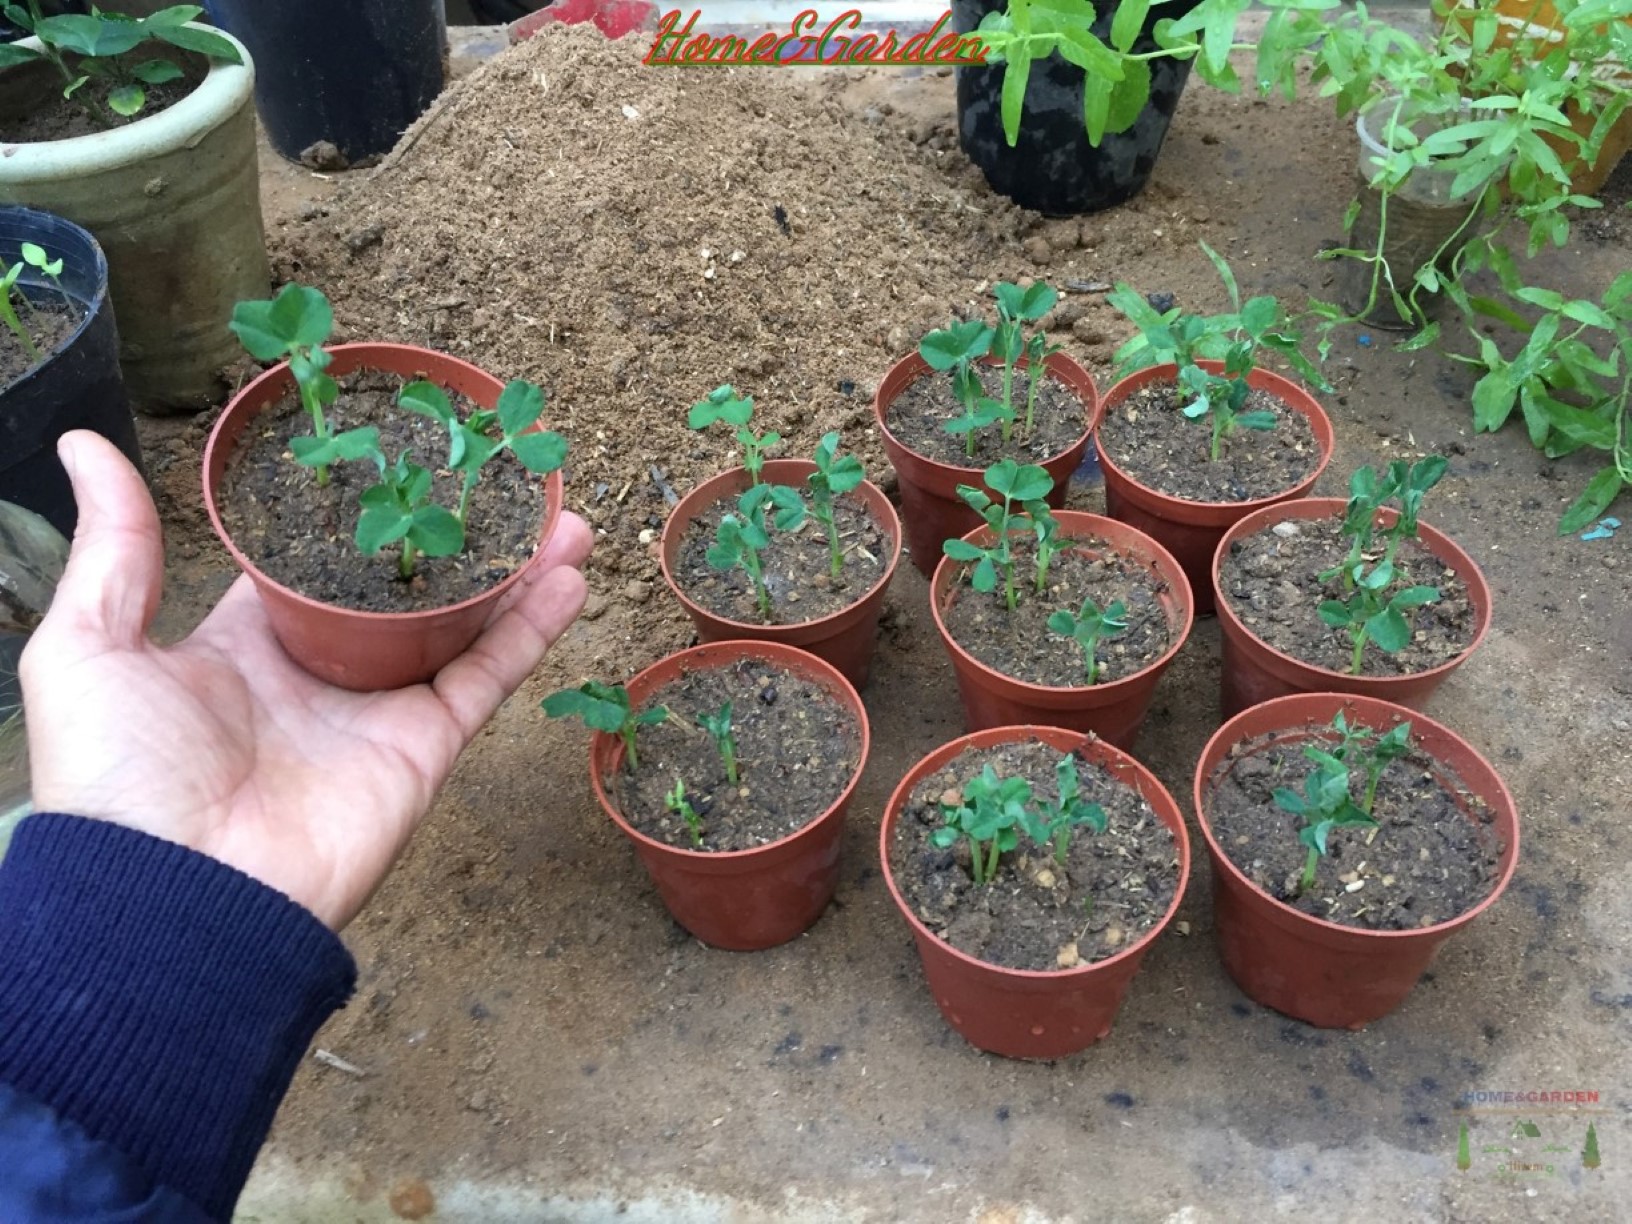
Thinning is necessary when seedlings are growing in a tight group, or there's more than one seedling growing in the seedling pot.


As the seedlings need more space.  Thinning is necessary when seedlings are growing in a tight group, or there's more than one seedling growing in the seedling pot.

Thin the seedlings by keeping the ones that look healthy and strong, and snip the rest so there's just one plant per pot. Do not pull them out as this can disturb the roots of the remaining seedling.

Thin the seedlings by keeping the ones that look healthy and strong, and snip the rest, so there's just one plant per pot. Do not pull them out as this can disturb the roots of the remaining seedling! 

Once you’re done thinning your seedlings, fertilize the little plants with an organic fertilizer to give them an extra boost. You should use a good quality compost fertilizer on seedlings, which you can get in liquid form or buy compost tea.

Once you’re done thinning your seedlings, fertilize the little plants with an organic fertilizer to give them an extra boost. You should use a good quality compost fertilizer on seedlings, which you can get in liquid form or buy compost tea.

Provide the seedlings a good source of light. You can place them by a window as long as they will not experience extreme heat from the sun during the day. When your seedlings have 3 pairs of leaves, pinch off the top of the seedlings, leaving 2-3 pairs of leaves,  make your cut just above a pair of leaves. This will gives you a fuller pea plant by promoting lateral branching.

Provide the seedlings a good source of light. You can place them by a window as long as they will not experience extreme heat from the sun during the day. When your seedlings have 3 pairs of leaves, pinch off the top of the seedlings, leaving 2–3 pairs of leaves, make your cut just above a pair of leaves. This will give you a fuller pea plant by promoting lateral branching.

Watch How to Grow Peas Indoors Video


 Harden off the seedlings 


In order to give your pea seedlings the best chance of success, it is best to "harden them off" prior to leaving them outside full time. About 7 days before planting your seedlings outdoors, help acclimate them to temperatures, sunlight, and wind. This is the process of hardening off, or gradually acclimating your new plants to outdoor conditions. These plants have spent their short lives in a warm, sunny, protected place and won't fare well if you don't expose them slowly to the elements. Before you intend to plant, put your transplants outdoors in an area where they'll be protected from the direct sunlight and wind. Leave them out for a few hours and bring them back inside. Repeat this each day, gradually increasing the amount of time they're outside and the degree of exposure to sun and wind.  Gradual exposure helps your plants toughen up and reduces the possibility of injury. With proper hardening off, they’ll have an easier transition to the garden and begin producing sooner.
 

In order to give your pea seedlings the best chance of success it is best to "harden them off" prior to leaving them outside full time. About 7 days before planting your seedlings outdoors, help acclimate them to temperatures, sunlight, and wind. This is the process of hardening off, or gradually acclimating you new plants to outdoor conditions.

So give your peas a safe start by sowing them indoors and transplanting strong and healthy plants in your vegetable garden.

Please let us know your thoughts, experiences, or questions in the comments below. If you like this, you can share with your friends! 

Certified Organic Garden Pea Seeds  from ➡️ Here!

This website is a participant in the Amazon Services LLC Associates Program, an affiliate advertising program designed to provide a means for sites to earn advertising fees by advertising and linking to amazon. Some of the links to products on this site are affiliate links. These are products that I've used or recommend based from homesteading experience. I do make a small commission (at no extra cost to you) from these sales. (alert-warning)

 (full-width)

Post a Comment

2 Comments
* Please Don't Spam Here. All the Comments are Reviewed by Admin.
  1. Can green beans be sprouted this same way,then planted outdoors when the soil is warm enough?

    ReplyDelete
  2. Yes you can use this way to all kind of beans an even broad beans "fava beans"!

    ReplyDelete

Below Post Ad