-->
Type Here to Get Search Results !

Starting Bell Peppers Indoors


Starting bell peppers from seed indoors requires a certain amount of patience. The willingness to dedicate time to nurture that seedling, and care for it as it matures, can reward you with healthy, robust, prolific plants and amazing fruits for your patience.

S(caps)tarting bell peppers from seed indoors requires a certain amount of patience. The willingness to dedicate time to nurture that seedling, and care for it as it matures, can reward you with healthy, robust, prolific plants and amazing fruits for your patience.

 Table of contents

(toc) 

Starting bell peppers from seed indoors requires a certain amount of patience. The willingness to dedicate time to nurture that seedling, and care for it as it matures, can reward you with healthy, robust, prolific plants and amazing fruits for your patience.

Starting Bell Peppers Indoors

Starting bell peppers indoors can be a challenge for beginners, but it’s actually so easy. In this post, I am going to show you exactly step by step how to start bell peppers from seeds indoors, how to transplant pepper seedlings and care tips!

Starting your own bell peppers from seed can be very rewarding. As bell peppers needs warm temperatures and a long growing season. Start indoors 5-8 weeks before last frost in your area.

Starting your own bell peppers from seed can be very rewarding. As bell peppers need warm temperatures and a long growing season. Start indoors 5–8 weeks before last frost in your area.

To start, pick out your selections of seeds from ➡️ here!

Bell Pepper seeds require moisture and warmth to break their dormancy and sprout. Dormancy is the seeds built-in survival mechanism which prevents seeds from germinating in cold conditions which would kill the young seedlings.

Bell Pepper seeds require moisture and warmth to break their dormancy and sprout. Dormancy is the seed's built-in survival mechanism which prevents seeds from germinating in cold conditions, which would kill the young seedlings.

Soak The Seeds

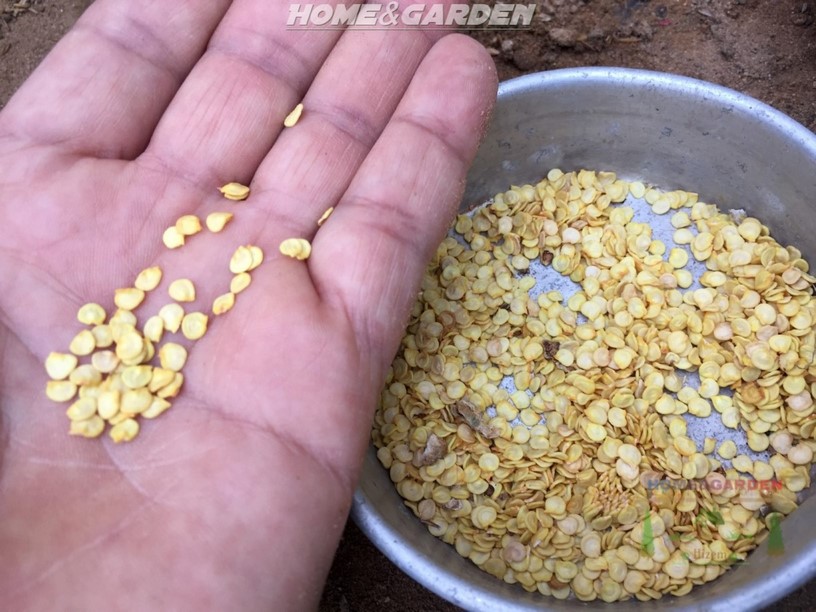
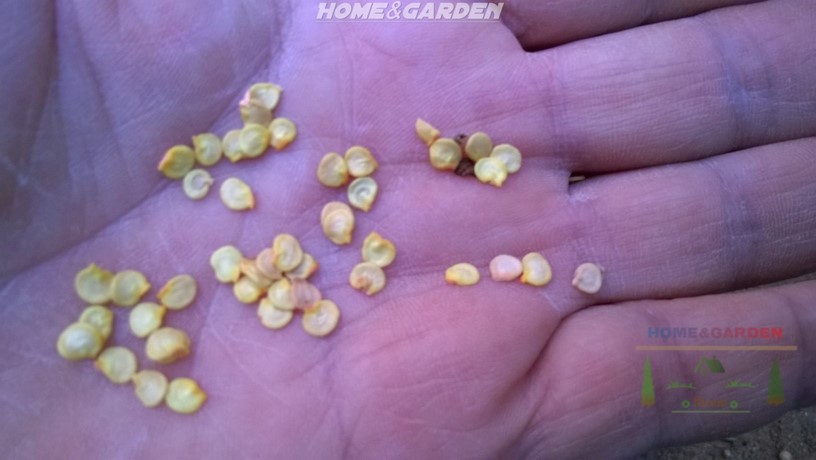
Pour your pepper seeds into a small plastic cup and fill it with warm water. Leave the seeds to sit for two to eight hours, until they sink to the bottom of the cup.

How to sow bell pepper seeds

1. Fill a disposable plastic seedling tray with good quality of soil.

2. Sow your bell pepper seeds indoors 1 cm (½”) deep and keep the soil as warm as possible, 27°C (80 °F) is good. Cover your seeds with soil, then gently press it down to make sure that the seeds come in contact with the soil. Don’t compact the soil though, just gently press it down!

(ads1)

3.  If the soil is not already wet, then you should add water. It’s best to water from the bottom, so you don’t disturb the seeds. Don’t over-water the pepper seeds, as this can cause them to rot or cause damping off.

Cover the plastic tray. The purpose of covering is to keep the moisture in the starter soil from evaporating.

4. Cover the plastic tray. The purpose of covering is to keep the moisture in the starter soil from evaporating. Place the seed tray in a warm location. Bell pepper seeds germinate best when the soil temperature is at 70 degrees Fahrenheit (21 degrees Celsius) or higher.

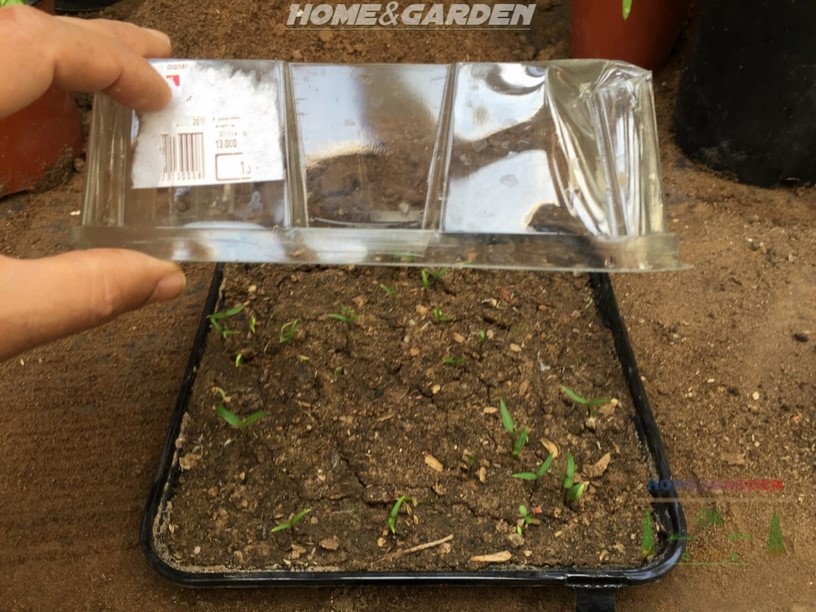
Bell pepper seeds sprout in 8-21 days depending on soil temperature . Once the first seeds start to sprout you’ll want to remove the plastic dome, as this can retain too much moisture in the soil and plant environment .

5. Bell pepper seeds sprout in 8–21 days, depending on soil temperature. Once the first seeds start to sprout, you’ll want to remove the plastic dome, as this can retain too much moisture in the soil.

Always keep the peppers moist.

6. Always keep the seeds moist. Once the surface of the soil becomes dry, spray it down gently with water.

Bell peppers seedlings need to be watered consistently, but don’t like soggy soil. Always allow the top of the soil to dry out between waterings, but never let it dry out completely.

7. Bell peppers seedlings need to be watered consistently, but don’t like soggy soil. Always allow the top of the soil to dry out between watering, but never let it dry out completely. Once the true leaves begin to form, it’s time to start fertilizing. Never give them a full strength dose right away. Use a weak dose at first, and slowly increase the strength as they get larger. I highly recommend an organic compost solution to fertilize your new pepper plants.

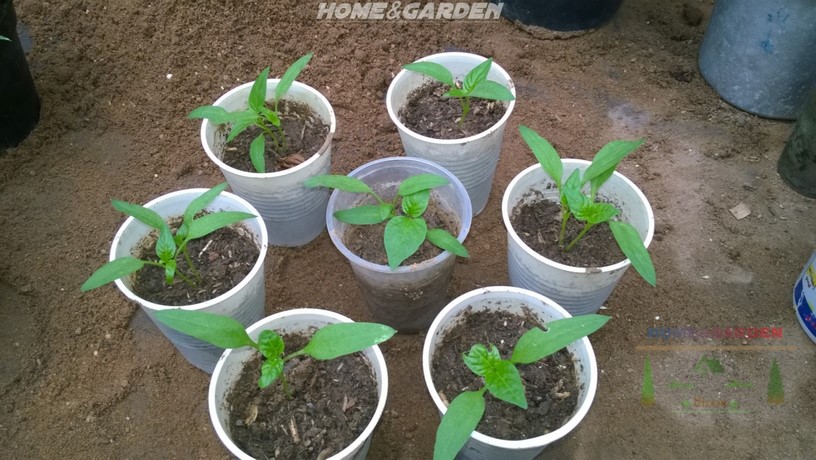
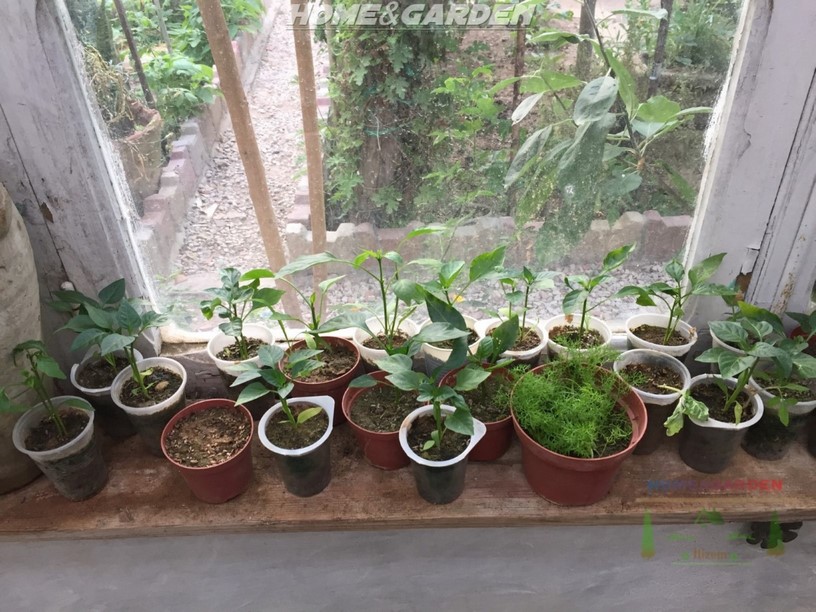
In about 2 weeks, when the first true leaves begin to form, carefully separate the seedlings and transplant each strong and healthy seedling into larger cups once they are about 3″ with their first set of true leaves.

8. In about 2 weeks, when the first true leaves begin to form, carefully separate the seedlings and transplant each strong and healthy seedling into larger cups once they are about 3″ with their first set of true leaves. Always use a well-drained growing medium in the pots.

Transplanting Bell Pepper Seedlings

Transplant bell pepper seedlings once they have two sets of true leaves.

1. Transplant the seedlings once they have two sets of true leaves.

2. Use a 2-inch or 4-inch (5-cm or 10-cm) pot.

3. Fill the pots with soil. Use a loose, well-draining soil.

4. Dig a small hole in the soil. The hole should be the same depth and width as the compartment your seedling currently sits in. 

5. Gently pry it from the seedling tray by squeezing on the sides of the plastic compartment. Once the seedling has been removed, place it in the hole.

6. Pack the soil around the base of the seedling so that it is firm and steady.

7. Water well

After transplanting, keep the peppers warm and well-lit. The ideal temperatures range between 70 and 80 degrees Fahrenheit (21 to 27 degrees Celsius). Remember that bell peppers need plenty of light to grow.

8. Keep the seedlings warm and well-lit. The ideal temperatures range between 70 and 80 degrees Fahrenheit (21 to 27 degrees Celsius).

(ads2)

Remember that bell peppers need plenty of light to grow. 

Move the seedlings to a sunny southern window until you can transplant them into the garden. Don't set out your pepper transplants until night temperatures average around 55-60 degrees F.

Move the seedlings to a sunny southern window until you can transplant them into the garden. Don't set out your pepper transplants until night temperatures average around 55-60 degrees F. Wait to transplant them until all chance of frost is gone, and the soil has warmed up!

Don't set out your pepper transplants until night temperatures average around 55-60 degrees F. Wait to transplant them until all chance of frost is gone, and the soil has warmed up!

Hardening off Bell Pepper Seedlings 

Before you plant your pepper seedlings, you will need to harden them off by gradually exposing them to outdoor conditions. This process helps the seedlings adjust, so they will be less stressed when you plant them.

Before you plant your pepper seedlings, you will need to harden them off by gradually exposing them to outdoor conditions. This process helps the seedlings adjust, so they will be less stressed when you plant them.

Watch starting pepper seeds indoors video


Choose from a large selection of pepper seeds ➡️ Here!

Please let us know your thoughts, experiences, or questions in the comments below. If you like this, you can share with your friends!

This web site is a participant in the Amazon Services LLC Associates Program, an affiliate advertising program designed to provide a means for sites to earn advertising fees by advertising and linking to amazon. Some of the links to products on this site are affiliate links. These are products that I've used or recommend based from homesteading experience. I do make a small commission (at no extra cost to you) from these sales. (alert-warning)

(full-width)

Post a Comment

0 Comments
* Please Don't Spam Here. All the Comments are Reviewed by Admin.

Below Post Ad