Dill Plant Description
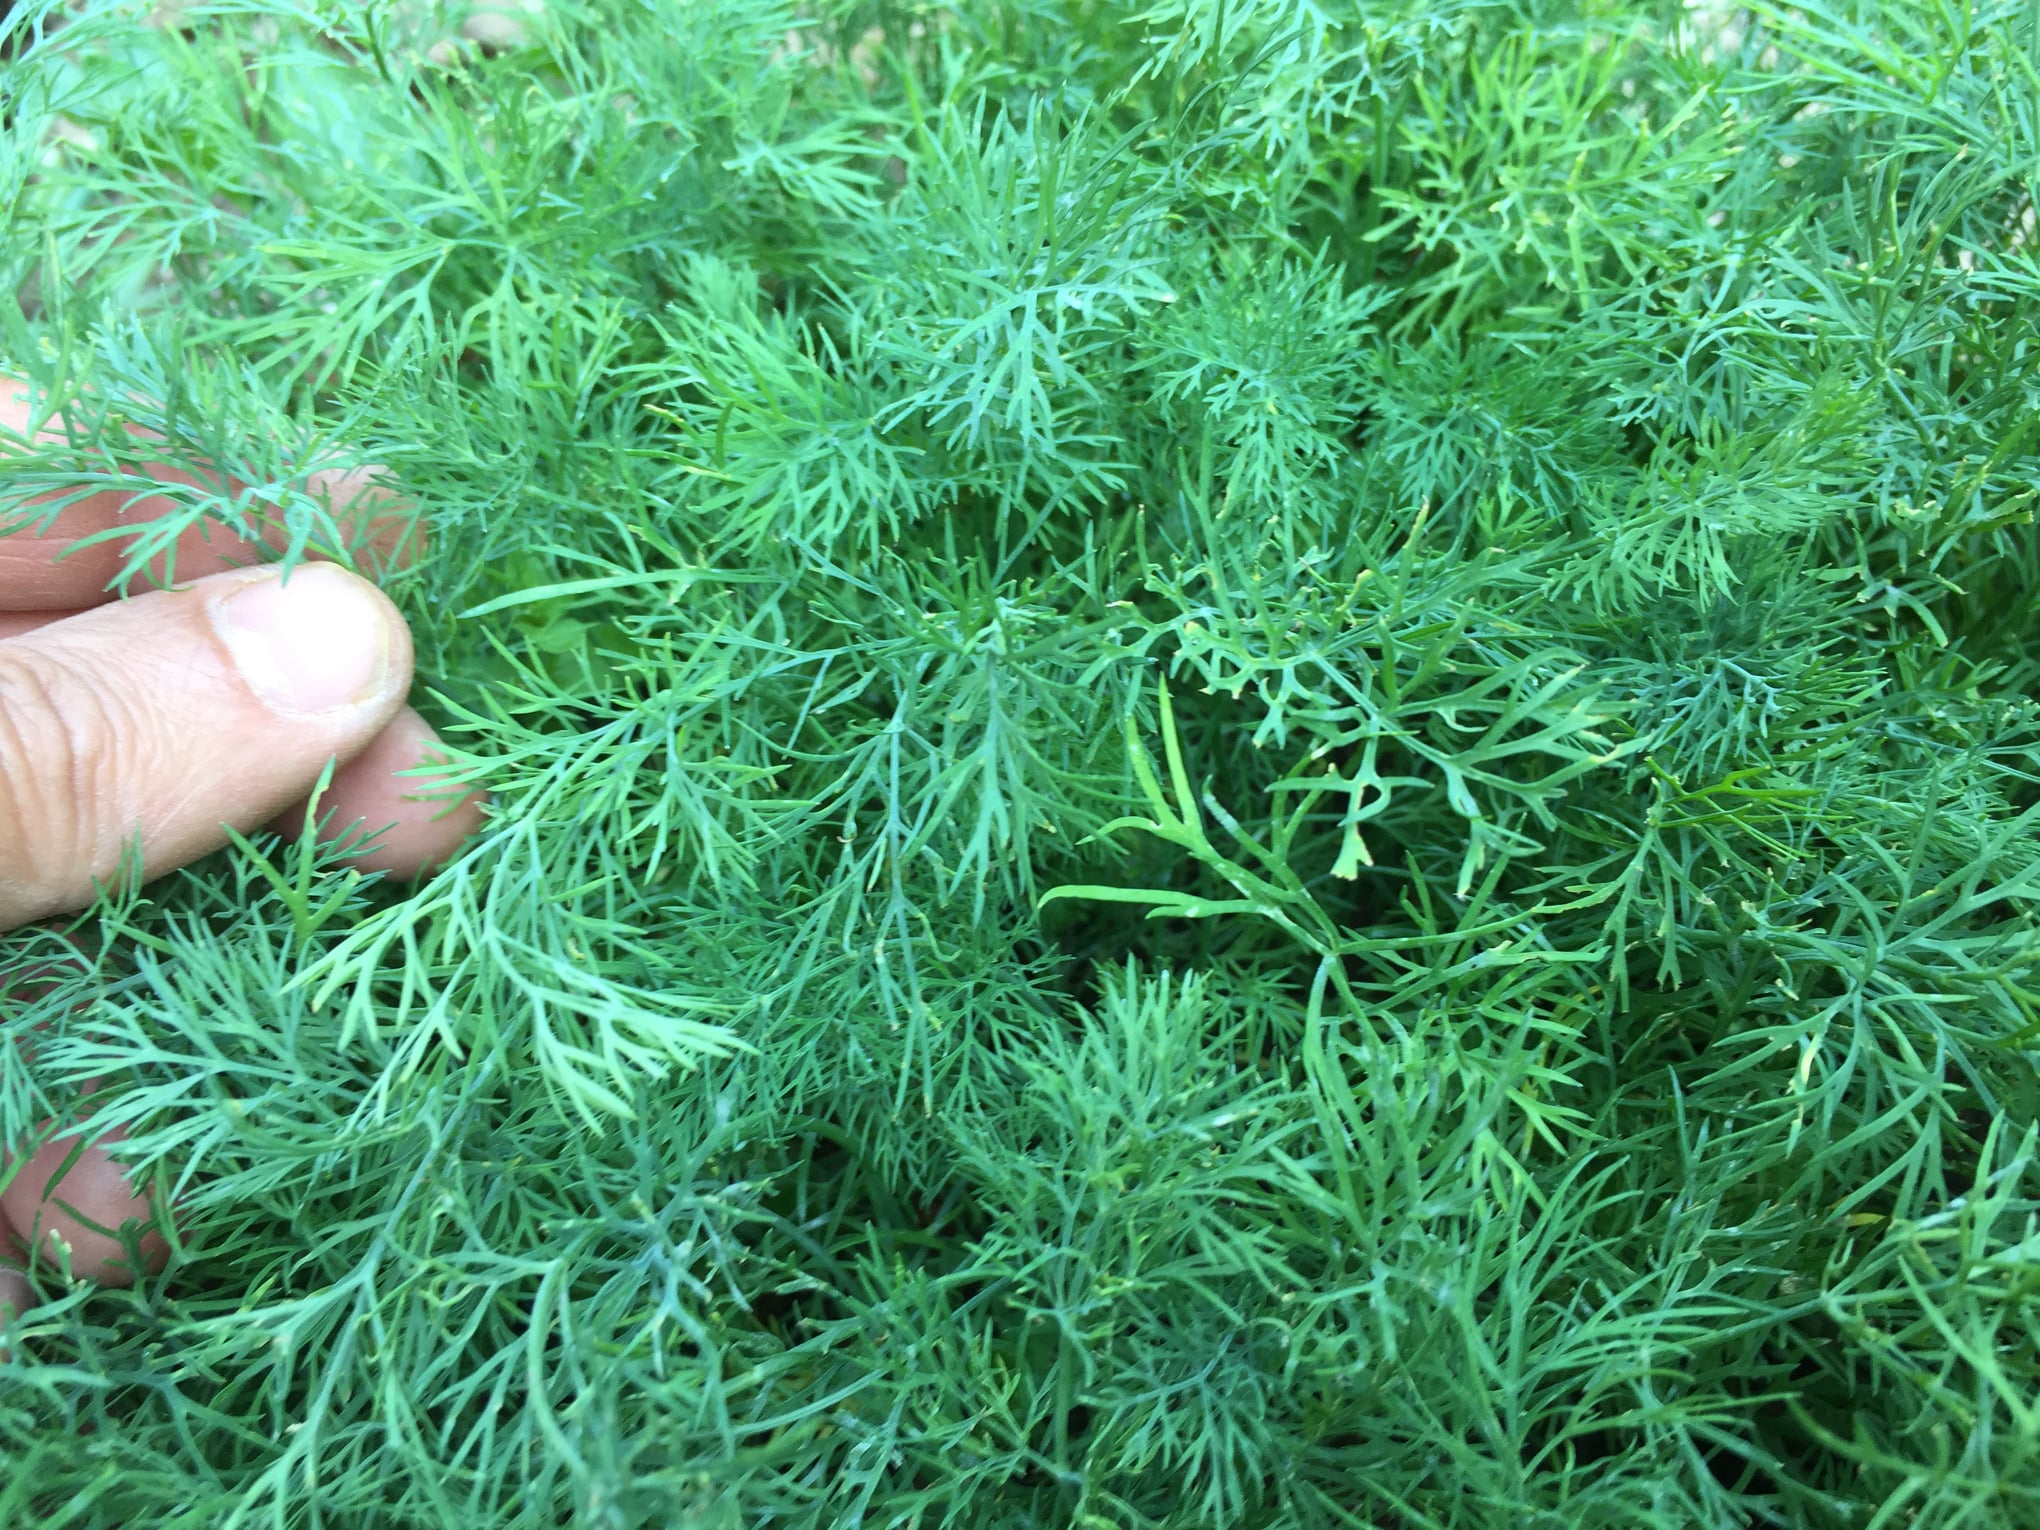
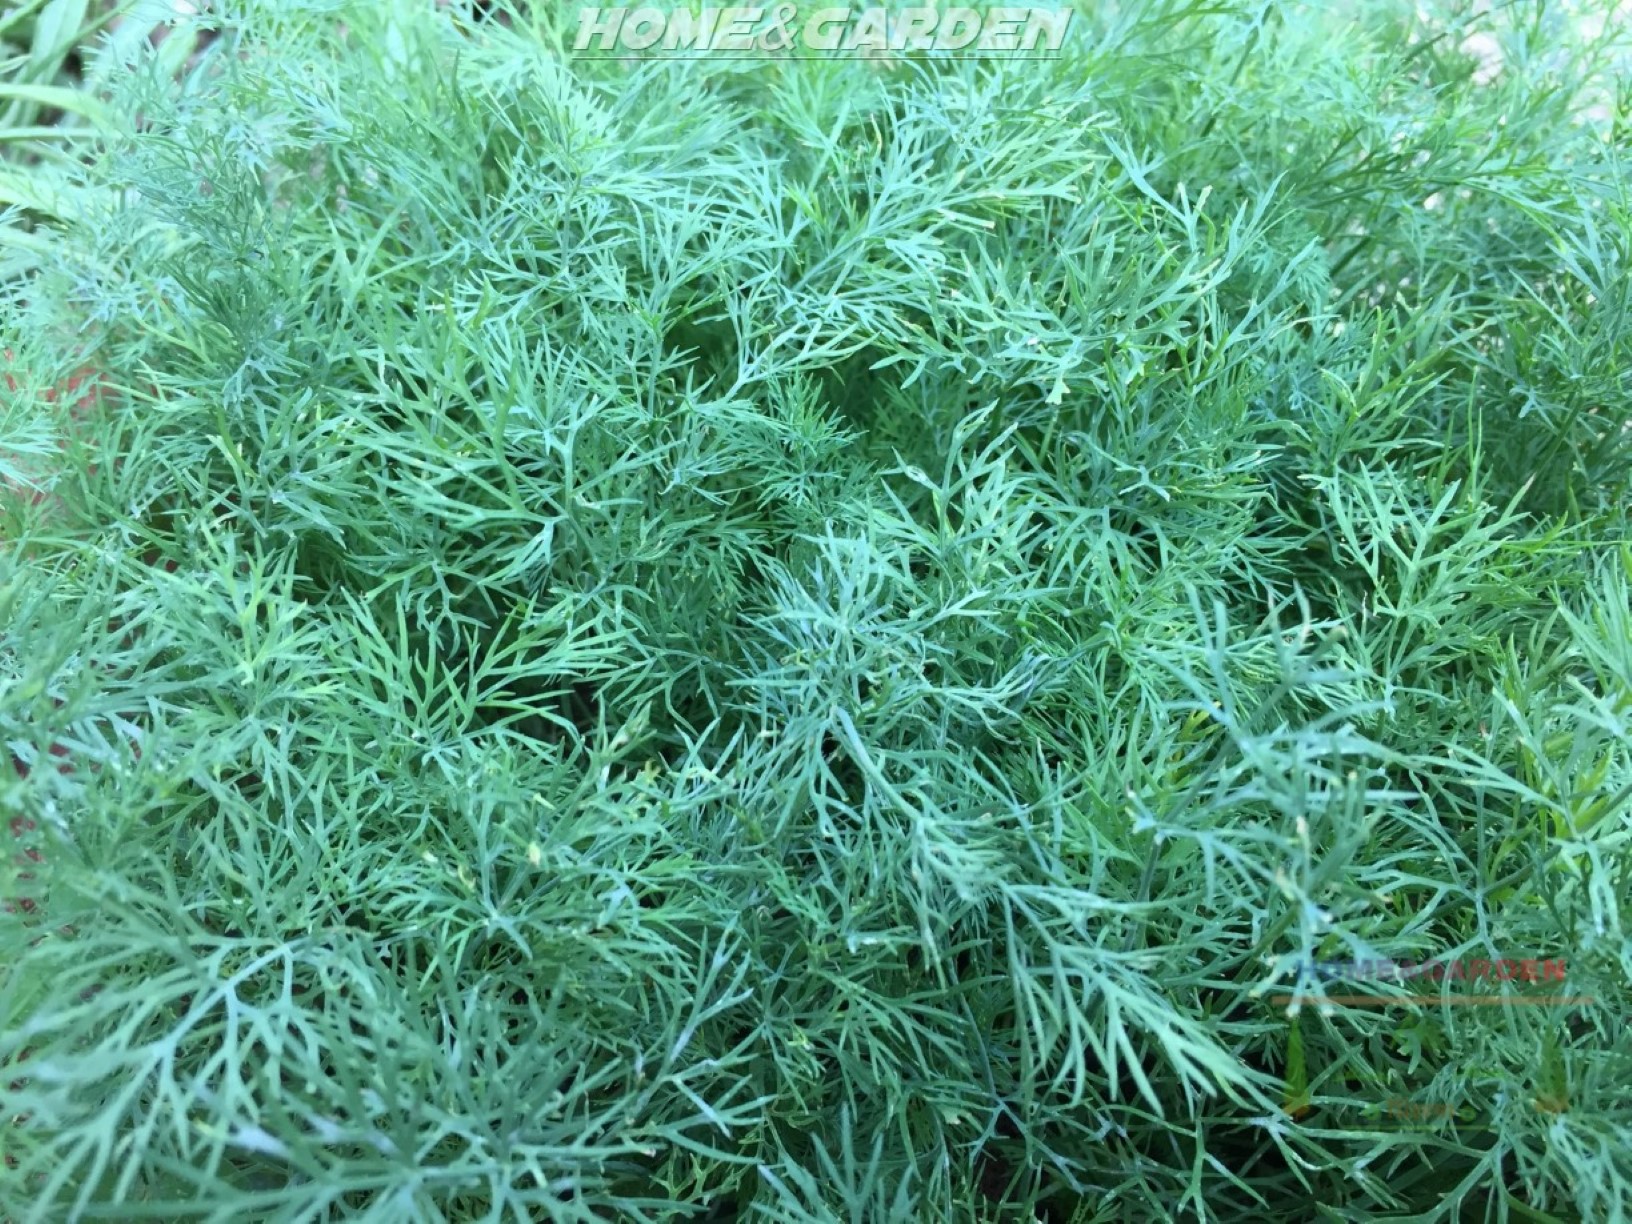
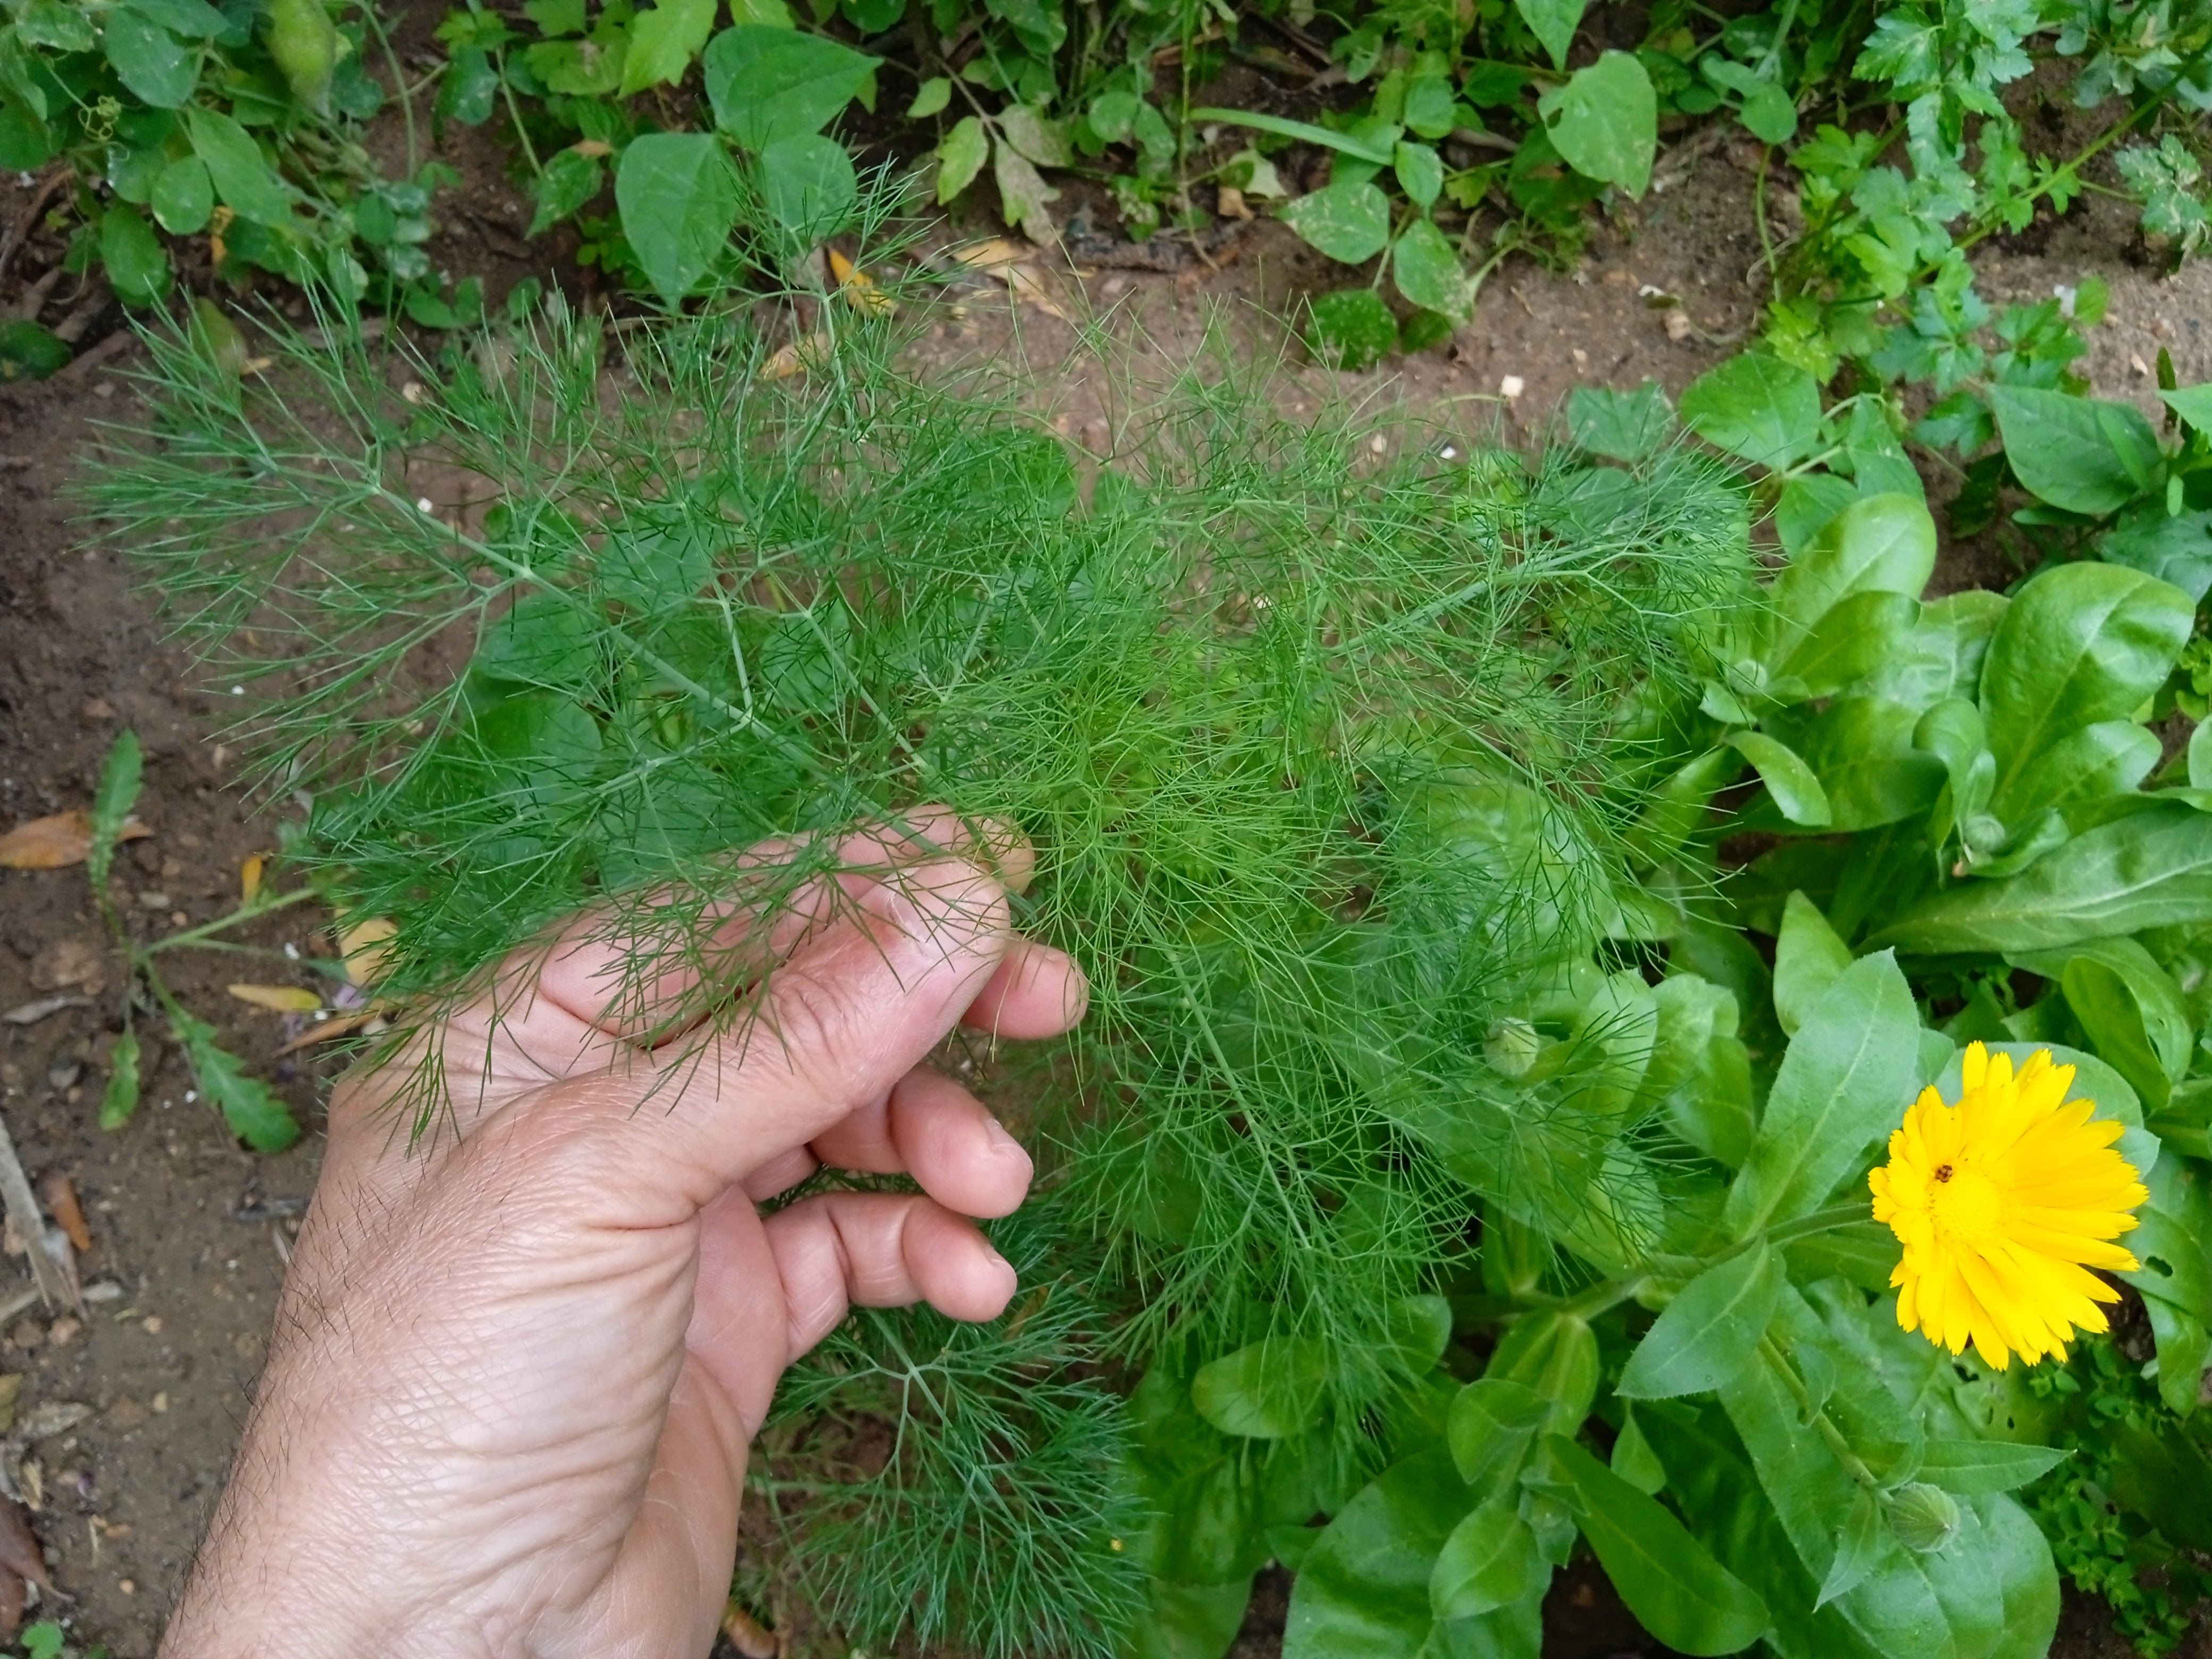
Dill is a warm-season biennial herb that grows about 2 to 4 feet tall. Dill plant has finely cut, feathery blue-green leaves, a top hollow stems with green stripes. Dill looks a lot like fennel, these two aromatic plants are in the same family, but are not as closely related as you might think. In addition to fennel, dill has many other tasty and fragrant relatives, including celery, parsley, anise, and cilantro. Both herbs are all members of the Umbellifer "Apiaceae" family, because of their umbrella-shaped flower heads!
The plant have small greenish-yellow flowers that blooms in a flat-topped cluster from summer to autumn. The umbels of yellow flowers attract numerous beneficial insects to the garden.
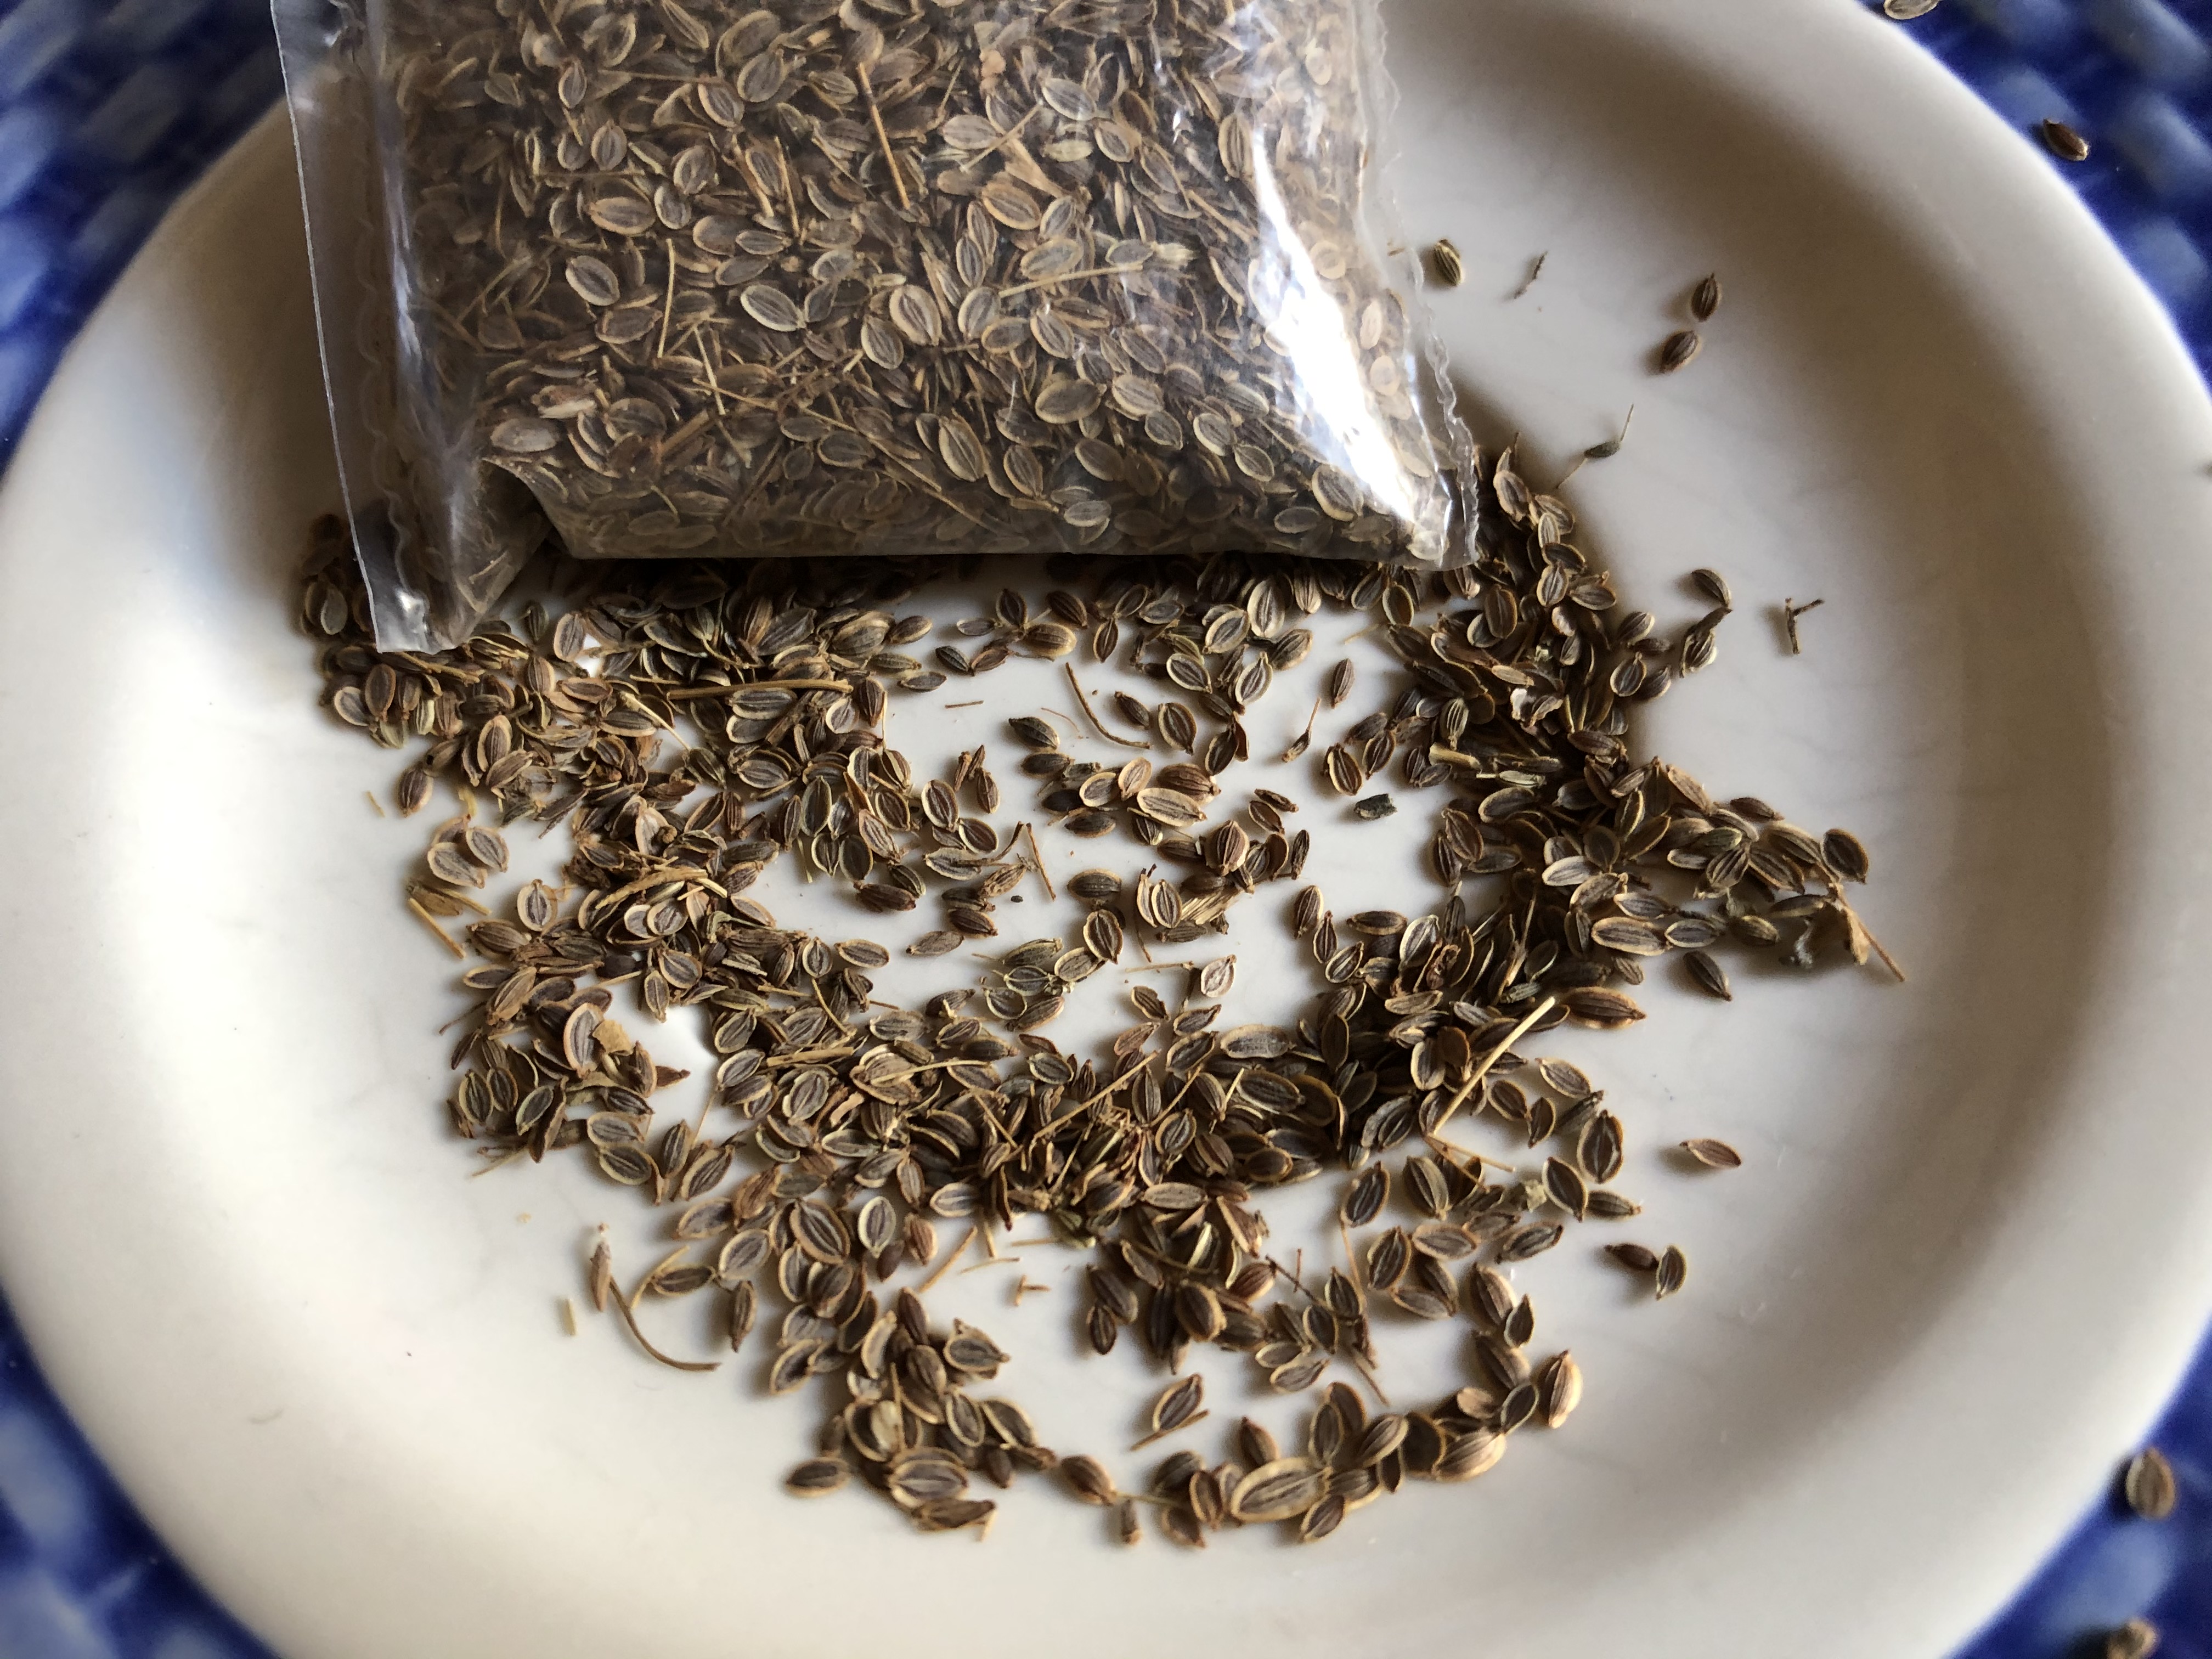
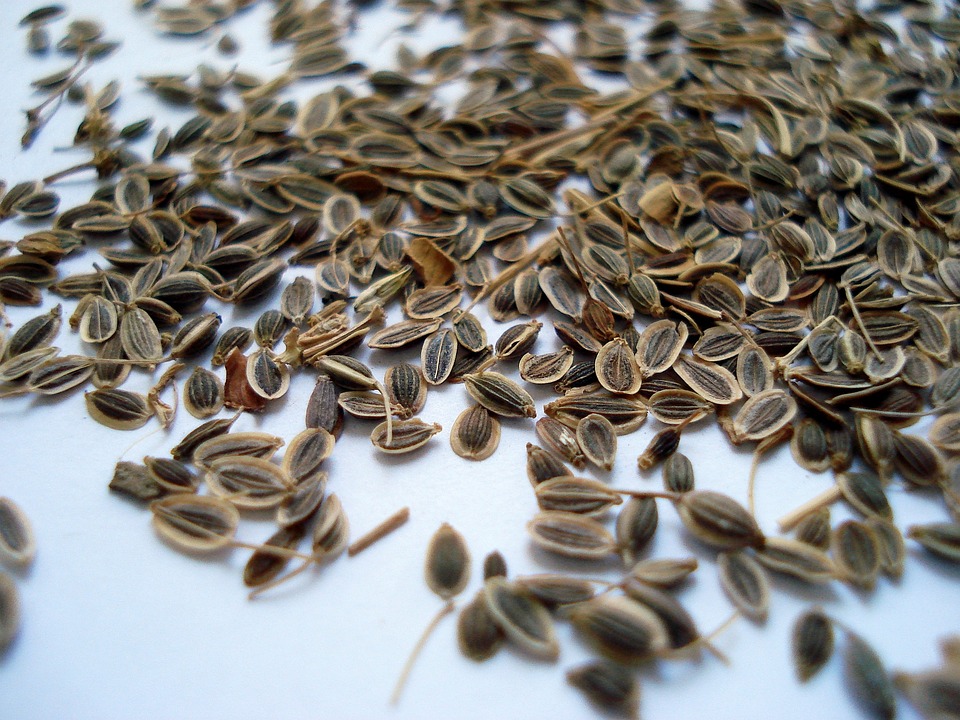
The seeds are flat, oval, with a light-brown color.
You Can Buy Organic Dill Seeds From HERE!
You need to know before you start growing dill in your garden is that although it is an annual, it has a tendency to self-sow. You find volunteer dill plants scattered throughout your garden every year.
How to Grow Dill
Dill is a cool season herb that is hardy to 25 °F, and can be grown in USDA Hardiness Zones 2-11. This means it is accessible to most of North American gardeners, but is best grown in springtime!
Dill does not transplant well, so it’s best to sow the seeds directly into the soil where you want them to grow. After all danger of frost has passed, you can start sowing dill seeds directly in the ground from April through May.
Dill Growing Location
Dill grows best in a full sun location, with 6–8 hours of sunlight per day. But you can still grow dill in partial shade, but the plants won't grow as tall in the shade, and its stems will not be as sturdy, so you may need to stake it. So it's important to consider your growing conditions!
Preparing The Soil
Dill requires a well-draining soil, with a slightly acidic pH of 5.6-6.5. If you are starting with clay soil, work some organic compost into it. Adding organic fertilizer such as well-composted chicken manure into your soil will give you greater yields of both foliage and seeds, and your dill will be more fragrant and taster.
Sowing Dill Seeds
- Sow dill seeds so that they’re about 1⁄4 in (0.64 cm) deep and 18 in (46 cm) apart.
- Dill seeds need light to germinate, so they should either remain bare on the surface or covered very lightly with soil, about 1/8 of an inch.
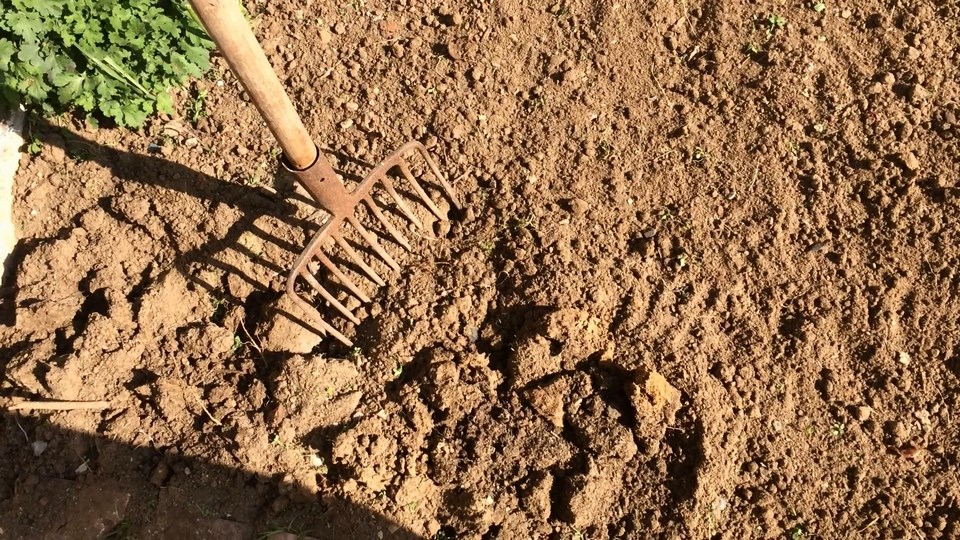
- Simply rake gently the soil over the seeds and water.
- Keep the soil evenly moist by providing a gentle daily watering until seedlings emerge.
- Sow additional seeds every 3–4 weeks for a continuous fresh leaves harvest of dill. If you want to continue to enjoy fresh dill all through the summer and fall, you can continue planting new seeds every few weeks until about 3 months before the first frost. But if you don't use a lot of dill at one time, just only plant a few seeds first, then a few more seeds a few weeks later. This will help ensure you don't end up with a huge crop all at once.
- The Seeds usually germinate within 10 to 20 days, depending on the soil temperature.
- After two weeks, thin out the seedlings so that you keep only one plant every 12–18 in (30–46 cm). Keep always the strongest seedlings, and pull up any which seem weak or damaged.
- Thinning out your dill seedlings will ensure that the plants have plenty of room to grow.
- Providing dill plants with a little extra room will allow for better air circulation and help prevent disease, while still allowing you to maximize your dill harvest.
- Once dill plants start growing, they need about 1 to 2 inches of water to thrive.
- Avoid growing dill next to other members of the carrot family, to discourage pests and keep disease from spreading.
To create a permanent dill weed patch, allow some of the seeds to self-sow. You’ll have plenty of early dill to start the season.
Dill Plant Care
- If your garden soil is rich in organic matter, dill should require no additional fertilizer.
- Allow the soil to dry between watering. Dill doesn’t like too much water. If you over-water the dill plant, it may turn yellow!
- Keep planting beds weed free.
- For prolonged leaf growth, pinch out early flowers.
- Use a garden shears to snip off the top of the plant once it reaches 8 in (20 cm). This will help direct the plant's nutrients outwards, rather than upwards, which will encourage the dill to become bushier and to develop more leaves.
Harvesting Dill Leaves
Dill is ready to harvest approximately 90 days after planting. You can begin harvesting the tasty, aromatic leaves once plants reach 15 cm (6″) tall. Regularly.
- To harvest the leaves, simply pinch the stems off with your fingers the desired amount of leaves you need for cooking.
- Young dill leaves contain the most aromatic oils and are therefore the tastiest. So don’t wait for them to get bigger, keep harvesting the leaves regularly as it grows.
- Just make sure not to defoliate the plant. Dill needs to keep some of its leaves so that it will be able to continue to grow. So, during the growing season, harvest your ill leaves just before you’re going to use, rather than picking lots at once and storing in the fridge. Keep in mind that leaves taste best when they are freshly picked.
Harvesting Dill seeds
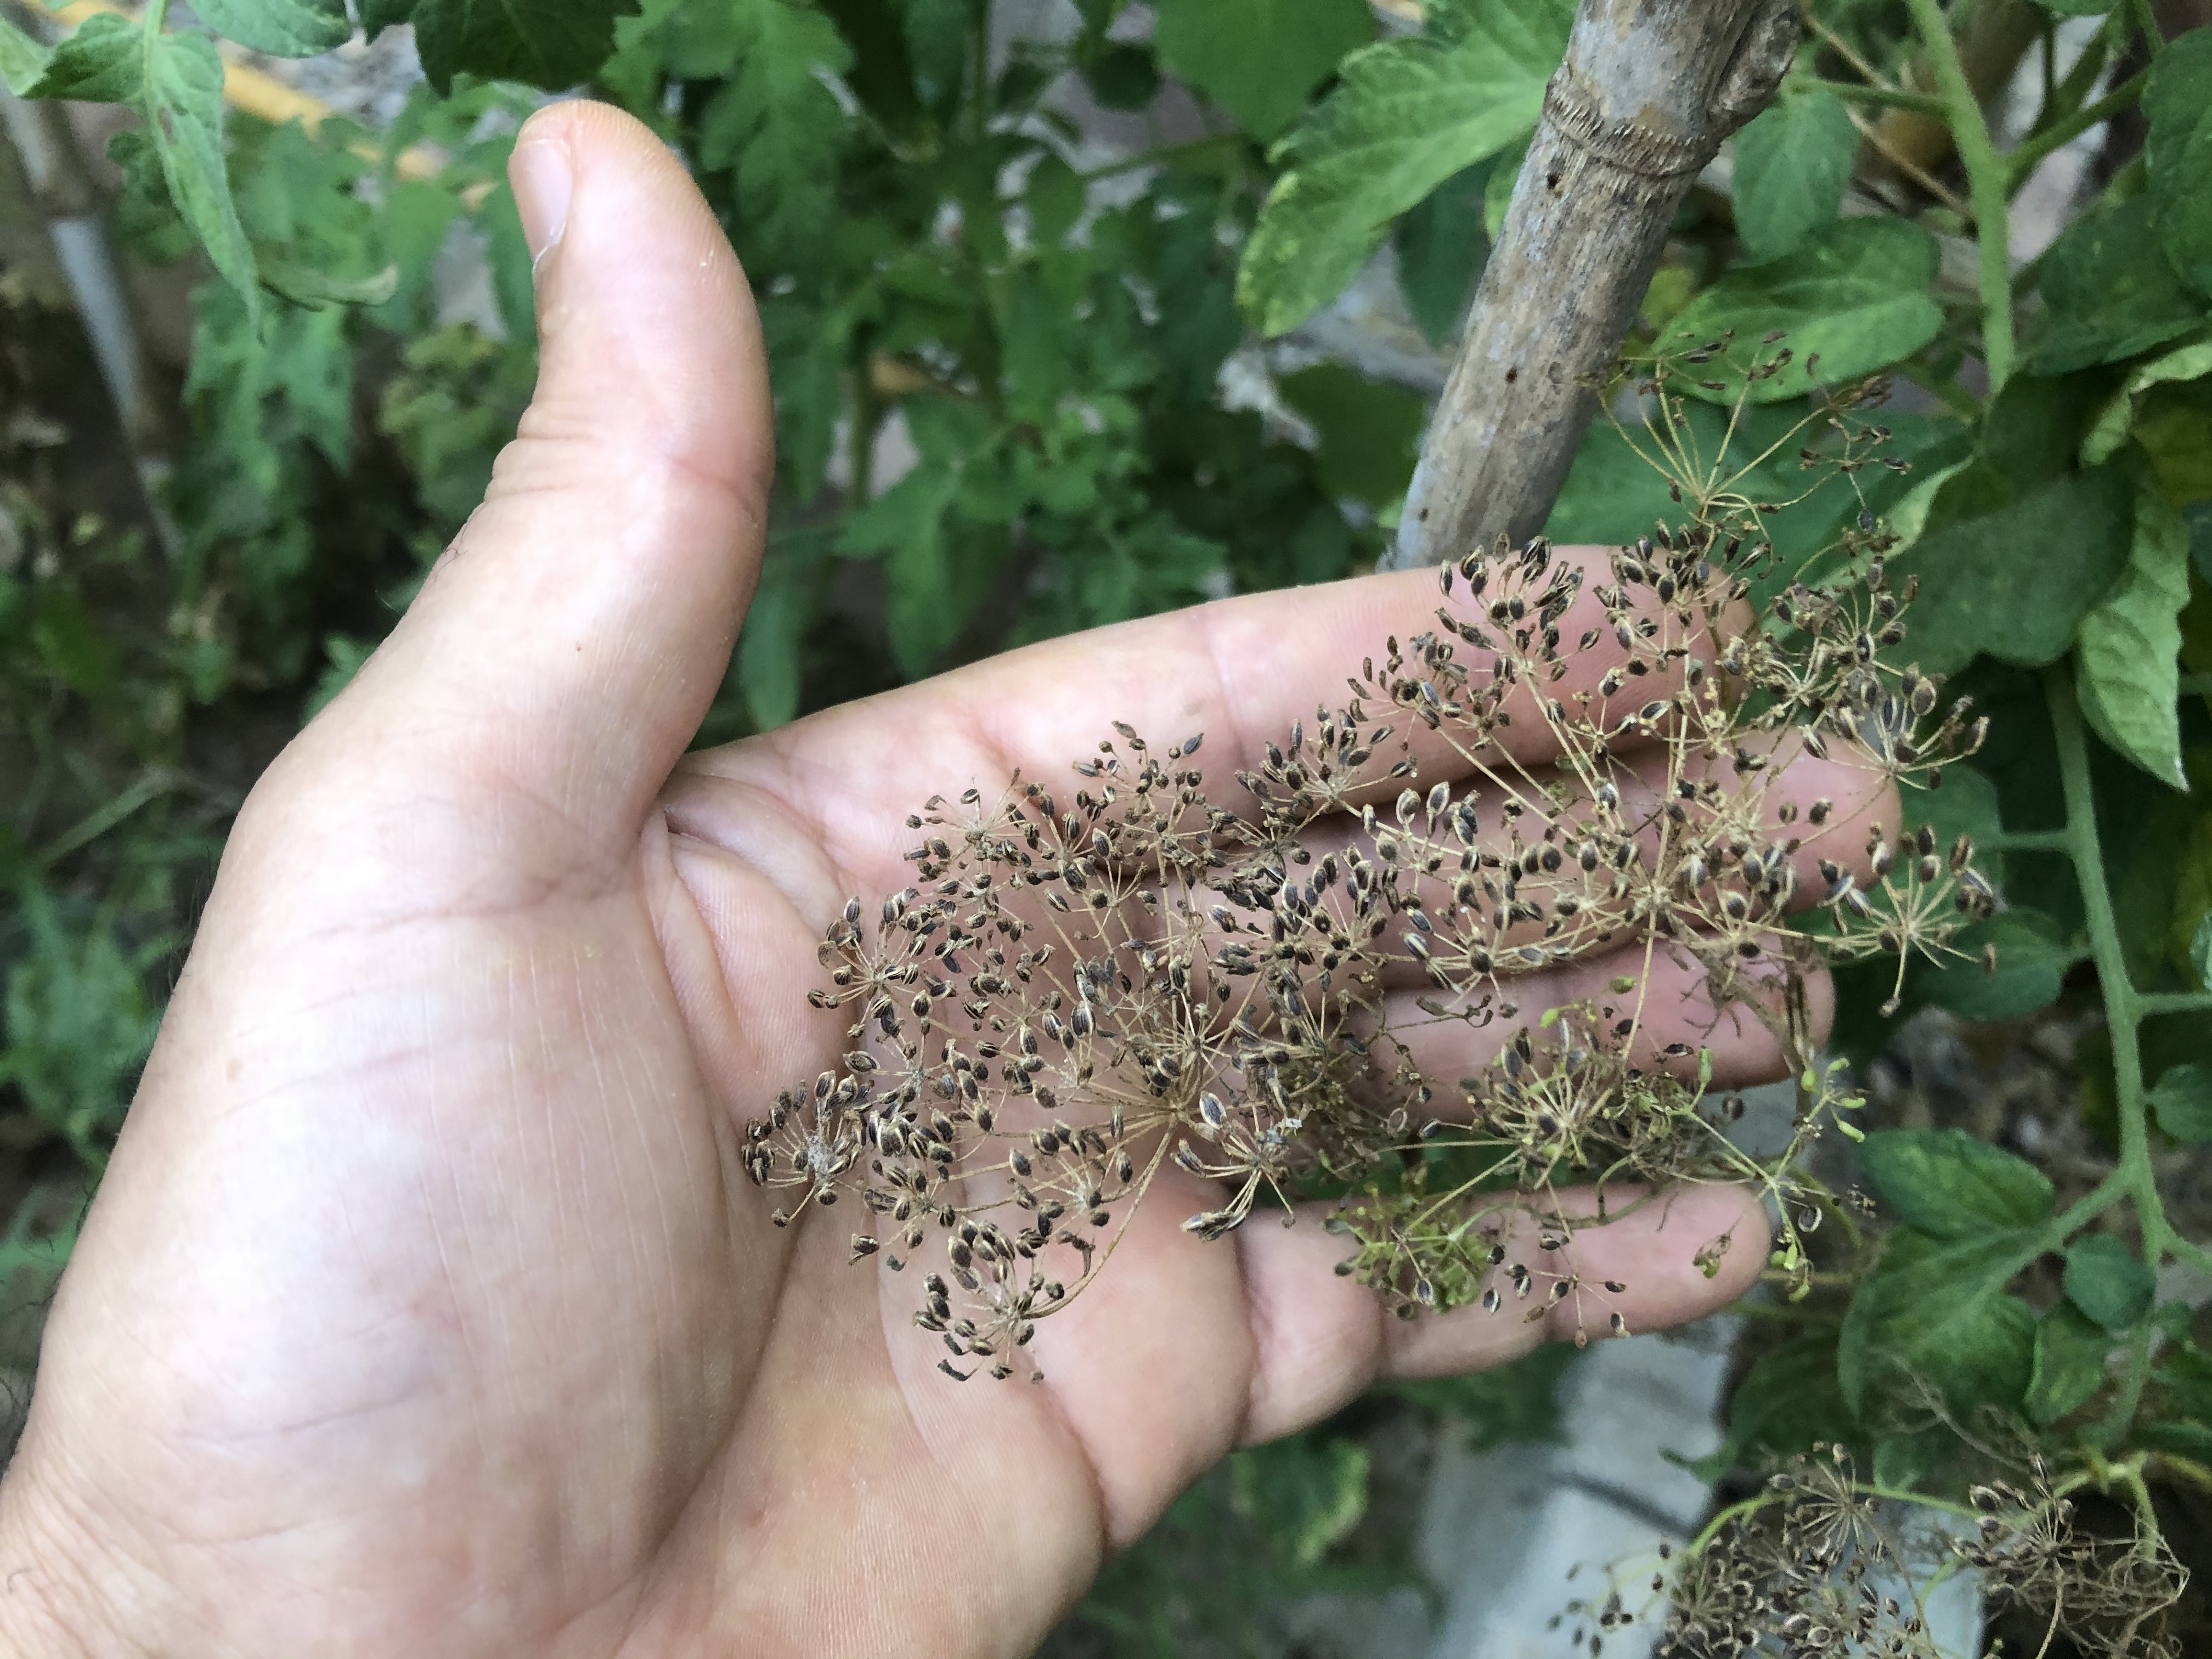
To harvest dill seeds, allow the plant to grow without trimming until it goes into bloom. Once the plants go into bloom, they will stop growing leaves, so make sure that you don’t harvest any leaves from that plant.
The dill flower will fade and will develop the seed pods. About 10 weeks after sprouting the seed heads begin to form.
When the first seeds have turned brown, cut the whole flower head off and place in a paper bag. Gently shake the bag. The seeds will fall out of the flower head and seed pods. Once you’ve harvested the seeds, let them dry slowly in a shaded, well-ventilated area for a week or two. Then, when they are completely dry, you can store them in airtight containers until you’re ready to use them. Remember that if they’re not completely dry, you risk mould growing on the seeds in storage and you will lose them!
Once you’ve harvested the seeds, let them dry slowly in a shaded, well-ventilated area for a week or two. Then, when they are completely dry, you can store them in airtight containers until you’re ready to use them.
Dill Pests
Dill attract beneficial insects, such as lacewings, hover flies, ladybugs and other pest predators. That's why few pests or diseases can harm this strong scented herb, but aphids sometimes suck its sap, and tomato hookworms and anise swallowtail butterfly caterpillars eat its stems and foliage.
Dill Companion Planting
Dill is a good companion for cucumbers, lettuce, onions, and improves the health of cabbages and other Brassicas. This aromatic plant attracts ladybugs, and the parisitoid wasps that feed on garden caterpillars. At the same time, it repels aphids and spider mites.
By following these simple tips, you will enjoy growing this aromatic plant, and harvesting its fresh aromatic leaves for years to come!
Find great deals on Amazon for Dill Seeds, and shop with confidence!
Please let us know your thoughts, experiences, or questions in the comments below. If you like this, you can share with your friends!
Happy Organic Gardening!
This web site is a participant in the Amazon Services LLC Associates Program, an affiliate advertising program designed to provide a means for sites to earn advertising fees by advertising and linking to amazon. Some of the links to products on this site are affiliate links. These are products that I've used or recommend based from homesteading experience. I do make a small commission (at no extra cost to you) from these sales.(alert-warning)


