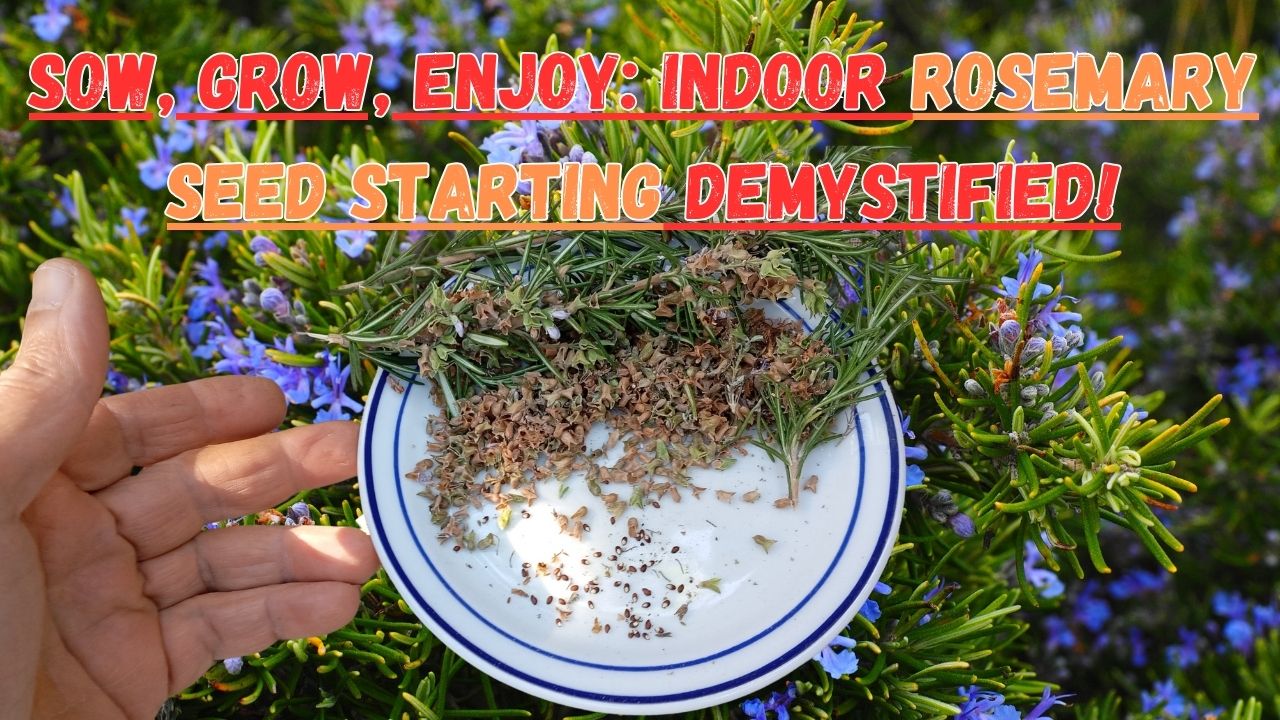
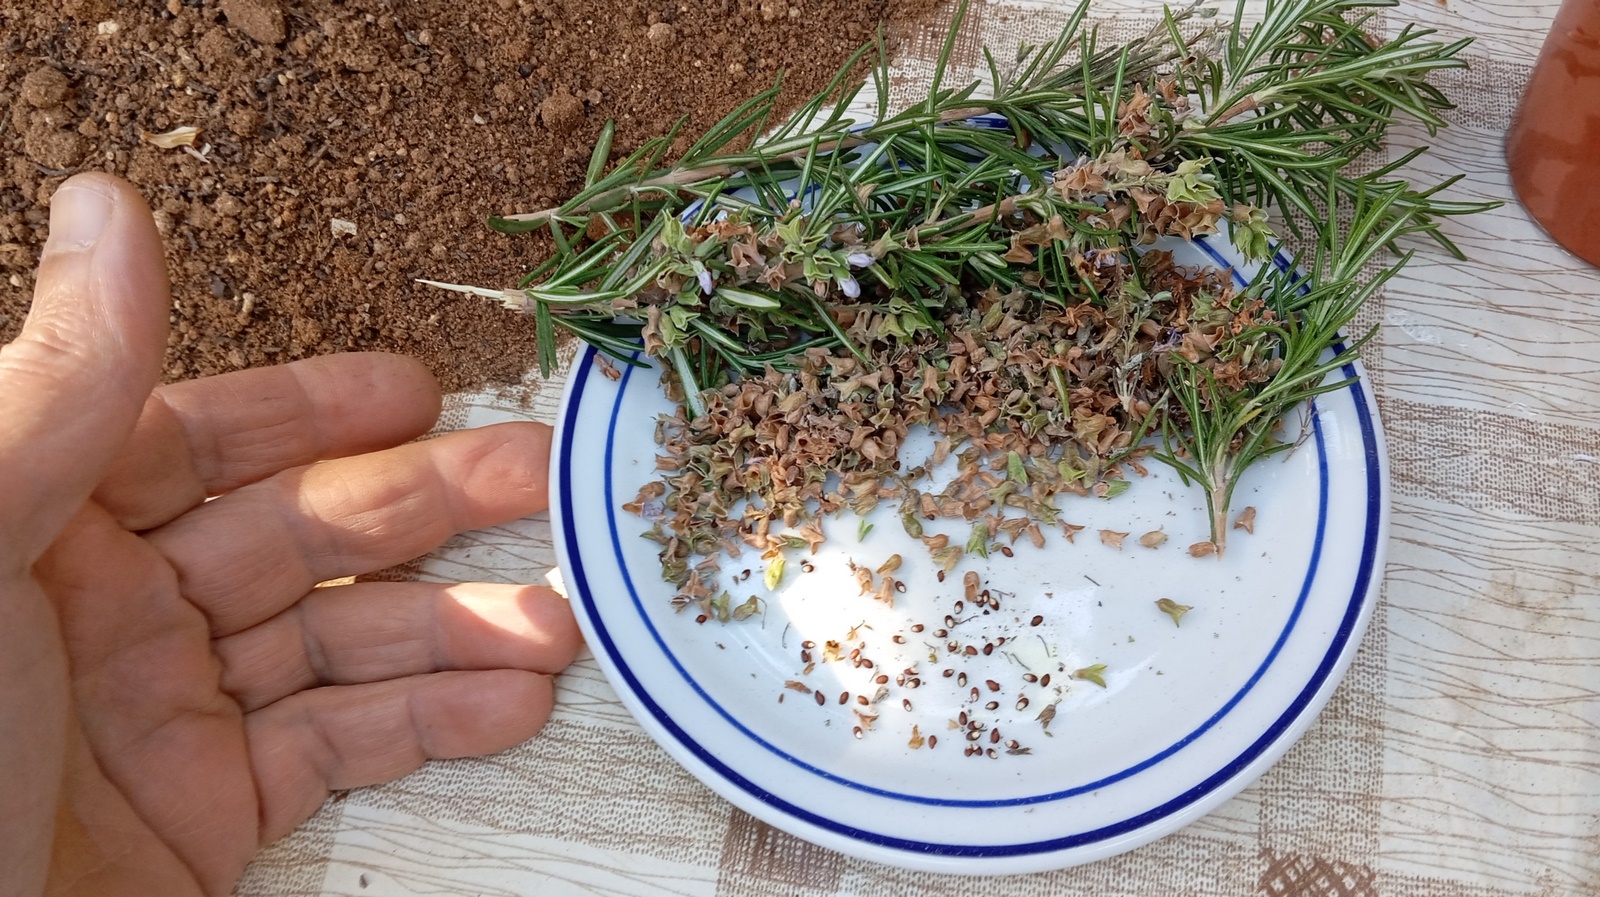
Rosemary is a versatile herb that can add a touch of freshness to your dishes all year round. While most people propagate rosemary through cuttings, starting the herb from seeds indoors is a simple and cost-effective alternative. By following these steps, you can ensure a successful start to your indoor rosemary garden and enjoy the delightful aroma and culinary benefits of this beloved herb whenever you please. Embrace the opportunity to grow your own rosemary from seeds and experience the joy of having fresh herbs at your fingertips.
Step 1: Gather your materials, including rosemary seeds, seedling trays or pots, seed starting mix, a watering can or spray bottle, plastic wrap or humidity dome, and either grow lights or a sunny windowsill.
Step 2: Prepare the seedling trays or pots by filling them with a quality seed starting mix. Make sure the soil is moist but not waterlogged.
Step 3: Sow the rosemary seeds by sprinkling them evenly over the soil surface. Lightly press them into the soil, being careful not to bury them too much.
Step 4: Create Ideal Growing Conditions:
To create a greenhouse effect, cover trays or pots with plastic wrap or a humidity dome. Place them in a warm area with indirect sunlight or utilize grow lights for optimal growth conditions.
Step 5: Ensure Proper Moisture Levels:
Consistently keep the soil moist by watering gently with a watering can or misting with a spray bottle. Avoid overwatering to prevent the seeds from rotting.
Step 6: Exercise Patience:
It may take several weeks for rosemary seeds to germinate, so be patient and continue to provide the best environment for growth.
Step 7: Uncover Seedlings:
Once the seedlings sprout, remove the plastic wrap or dome to allow proper airflow. Keep monitoring moisture levels and provide adequate light for continued growth.
Step 8: Transplant when Ready:
Once the seedlings have developed true leaves and are strong enough, transplant them into larger pots filled with potting soil.
Step 9: Ongoing Care:
Place the pots in a sunny location where they can receive plenty of sunlight throughout the day. Make sure to water them regularly, ensuring that the soil is kept moist but not waterlogged. It is important to allow the soil to dry out slightly between waterings to prevent overwatering, which can lead to root rot. Additionally, fertilize the plants sparingly with a balanced fertilizer to provide them with the necessary nutrients for healthy growth.
Step 10: Harvesting:
With time and care, your rosemary plants will reach a stage where they are mature and fully developed, ready to be harvested. It is essential to trim the stems when necessary, making sure not to take more than one-third of the plant at a time. This gentle and considerate method of harvesting will encourage the continued growth and vitality of your rosemary plants.
Conclusion:
Growing rosemary from seeds indoors is a satisfying journey that provides the opportunity to have access to this versatile herb all year long. It is an uncomplicated but satisfying task that gardeners of any expertise can appreciate. By being patient and dedicated, you can establish a successful indoor rosemary garden that will not only improve the taste of your food, but also bring some green into your living space. Why not attempt it and enjoy the satisfaction of cultivating your own herbs from the beginning?
🌼🌼🌼Want to grow rosemary from seeds!
✨ Gardeners Basics, Rosemary Seeds for Planting - It is A Great Heirloom, Non-GMO Herb Variety- Great for Indoor and Outdoor Gardening:
✨ Seed Needs, Rosemary Seeds - 100 Heirloom Seeds for Planting Rosemarinus officinalis - Non-GMO & Untreated Culinary Herb for Growing Indoors or Outdoors (2 Packs):
🌿 🌿🌿Buy rosemary live plants to enjoy growing!
✨ Bonnie Plants Rosemary Live Edible Aromatic Herb Plant - 4 Pack, Perennial In Zones 8 to 10, Great for Cooking & Grilling, Italian & Mediterranean Dishes, Vinegars & Oils, Breads:
✨ Pack 02 of Rosemary Plants Live, Live Rosemary Plants Indoor Outdoor, 7 to 9 Inches Long, Rosemary Plant Pot, Rosemary Starter Plant Indoor, Rosemary Live Plant 4 Inc Potted:
Frequently Asked Questions:
How long does it take for rosemary seeds to germinate indoors?
Answer: Rosemary seeds typically take 14 to 30 days to germinate indoors, depending on factors like temperature and moisture.
Can I use regular potting soil to start rosemary seeds indoors?
Answer: It is recommended to use a lightweight seed starting mix for starting rosemary seeds. Regular potting soil may be too dense.
Do rosemary seeds need light to germinate indoors?
Answer: Rosemary seeds do not require light to germinate, but they do need warmth and consistent moisture. Once seedlings emerge, they should be placed in bright, indirect light.
How often should I water rosemary seeds indoors?
Answer: Keep the soil consistently moist but not overly wet. Water when the top inch of soil is dry, and water gently to avoid disturbing the seeds.
Is it possible to start rosemary seeds indoors at any time of year?
Answer: Rosemary seeds can be started indoors at any time of year, but it is recommended to start them approximately three months before the last frost date in your area for optimal growth before transplanting outdoors.
Do I need to fertilize rosemary seedlings when they are indoors?
Answer: It is not necessary to fertilize rosemary seedlings until they have developed their first true leaves. Once this stage is reached, you can fertilize sparingly with a diluted, balanced fertilizer.
Should I thin out rosemary seedlings as they grow?
Answer: Yes, it is important to thin out rosemary seedlings if multiple emerge in the same pot or cell. This will prevent overcrowding and allow the strongest seedling to thrive. Carefully remove the extra seedlings to promote healthy growth.
Affiliate Disclosure: In transparency and compliance with legal guidelines, please be aware that some of the links on this site are affiliate links. These are carefully chosen products that I have personally used, tested, and genuinely recommend. When you click and make a purchase through these links, I may earn a small commission, at no additional cost to you. This commission helps support the maintenance of this site, allowing me to continue providing valuable content and recommendations. Rest assured, my priority is to offer authentic and reliable information, and I only affiliate with products that align with the values and standards I uphold. Your trust means everything to me, and I appreciate your support. If you have any questions or concerns, please feel free to reach out. Thank you for being a valued part of our community!


