Table of contents
About peas
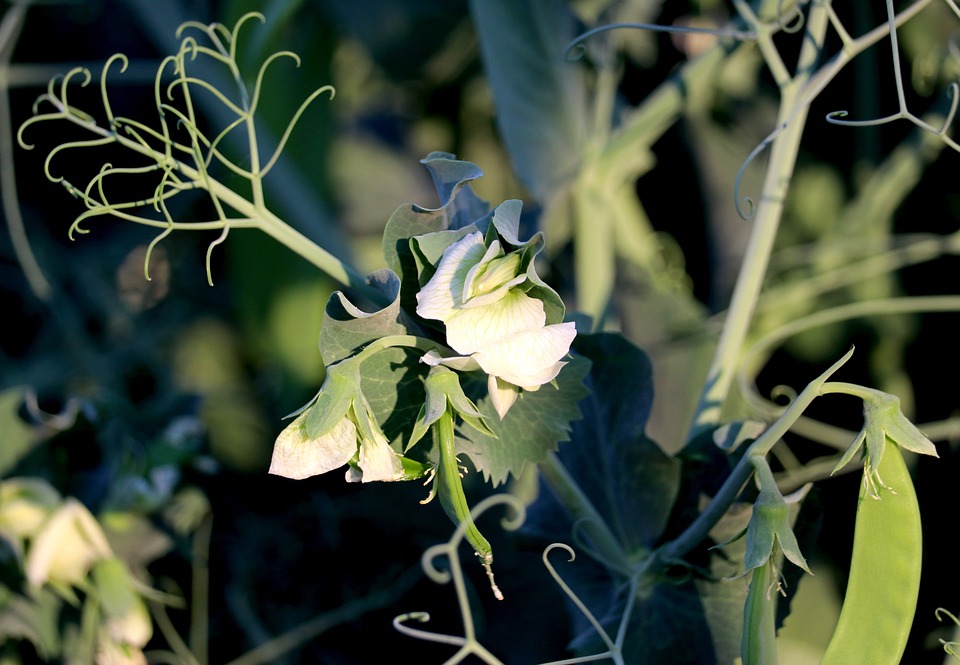
Peas are one of the oldest cultivated vegetables in the world. Peas were found in excavations in Switzerland dating to the Bronze Age and in an Egyptian tomb at Thebes. Peas were popular with the ancient Greeks and Romans. In fact, the word 'peas' is a derivation of the Latin (Pisum sativum). Peas were originally grown for their dry seeds, in fact, for centuries people thought 'green' peas were poisonous! Fresh-shelled green peas are not mentioned in history until after the Norman Conquest of England. By the end of the 16th century, peas were being perfected in Germany, Belgium, and England. The earliest colonists brought peas to the New World where this valuable vegetable became a staple in their diets. In 1602, the Mayflower Colony logbook records that peas planted by Captain Gosnold produced respectable yields on the island of Cuttyhunk. Even Captain John Smith wrote of the abundant crop of peas the Jamestown colonists enjoyed in 1614. To this day, peas are one of our favorite vegetables.
Pisum sativum is an annual plant, with a life cycle of one year. This cool-season crop grown in many parts of the world can take place in the garden from winter to early summer depending on location. The average pea weighs between 0.1 and 0.36 grams. The immature peas (and in snow peas the tender pod as well) are used as a vegetable, fresh, frozen or canned; varieties of the species typically called field peas are grown to produce dry peas like the split pea shelled from the matured pod.
Common Name :Pea, garden pea
Botanical Name: Pisum sativum
Family: Fabaceae
Plant Type: Annual, vegetable
Size: 12–18 in. tall, 6–12 in. wide
Sun Exposure: Full sun, partial sun
Soil Type: Moist, well-drained
Soil pH : Acidic, neutral
Bloom Time: Spring, fall
Hardiness Zones: 2–11 (USDA)
Native Area: Europe
Varieties of peas:
There are lots of varieties of peas available to the backyard vegetable gardener. They vary in sweetness and size. Additionally, some pea varieties mature much earlier than others.
. Snow Peas .
Snow peas are also known as Chinese pea pods since they are often used in stir-fries. They are flat with very small peas inside; the whole pod is edible, although the tough "strings" along the edges are usually removed before eating. Snow peas are mildly flavored and can be served raw or cooked.
Snow peas are also known as Chinese pea pods since they are often used in stir-fries. They are flat with very small peas inside; the whole pod is edible, although the tough "strings" along the edges are usually removed before eating. Snow peas are mildly flavored and can be served raw or cooked.
. Garden Peas .
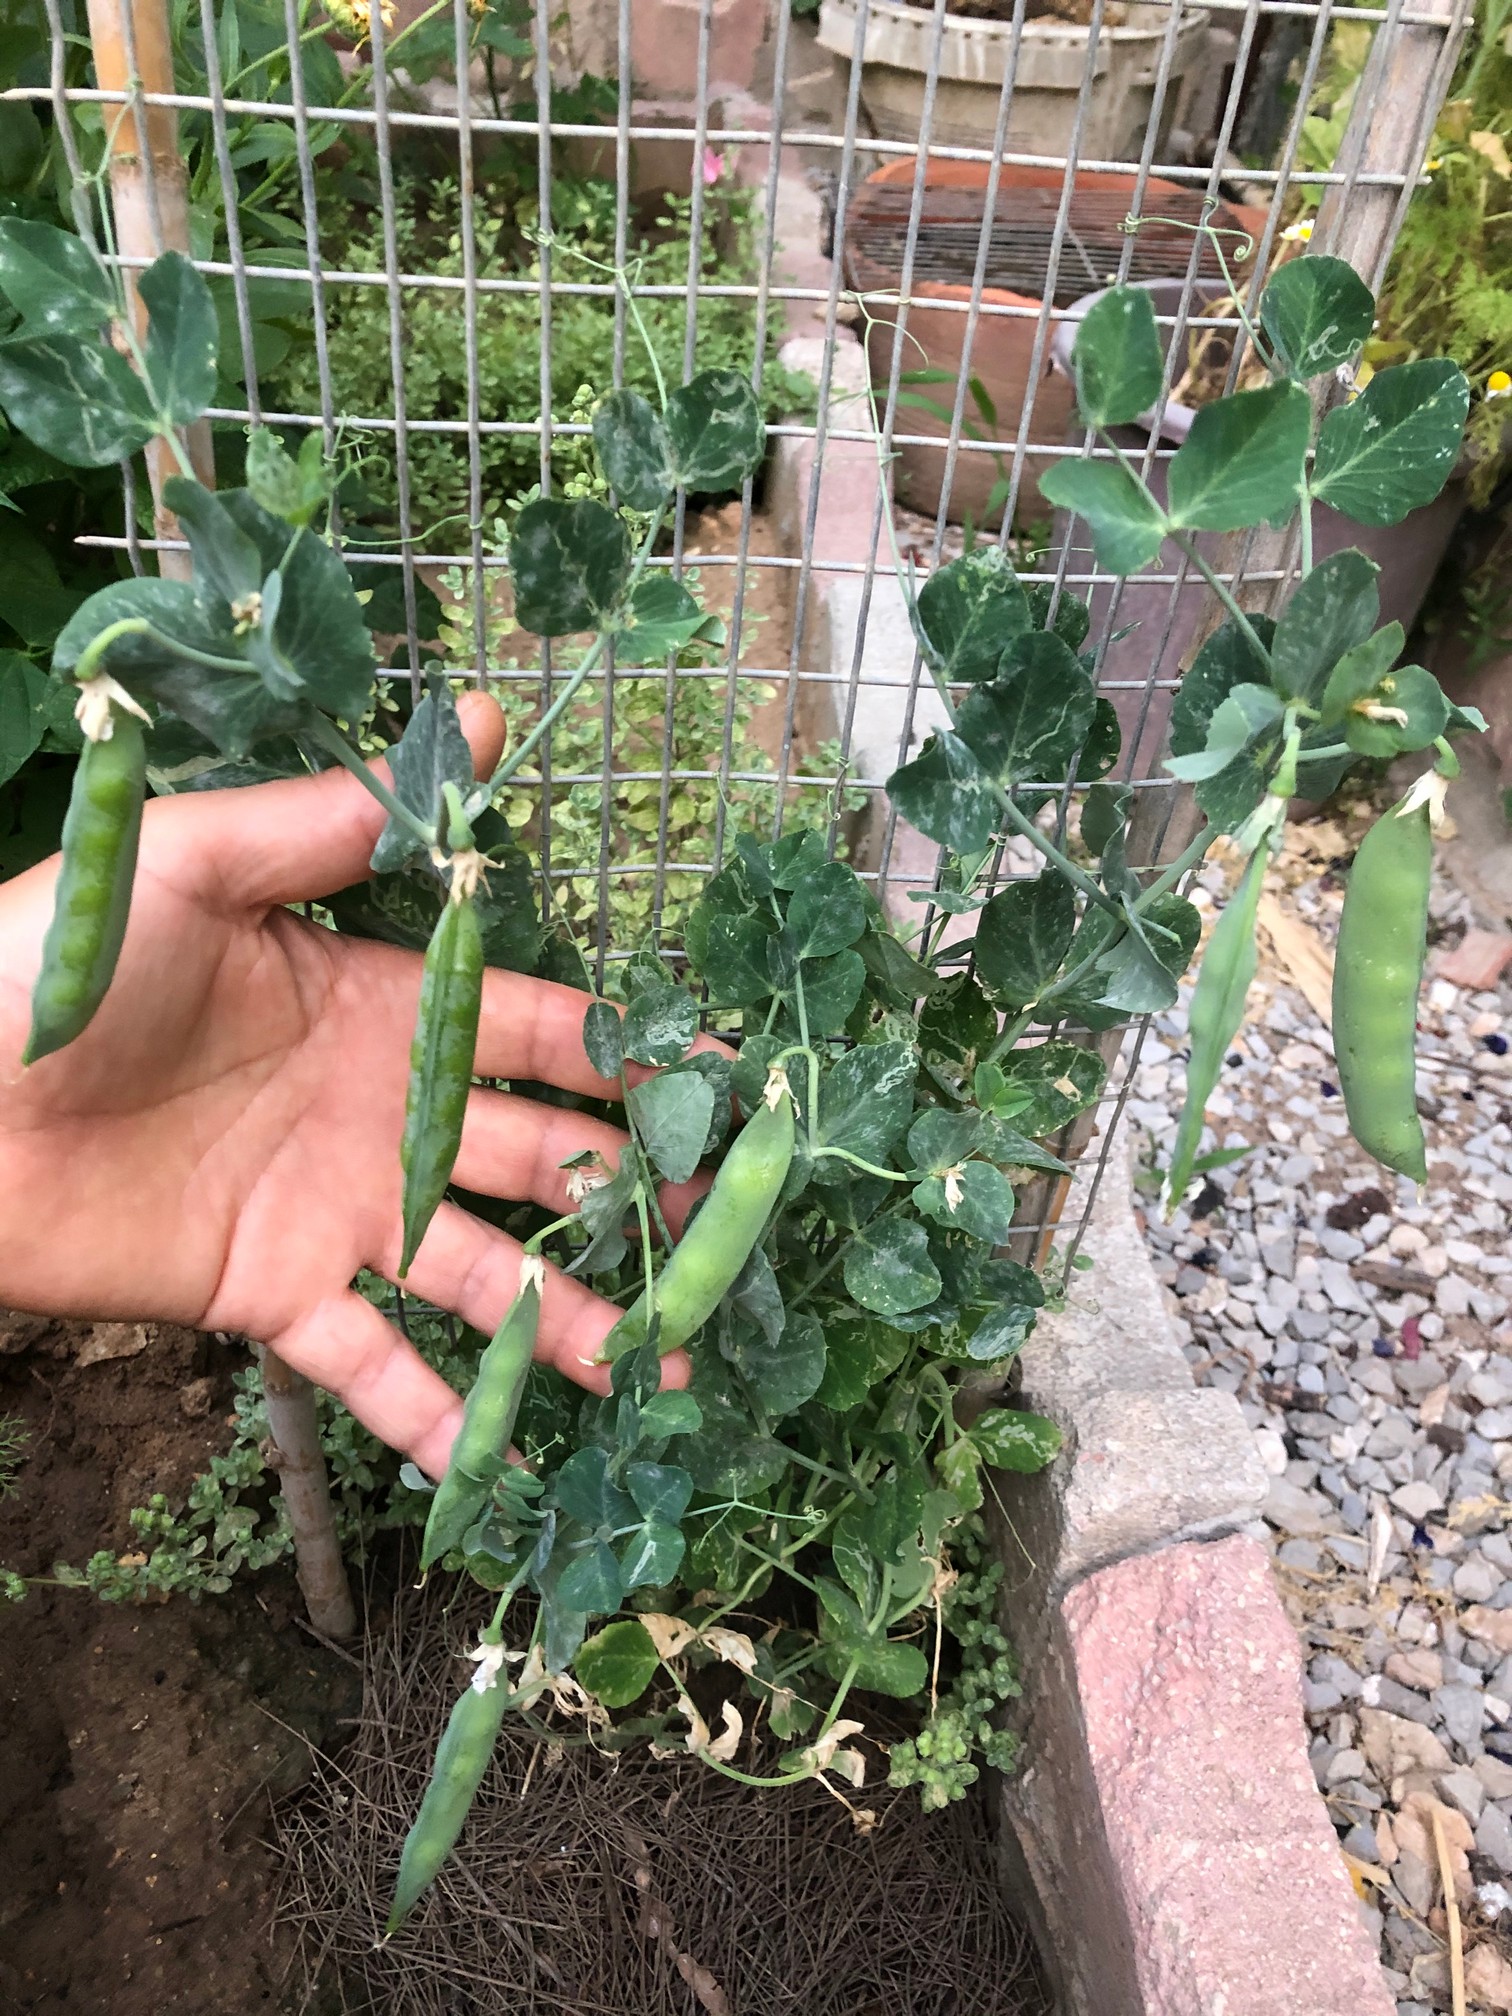
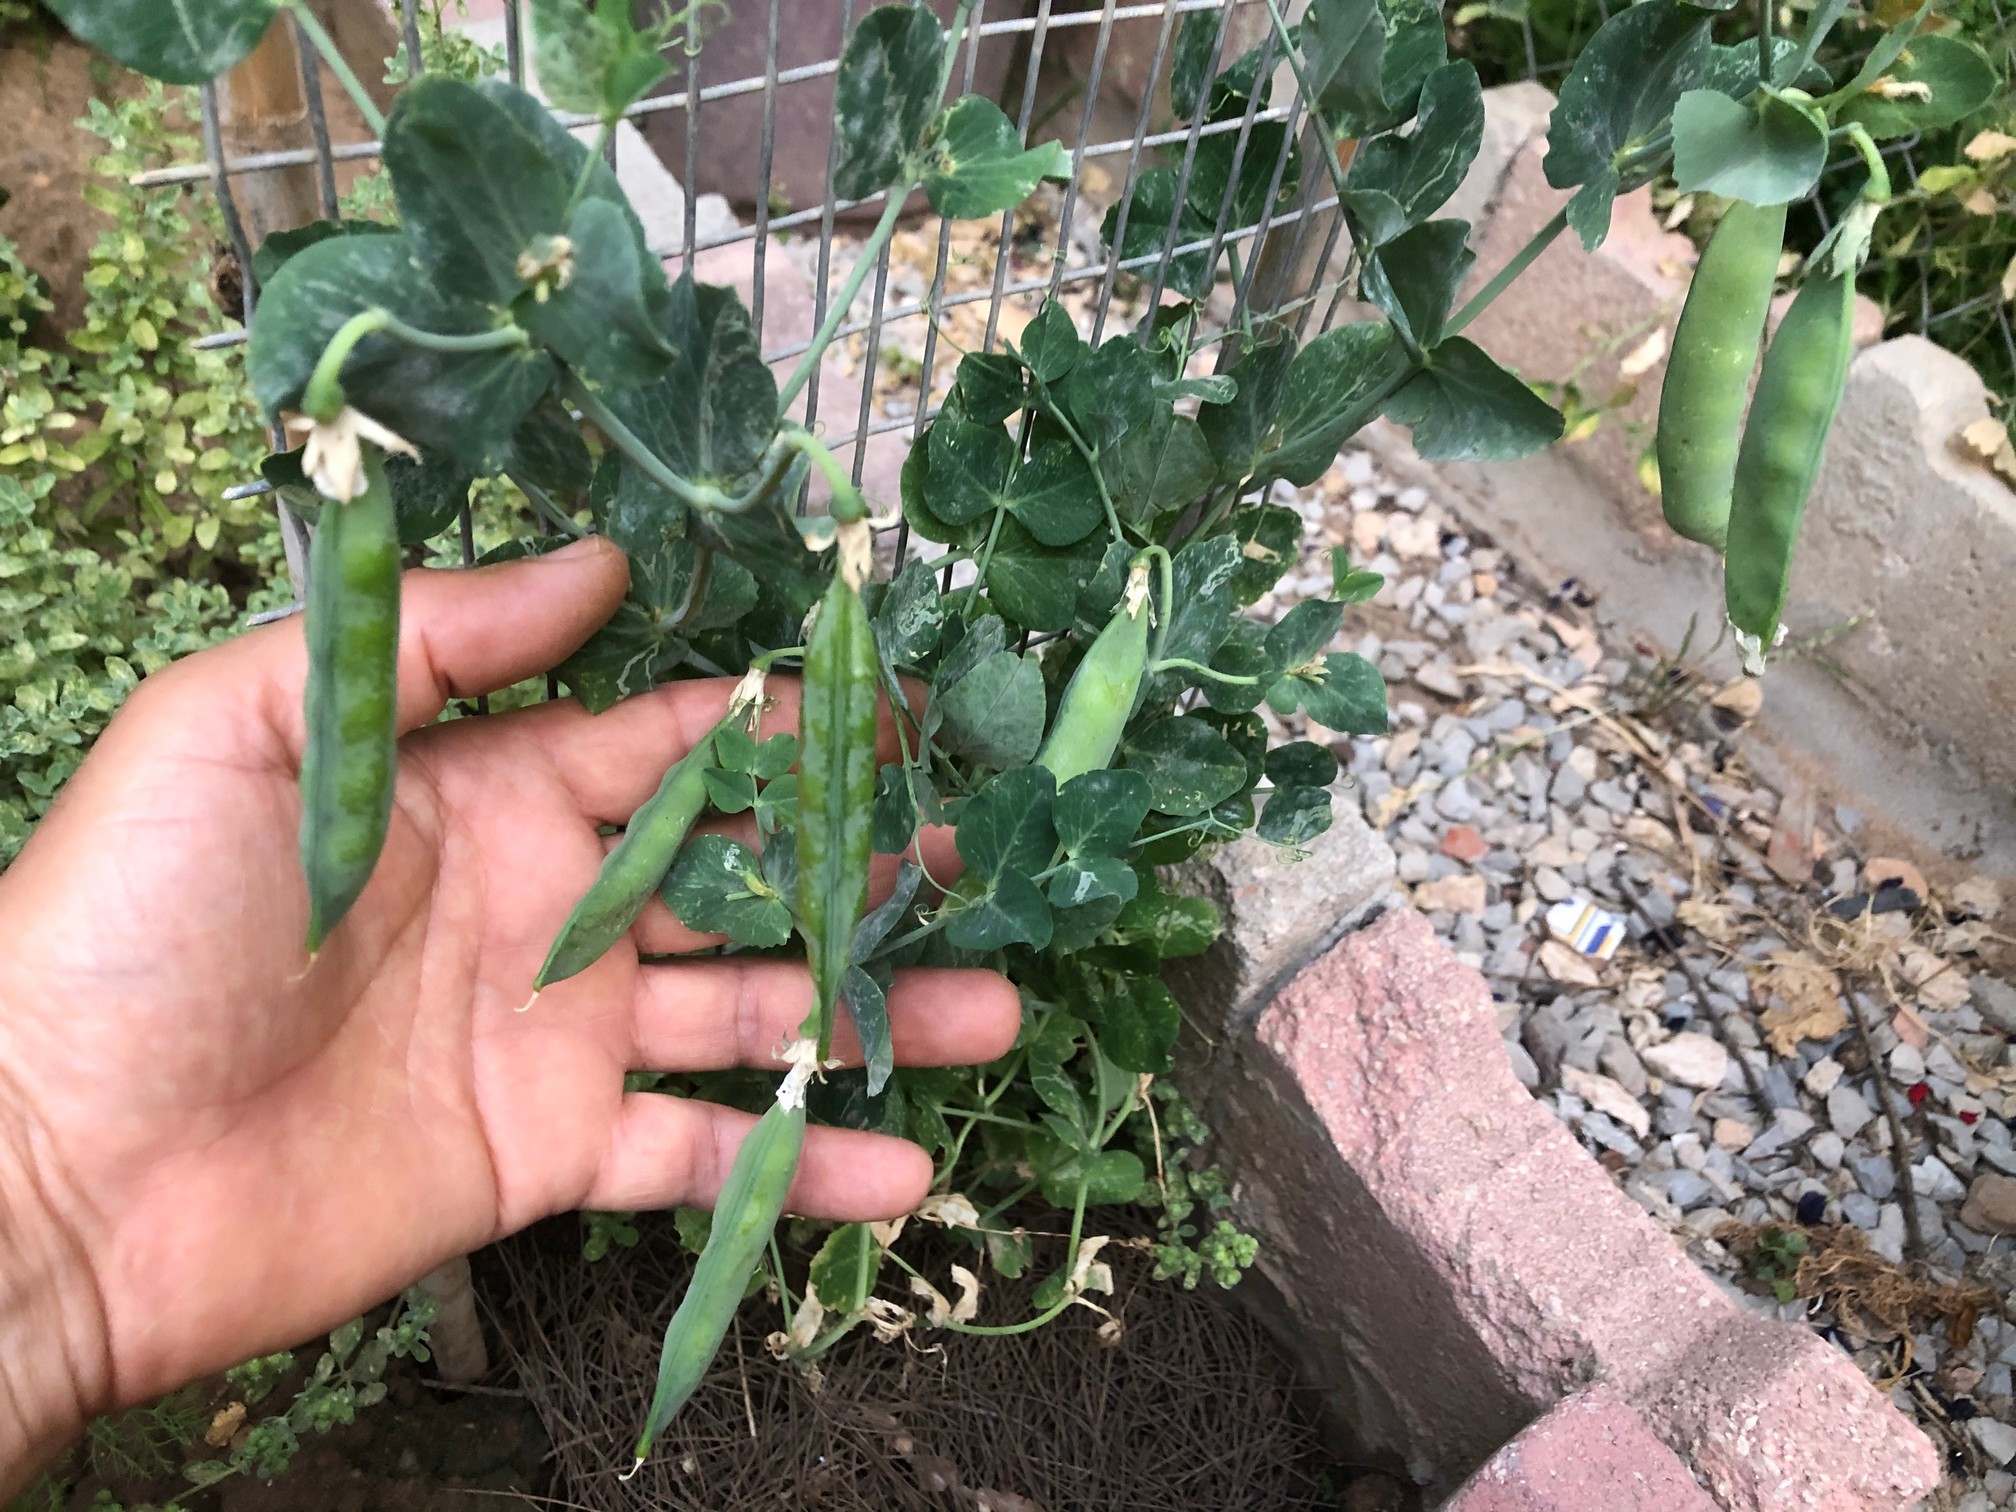
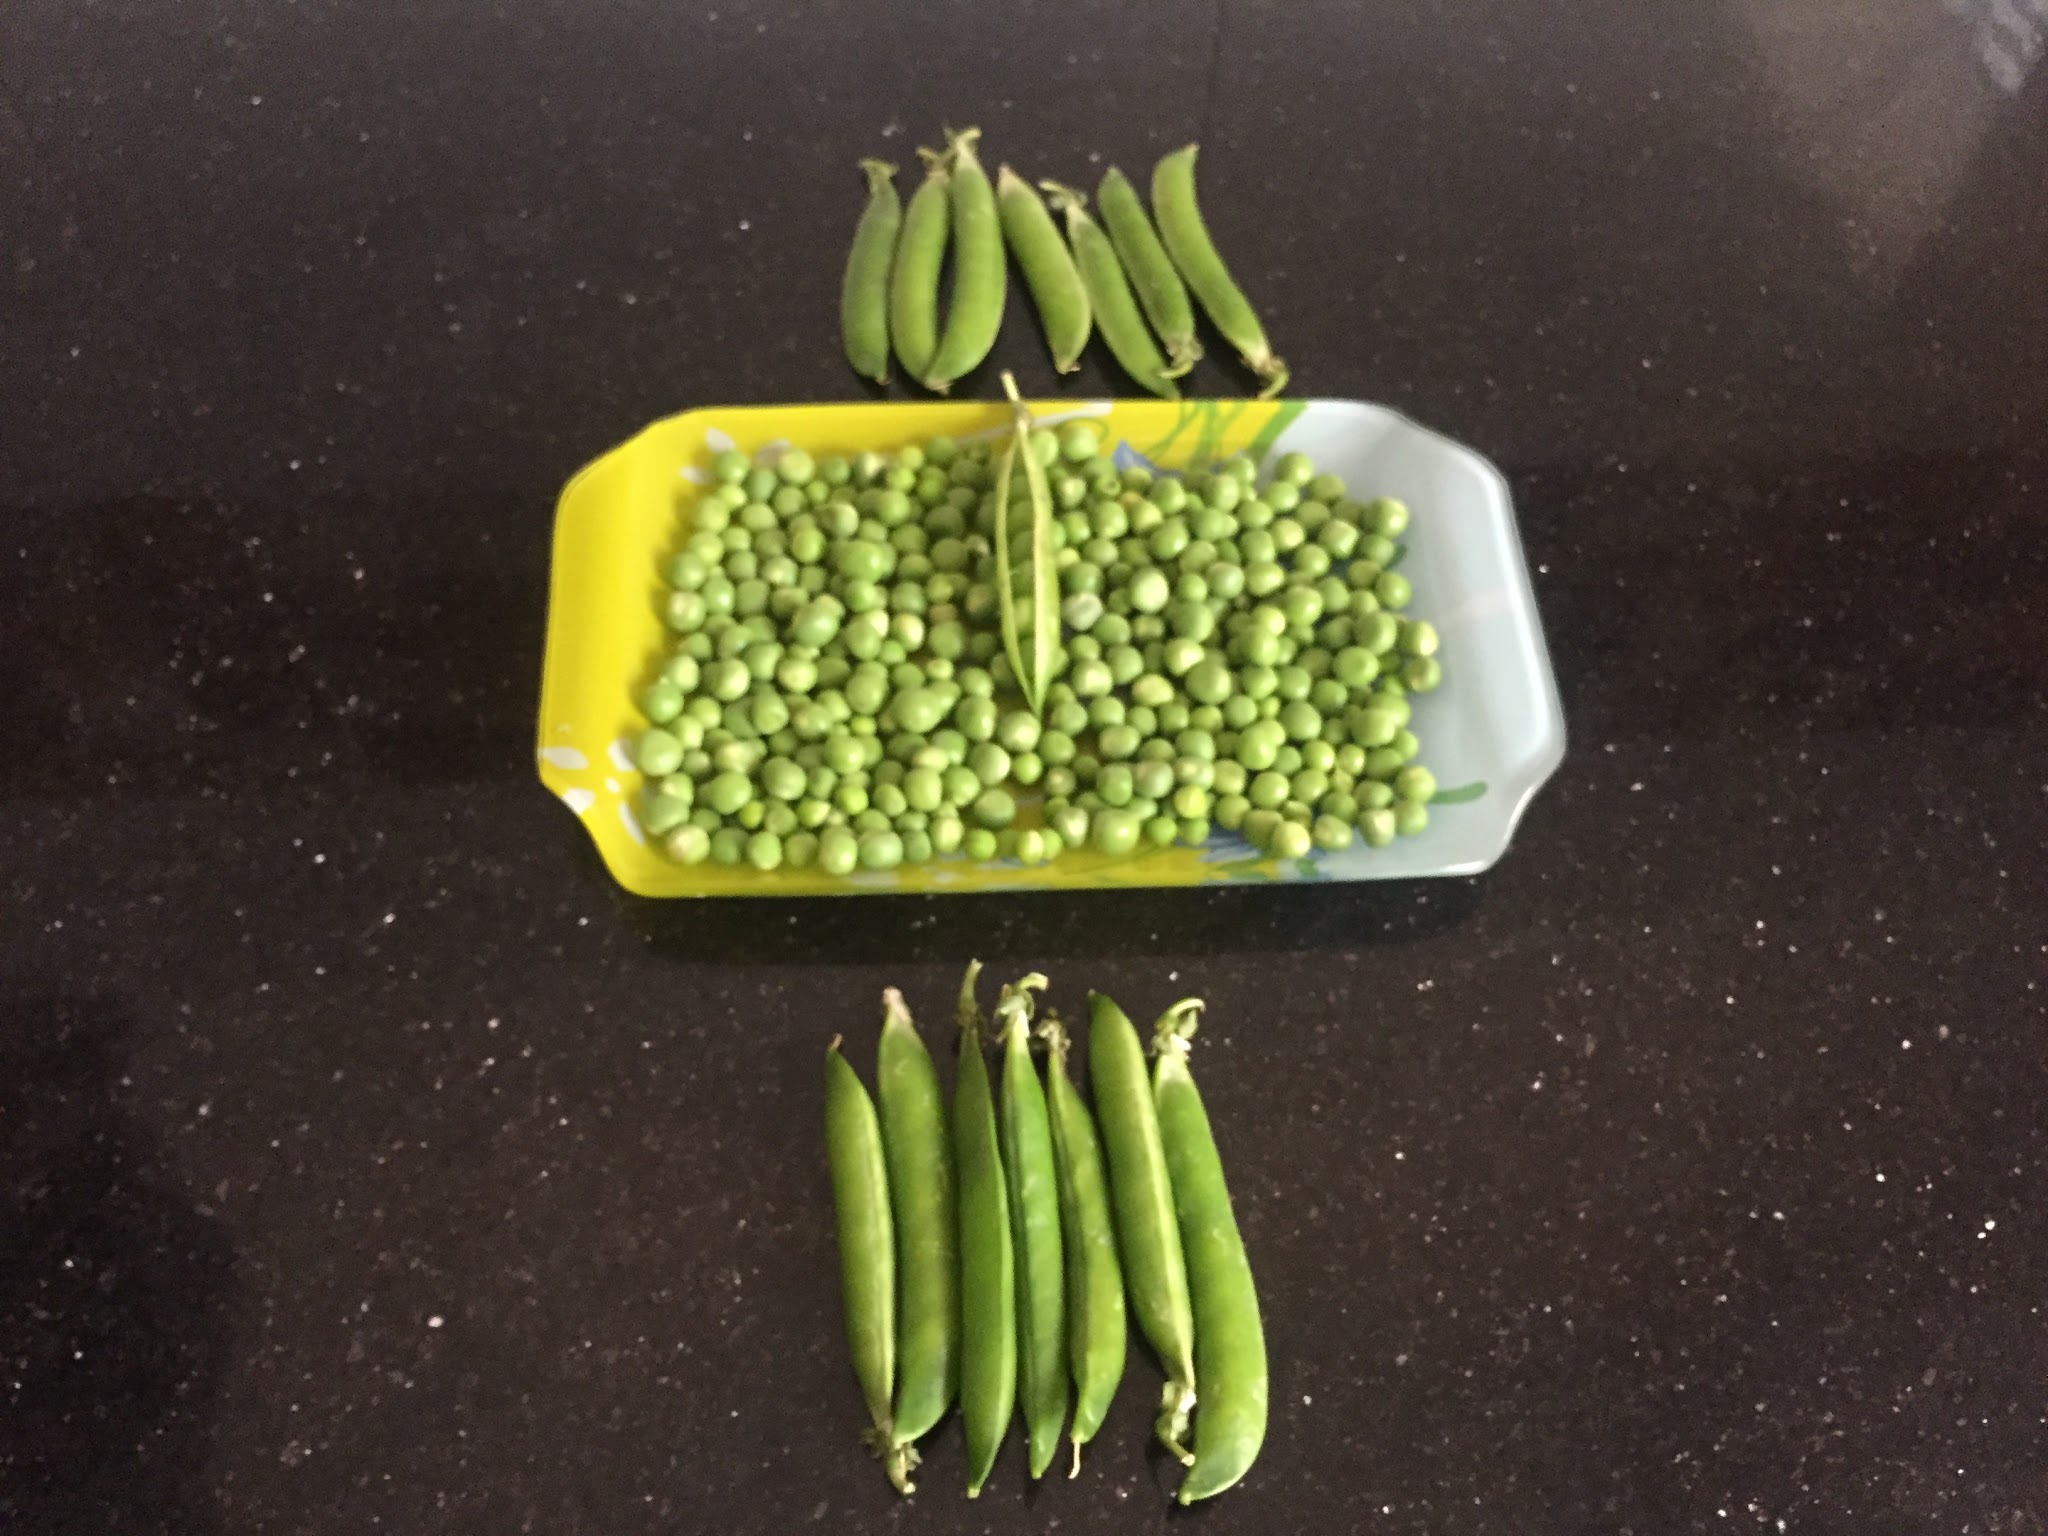
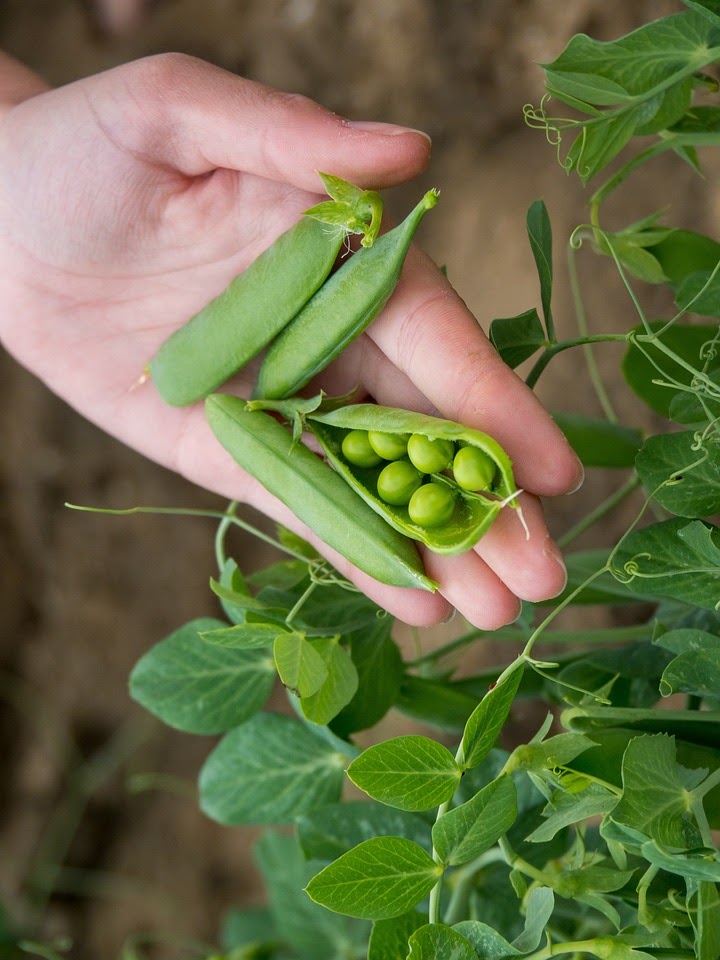
Garden peas are also sometimes called sweet peas or English peas. The pods are firm and rounded, and the round peas inside need to removed, or shelled, before eating (the pods are discarded). The peas are sweet and may be eaten raw or cooked; these are the common peas . Peas get starchy and mealy as they get larger or if they are not cooked quickly after they are picked. This variety of pea is extra sweet, ready in 75 days, pods average 3 1/2" long, each pod contains 9 -10 medium-sized peas, one of the best tasting garden pea varieties.
Garden peas are also sometimes called sweet peas or English peas. The pods are firm and rounded, and the round peas inside need to removed, or shelled, before eating (the pods are discarded). The peas are sweet and may be eaten raw or cooked; these are the common peas . Peas get starchy and mealy as they get larger or if they are not cooked quickly after they are picked. This variety of pea is extra sweet, ready in 75 days, pods average 3 1/2" long, each pod contains 9 -10 medium-sized peas, one of the best tasting garden pea varieties.
. Snap Peas .
Snap peas are also known as sugar snap peas, and are a cross between snow peas and garden peas. The whole pod is eaten and has a crunchy texture and very sweet flavor. Snap peas may be eaten raw or cooked. There may be tough "strings" at the seams of the pods that need to be removed before being eaten, but string less varieties are also now available.
Snap peas are also known as sugar snap peas, and are a cross between snow peas and garden peas. The whole pod is eaten and has a crunchy texture and very sweet flavor. Snap peas may be eaten raw or cooked. There may be tough "strings" at the seams of the pods that need to be removed before being eaten, but string less varieties are also now available.
. Wando Peas .
This variety is very popular, tolerates warm weather and cold weather nicely, ready in 70 days, dark green pods average 7-8 medium-sized peas each, plants reach 2 1/2 feet tall, it is a good choice for fall pea crop.
. Avalanche Snow Peas .
This pea variety produces huge dark green pods
reaching 6" long, sweet and tender, ready in 60 days, disease resistant, prolific producer, plants reach 3 feet tall.
This pea variety produces huge dark green pods
reaching 6" long, sweet and tender, ready in 60 days, disease resistant, prolific producer, plants reach 3 feet tall.
. How to grow peas .
Selecting planting site
Choose an open, weed-free site in full sun. Peas prefer full sun, the plans need at least six hours of direct sunlight on most days. They can tolerate a bit of shade too! Avoid a garden site where peas have been previously grown. A crop rotation of three years is best since pests and diseases that target peas can linger in the soil.
Soil preparation for planting peas
If soil conditions are right, peas are very easy to grow and very successful. Peas like open soil that has plenty of air between the crumbs. Air is essential for the bacteria that live on the roots of the pea plant to thrive. The bacteria pass nitrogen to the pea plant in return for sugars. The soil should be neutral or slightly limy, a requirement of most vegetables, and lime status should be adjusted with lime if necessary. Peas like soil that does not dry out.
The ideal is a silty loam, soft and moist, but not heavy. The better the soil, the better your plants will grow. Peas like a rich, moist, cool soil. If you are starting with an existing garden bed dig in organic matter. Dig plenty of well rotted compost into the soil several weeks before sowing to improve soil fertility and help retain moisture. As i own chickens i always have chicken manure to naturally fertilize my garden soil.
Watch chicken manure benefits to the garden soil video
Always use well-rotted chicken manure. Well-rotted compost added to light soil improves it and it also helps to open up heavy clay soils.
When to grow peas
The requirements for growing peas are a little less stringent than for other vegetables , they enjoy a cooler, moderate climate. Make sure the soil is at least 50 F. (10 C.) before putting your seed or seedlings in the soil. They like moist soil as well, so be sure the soil is damp yet well-drained. Peas can be direct sown outdoors from March to June once the soil has warmed to about 10C (50F). You can use cloches to help the earliest crops to germinate. But to get your peas off to a good start and won’t have to worry about birds and rotting seeds, start your peas indoors. By doing this you will be sure that the seeds won’t rot before they sprout under the soil, resulting in a successful plant and many delicious peas to pick.
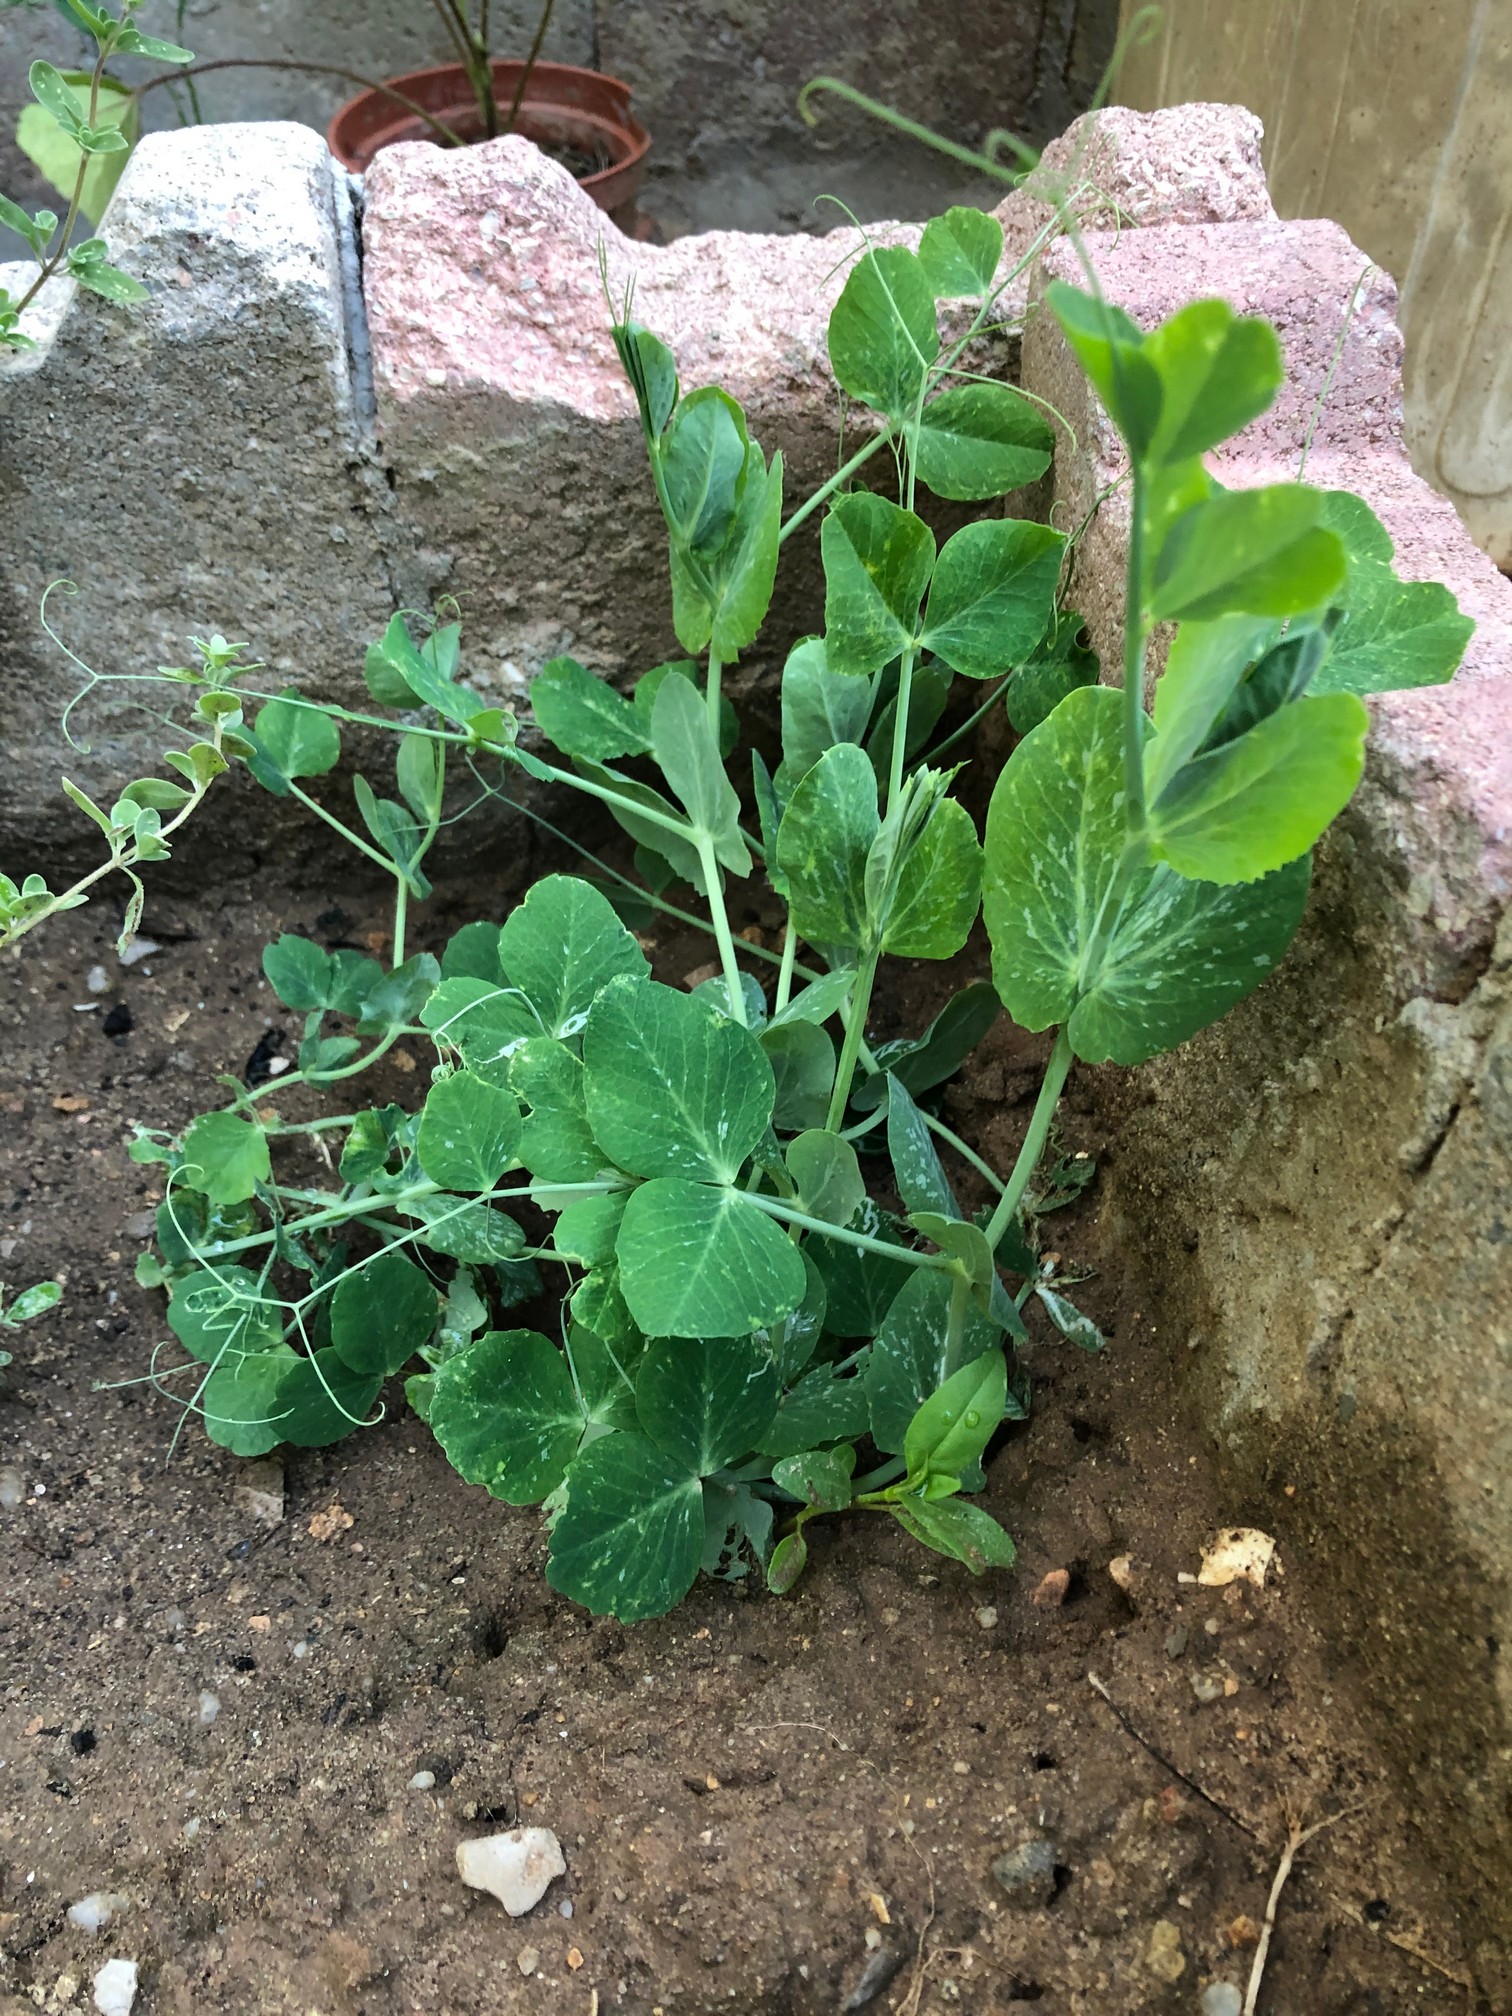
Grow peas in a moist, fertile, well drained soil. It’s best to avoid sowing peas on cold, wet soils as they tend to rot away. Peas are best direct-seeded right in the ground and do not like their roots disturbed. But transplanting seedlings is possible, if you have started the seeds indoors.
You can give your peas a safe start by sowing them indoors and transplanting strong and healthy seedlings in your vegetable garden.
Direct sowing peas seeds
You can plant sprouted pea seeds, pre sprouting peas is the easiest way to make sure you plant viable seeds and get a jump on the spring growing. It often results in a higher rate of germination since few seeds are lost to environmental factors.
- Carefully place just one sprouted seed in the hole.
- Cover with soil and water gently.
- If you don't want to pre sprout the seeds, prior to planting, soak them in water overnight. This will help to speed up their germination.
- Sow pea seeds 1 inch deep and about 2 inches apart. Sow them in loosened soil, always be sure that the soil is lightly moist but not wet, as this can rot the seeds!
- I recommended that you put at least 2 seeds in each hole when planting, in case one of the seeds does not germinate.
- Plant rows 7 inches apart.
- Expect germination in about 10 days if the soil is 65 degrees Fahrenheit or above. The seeds can take up to 3 weeks to germinate in the soil is around 40 degrees Fahrenheit.
. Once your peas have germinated, You can give them a fence or trellis to climb as they can grow 8-10 feet tall.
Plant the peas in two rows, one on each side of the trellis. The peas should be planted one to two inches apart.
Pea plants water needs:
As peas grow during cooler time of the year, you may water the plants approximately 1 inch of water each week. Peas do well with regular watering that will supply them with even soil moisture. If mulched, peas will rarely need watering in early spring. In the hotter months, remember to water generously each time to ensure that your plant won't dry up.
During spring, you may need to water for good pea growth and develop healthy pea pods. Try to water the soil, not the vines, to prevent diseases. Soak the soil when watering, to a depth of at least one inch each week during the growing season. Be sure to keep them moist, especially once they start producing blossoms.
Adding mulch
Once the vines are about a foot tall, mulch them heavily to keep the soil as cool as possible and help retain moisture. Using a good mulch is so important for building up your garden soil, mulch builds soil structure: As mulch breaks down slowly, it makes the surface soil permeable and increases its water holding capacity. I use organic cocoa mulch, a wholly organic mulching material made from the outer shell of the cocoa bean. The material breaks down slowly and will not disappear into the soil, and because it helps to deter garden pests like snails and slugs.
Fertilizing pea plants:
Even though peas are known to be nitrogen-fixing plants, to get a maximum production, they still benefit significantly from a helping of nitrogen-rich fertilizer. You can use one part fish emulsion to one part blood meal is your soil mix. Add a second helping of nitrogen-rich fertilizer after flowers bloom to increase the production of fruits.
Peas can be picked as soon as they are bigger enough. It takes about 50-80 days until your peas are ready to harvest. Always pick peas in the morning after the dew has dried. They are crispiest then, and picking dry plants will reduce the chance of spreading any diseases. Pick the first pods while the peas are still relatively small, these are delicious, and this early picking also helps to extend flowering and cropping by preventing seed setting.
Once a few pods set the plant puts all its energy into swelling these. When picking try to make sure that all the pod that have reached readiness are picked.
Companion plants for peas
Plants and herbs to put near your pea plants include beans, carrots, corn, cucumbers, potatoes, radishes, lettuce, kale, mint, cilantro and chamomile. But don't plant onions or garlic near your peas!
Pea pests and diseases
The best way to combat pests and diseases in peas is to prevent them before they happen. Actively keeping an eye on your garden is a great habit to get into, day after day you will notice pests through regular monitoring before infestations have time to grow out of control!
Always choose varieties of pea seeds that are resistant to the pests and diseases in your area, and plant peas in a different spot each year to minimize the risk of spreading infections.
Aphids and thrips
Aphids and thrips can deform the leaves or pea pods.
Aphids feed on peas in the flowering and early pod stage. This can result in lower yields due to less seed formation and smaller seed size.
Thrips (Frankliniella species) are small, slender insects, long as 1/8 inch. They are commonly found in the flowers of peas.
Spider mites
Spider mites survives by sucking material from plant cells. Spider mites can cause direct damage to peas. Leaves first show patterns of tiny spots. They may change color, curl and fall off. The mites activity is visible in the tight webs that are formed under leaves and along stems.
Spray them with a non-toxic, insecticidal soap.
Cucumber beetles and armyworms
Cucumber beetles and armyworms are major plant pests. As rootworms (larvae), they feed underground, which affects plant health. Keep a close eye on the activity among peas plants, you’ll quickly have them under control. Hand pick spotted cucumber beetles or armyworms to prevent them from chewing holes in leaves.
There is nothing worse when you are growing healthy, vibrant pea plants to find them suddenly infested by pests. But thankfully, there are effective organic methods available to keep these pests at bay. Common solutions include physical controls like row covers and organic pesticides.
Peas Fungal diseases
Downy mildew, powdery mildew and fusarium wilt are common in peas. Yellowish or brownish spots on leaf surfaces may indicate downy mildew.
Powdery mildew
Powdery mildew often shows up late in the season. The disease is usually easy to identify since it will appear as though powdered sugar with yellowish or brownish spots on leaf surfaces.
- Improve air circulation and drainage if you discover these symptoms.
- keep your garden free of debris.
- Pick off infected leaves, and spray neem oil preventatively.
Fusarium
Fusarium is a fungal disease that first appears as downward curling leaves, which become pale green and flaccid, then turn yellow, starting at the bottom and progressing upward until the entire plant it is yellow.
- Fungicides are not effective in treating it, you have to remove and burn any infected plants.
Peas viruses
Aphids spread both mosaic virus and pea enation virus, which can cause deformed leaves, and highly deformed pea pods. Neither virus can be cured. In the case of mosaic virus, infected plants will produce peas, but the size and yield will be reduced!
- All infected plants with virus must be burned. Controlling aphids may help, but choose disease-resistant hybrids seeds next season for better insurance.
- Don't save seeds from plants that show symptoms of viral infection, because the virus can be carried within the seed
Saving and storing pea seeds
Saving Pea Seeds is an inexpensive way to produce new plants the next growing season, and it also allows you to propagate particular varieties that you enjoyed!
- Allow some healthy pods to remain on the plant to dry.
- Once they’ve browned and you can hear the seeds rattle inside, twist the pods off the plant.
- Remove the seeds from the pods, and spread them out on a screen indoors to fully dry for a few days.
- Keep only the seeds.
- You can store your dried seeds in an envelope labeled with the date and the variety.
- The seeds should be viable for three years if properly stored.
Once the weather gets consistently hot, pea vines will stop producing. You can cut them out and live the roots in the soil as they will add nitrogen and organic matter to the soil. One of the benefits of growing peas is that, as a member of the legume family, peas fix nitrogen in the soil which will help fertilize naturally future plants. By rotating your peas every year into different parts of your garden, you can add nitrogen to your soil every year. This will help your garden plants thrive organically!
Once you taste your own homegrown organic fresh peas, you are unlikely to be pleased with peas from supermarkets, ever! Fortunately, you can grow them in your vegetable garden. But let me tell you that the only thing to grow successful peas is to sow them at the right spot and at the right time.
Hope this will help you to grow your own peas. Please let us know your thoughts, experiences, or questions in the comments below. If you like this, you can share with your friends!
Want to read more:
⬇️ Peas related videos to watch:
⬇️ ⬇️ ⬇️ Please let us know your thoughts, experiences, or questions in the comments below. If you like this, you can share with your friends!
This web site is a participant in the Amazon Services LLC Associates Program, an affiliate advertising program designed to provide a means for sites to earn advertising fees by advertising and linking to amazon. Some of the links to products on this site are affiliate links. These are products that I've used or recommend based from homesteading experience. I do make a small commission (at no extra cost to you) from these sales.(alert-warning)
(full-width)


