Many poeple think that aloe vera is difficult to grow, but let me tell you that it’s actually quite easy. Given the proper care, your aloe vera plant will grow and thrive for many years. In this detailed guide, I will show you everything you need to know to successfully grow and care for your aloe vera plant, from watering, light, soil, fertilizer, and much more!
Table of contents
About aloe vera

People have been growing aloe Vera plants (Aloe barbadensis) for hundreds of years. This amazing and unique plant is one of the most widely used medicinal plants on the planet. There are more than 400 species of aloe plants in the world. But aloe Vera is the only one that is proclaimed to be the best, For it's healing properties. Aloe leaves contain a clear gel that's a popular home remedy with many uses. This easy to grow succulent tolerate a range of light neglect and thrive in well-draining, gritty soil, partial sun, and regular water.
Aloe Vera plant facts
Common names: Aloe Vera
Botanical name: Aloe barbadensis
Family: Asteraceae
Biological life cycle: Perennial
Foliage: Succulent
Mature size: 1-2 feet tall, and up to 2 feet wide
Origins: Arabian Peninsula
Light conditions: Lots of indirect light to full sun
Soil type: Well-draining soil
Water ph: Neutral to slightly alkaline (7-8.5)
USDA zone: 9-11
Toxicity: Toxic to pets, and some parts are toxic to humans
Before you buy an aloe vera plant, you’ll need a location that offers bright, indirect sunlight (or partial sun). Too much direct sunlight can dry out the plant and turn its fleshy leaves yellow, so you may need to water more often.
The beautiful Aloe Vera, houseplant and succulent, is available to buy online from Amazon

How To Grow Aloe Vera In The Garden

- Choose a well drained spot in the garden and prepare the planting area well by digging in organic compost or some manure.
- Dig the planting hole twice as wide and to the same depth as the root-ball.
- Remove the plant gently from the container and tease the roots, simply comb your fingers through the roots to loosen the strands and increase their volume.
- Position the plant in the hole and backfill with soil, gently firming down.
- Water in well after planting to settle the soil around the roots and keep the soil lightly moist for several weeks while the new plant establishes.
- Mulch with an organic mulch, such as bark chips or woodchip, ensuring to keep it away from the base of the plant.
- Water occasionally, and allow the soil to dry out between watering.
How to grow Aloe Vera in pots or containers

- Selecting a container for your aloe vera is very important. It’s more than just picking a pretty container for your plant. Container materials, size, and drainage are all things to consider when selecting a new home for your aloe vera.
- I always recommend terra cotta containers.
- Plant your new aloe vera in a terra cotta container with well-drained soil. As the terra cotta dries faster than other plastic or glazed containers.
- To give your plant the perfect conditions to thrive, ensure that the container has adequate drainage.
- Partially fill the container with quality potting mix, or succulent potting mix.
- Mix in activated charcoal to the potting mix. The activated charcoal assists the aloe with removing toxins from the air.
- Remove the plant from the container, gently tease the roots and cut away any encircled or tangled roots.
- Position in the container and backfill with potting mix, gently firming down.
- Water in lightly to just moisten the soil.
- Mulch with an organic mulch such as woodchip or with stones or decorative pebbles.
- Position indoors in a brightly lit spot, sheltered from the harsh afternoon sun.
- This succulent actually prefers to lower amounts of fertilizer compared to plants that require regular feedings. Look for a fertilizer that is specially formulated for cactus and succulents. Then apply at the recommended rate to provide additional nutrition to your aloe vera plant.
- Fertilize your plant once in the spring when the plant make flowers.
- Replant every two years to keep the soil fresh and reduce overcrowding.
- In the summer you can move your potted plant outdoors, but don't put it in direct sunlight right away. Gradually place it in a brighter spot every few days to prevent sun overexposure.
Aloe Vera plant blooms
If you want to see your aloe vera bloom, you’ll need to wait for at least four years, as only mature plants will produce flowers, so be patient, and if you are wondering why your plant is not blooming. It can be that the conditions are not ideal for this succulent, you may overwater it, the soil isn’t well balanced, the plant doesn’t have enough sun exposure, or it’s too cold. Aloe vera flowers only when it’s been grown in conditions similar to the plant’s native habitat outdoors!

The bloom is tubular, and its color ranges from bright yellow to fiery orange. It looks gorgeous and smells sweet and it is so beautiful when it’s in full bloom.
Aloe Vera plant care
The first thing to know when growing Aloe Vera is to realize that Aloe Vera plant is a succulent. Like all succulents grow best in dry conditions.
When growing aloe Vera plants, plant them in a cactus potting soil mix or a regular potting soil that has been amended with additional perlite or sand. Also, make sure that the pot has plenty of drainage holes.
Aloe Vera plants cannot tolerate standing water.
Aloe Vera plants need bright light, so they do best in south or west-facing windows.
Aloe Vera generally don’t need to be fertilized. If you decide to add fertilizer to your plant care routine, you can use a phosphorus-heavy, water-based fertilizer at half strength. Keep in mind that Aloe Vera plants should be fertilized once a year in the spring when making flowers!
The most important aspect to know when growing an Aloe Vera plant is to water the plant properly. The soil in container should be allowed to completely dry before being watered. When the aloe plant is watered, the soil should be thoroughly drenched, but the water should be allowed to drain freely from the soil. The most common reason that beginner gardeners make, and their aloe plant dies is that they water too often, or do not allow the water to drain. Do not make this mistake when watering your Aloe Vera aloe plants!
When and why you should you repot your Aloe Vera plant?
Over time, your plant will be big and you should repot your Aloe Vera plant to help maintain its healthy leaves.
Two reasons to repot Aloe Vera:
- The plant outgrows it's current pot.
- The plant is ready for propagation.
How to repot Aloe Vera
If your aloe vera has grown leggy, has gotten too large, simply it’s time to repot it. Here’s how step by step:
Prepare your pot
Use a new clean terra cotta container, place small pieces of screen over the drainage hole, this will allow water to drain properly and keep the soil from falling out the bottom.
Select a container that’s about as wide as it is deep. If your aloe plant has a long stem, choose a container that is deep enough for you to plant the entire stem under the soil.
Prepare your aloe plant
Remove carefully the plant from its current container and brush away any excess dirt from the roots, being careful not to damage them.
If your plant has any pups, remove them now. (You can read “How To Propagate Aloe Vera From Pups”.
Plant your plant
Fill the pot about a third of the way with a well-draining potting mix, then place your plant in the soil. Continue filling in soil around the plant, bearing in mind that you should leave at least 3/4 of an inch of space between the top of the soil and the rim of the pot. The bottom leaves of the aloe plant should rest just above the soil, too. Do not water after planting.
After you’ve placed your aloe in its new pot, don’t water it for at least a week. This will decrease the chance of inducing rot and give the plant time to put out new roots. Until the plant seems to be rooted and happy, keep it in a warm place that receives bright but indirect light.
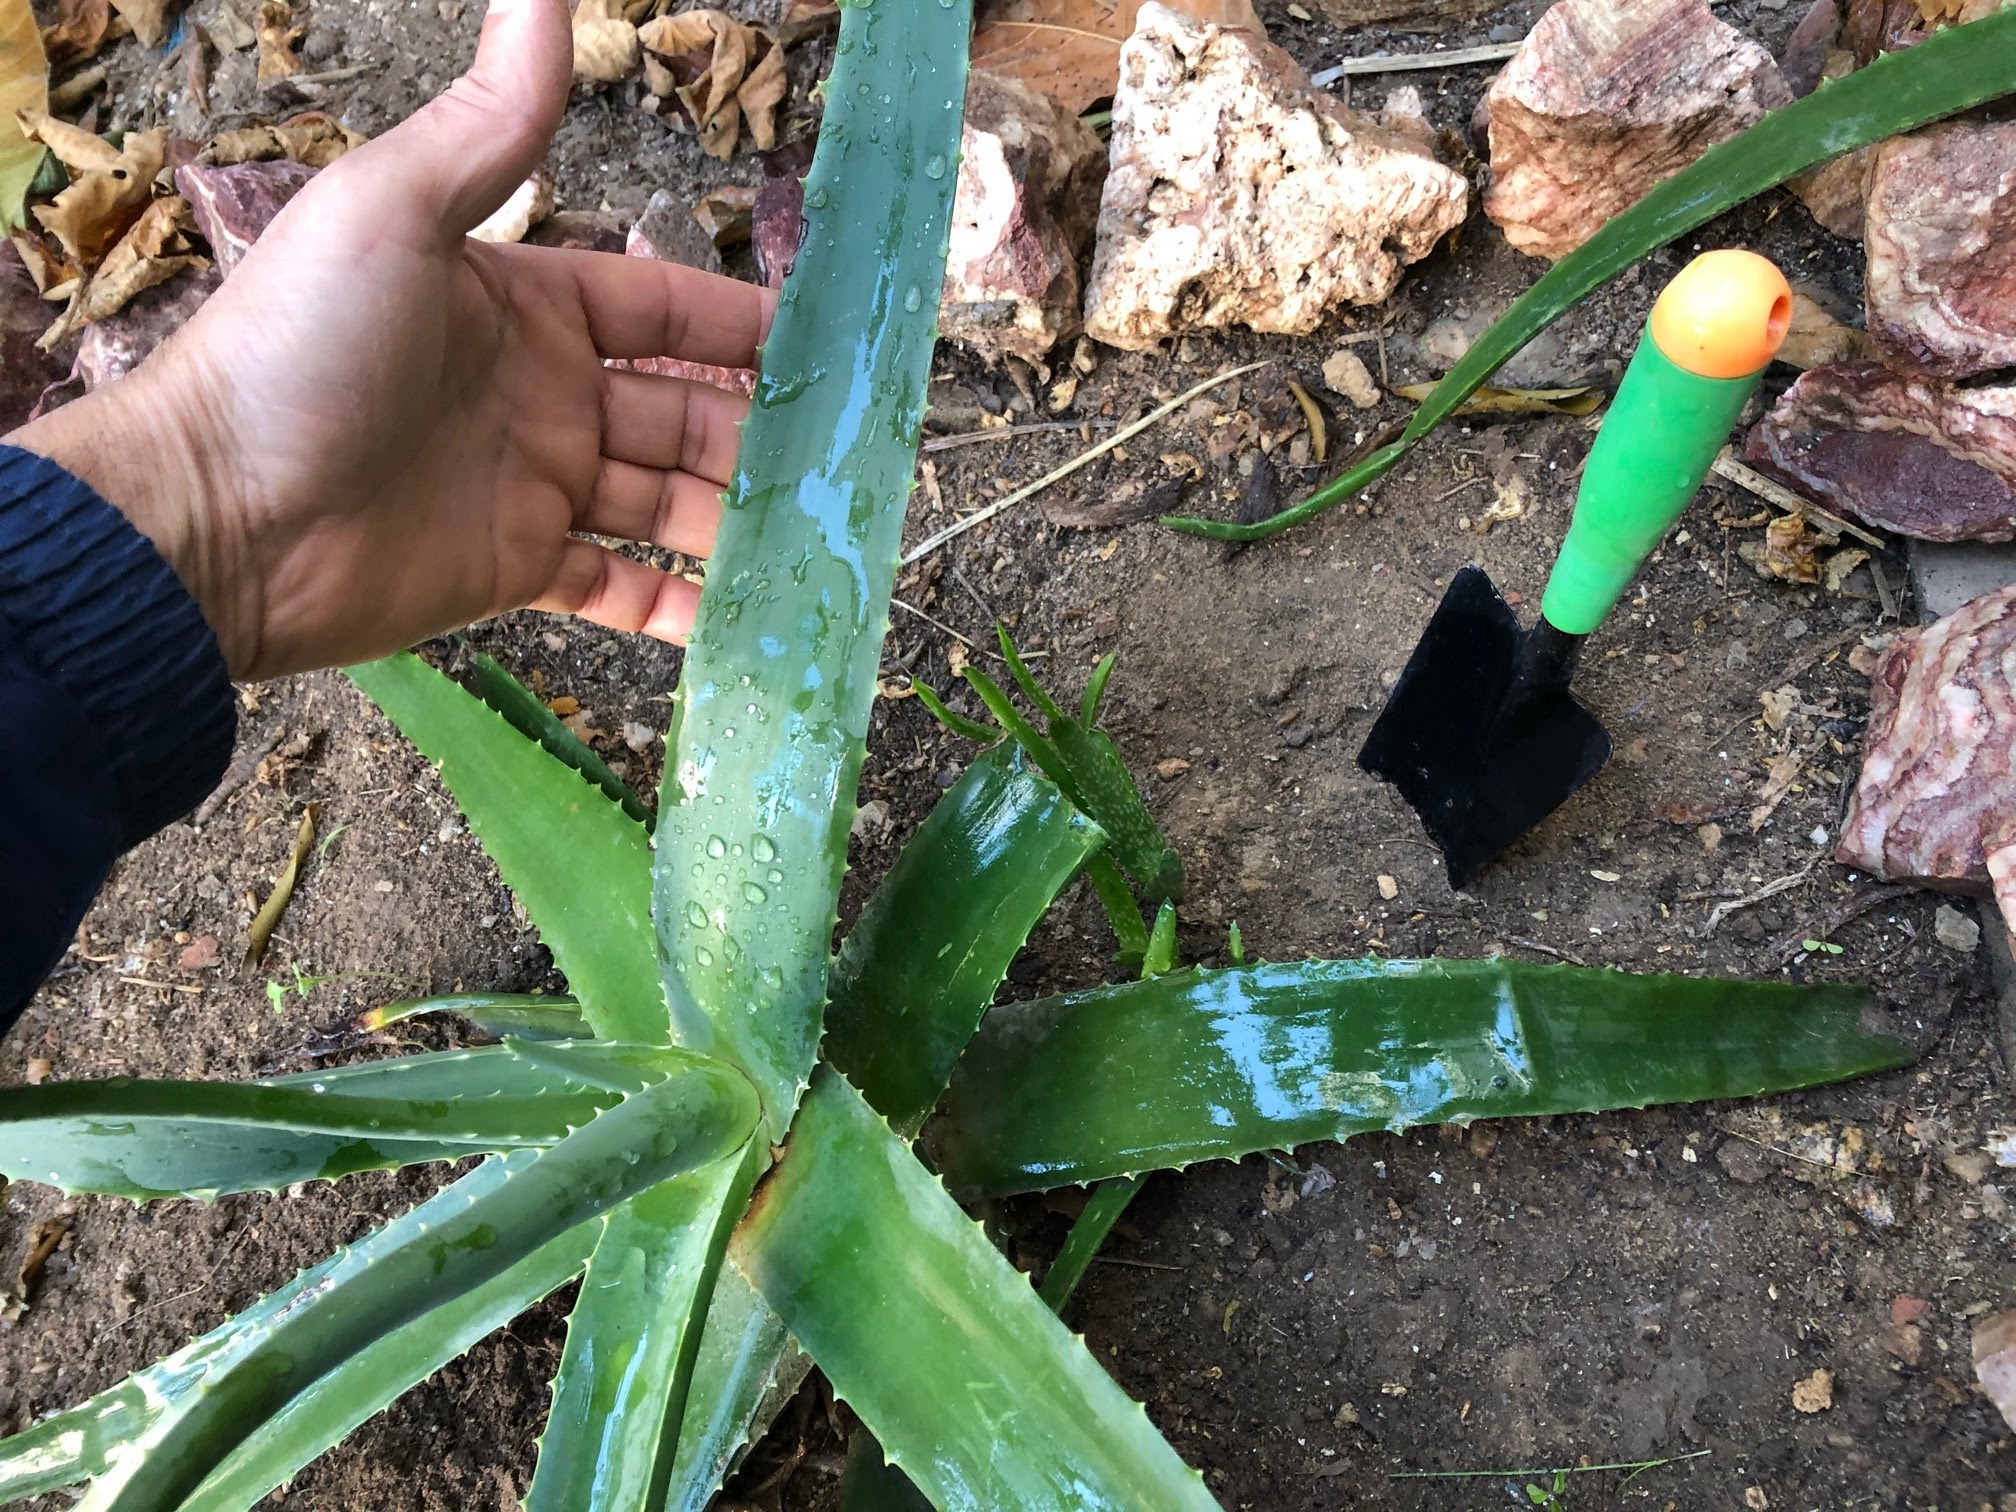
Aloe vera plant
Propagating Aloe Vera plant

If you want to offer aloe vera new plants to your friends, you can try starting your own plants by propagating. There are different ways to propagate aloe vera succulent. It can be from offshoots called “pups”, by germinating seeds, or from leaf cuttings. Propagating from pups is the easiest method and the one with the highest success rate.
Want to read : How To Propagate Aloe Vera From Pups
Watch how to propagate Aloe Vera from pups video
When and how to harvest Aloe Vera?
During the warmer months the aloe vera grow much faster than the winter, so it's the best time of the year to cut the leaves. Few days before harvesting water your plant. When it’s well-hydrated the leaves will be full and plump, which means they’ll contain more gel.
When the largest most mature leaves around the bottom are large, thick, and firm. Then your aloe vera is ready to harvest. Ideally the aloe plant should have a few years old (two years), have a couple of big leaves at the base, and several smaller ones on top.
The best part of aloe vera to harvest are the largest and most mature leaves around the base of the plant. Always look for leaves that are bright green, firm, and thick. Don't harvest any leaves that are thin, browning, or shriveling, as they won’t contain much gel!
Harvesting aloe vera leaves is actually very simple. The leaves are very easy to cut with a sharp knife. Don't try to pick or break them off, as you could damage your plant. Always take the largest bottom leaves not the small, as removing too many small ones can be a detriment to the plants health.

You can use freshly harvested aloe vera leaves right away. Remove the flesh and making your own gel.
WARNING: The gel from aloe vera leaves can be used topically, but should NOT be eaten by people or pets. It can cause unpleasant symptoms such as nausea or indigestion and may even be toxic in larger quantities!(alert-warning)
Watch how to harvest Aloe Vera gel video
How often can you harvest Aloe Vera leaves?
This depends on the size of your plant. The larger and more mature they are, the more leaves you can harvest. Aloe vera will not regrow the same leaves after cutting them off. But the plant will continue to produce new ones on the top, and the remaining bottom ones will get larger with time. Keep in mind that they tend to be very slow to regenerate, especially during the colder months. So, harvest only what you need.
Aloe Vera common roblems
Although aloe vera is relatively low maintenance, but some problems can arise buy time.
Aphids
Aphid will puncture the plant tissue, and make a hole, after the hole is made, will begin sucking out the sap.
Root rot and fungus
Overwatering creates the ideal environment for these fungi to flourish. If overwatering is avoided, the conditions are not favorable for the fungus, so it is kept at bay. But if you suspect your aloe vera is infected, invert the plant and inspect the roots. Healthy aloe root tissue is thick, firm and white. If the roots appear brown, yellow and soft, then root rot is happening. You can save your aloe plant by repotting it in fresh soil and a new container, being sure to plant the aloe at the same planting depth it was planted before. If you plant the aloe deeper than it was previously planted, water can pool around the stems, and now you have created another potential rot spot.
Watch Aloe Vera the amazing succulent video
Aloe Vera is a plant with a lot of health benefits. If you’re looking to grow your own plant, i hope these step by step tips will help you grow aloe that will thrive and flourish for year!
If you don't have an Aloe Vera Plant, you can buy one from Amazon

This web site is a participant in the Amazon Services LLC Associates Program, an affiliate advertising program designed to provide a means for sites to earn advertising fees by advertising and linking to amazon. Some of the links to products on this site are affiliate links. These are products that i've used or recommend based from homesteading experience. I do make a small commission (at no extra cost to you) from these sales.(alert-warning)