G(caps)rowing ornamental peppers is as easy as growing garden vegetable peppers. They need full sun to thrive, these annuals prefer to be planted in well-drained soil and always make sure that your ornamental pepper plants don't stay too wet, or they may rot in constantly moist soil. In this step-by-step guide I will help you to grow your own ornamental peppers from seeds indoors, how to transplant seedlings, care tips and much more!
Table of contents
Ornamental peppers description
Ornamental peppers produce fruits in a rainbow of colors from vibrant reds, yellows, oranges, and purples and a diversity of elongated and round shapes, and can be planted in the spring once the soil has warmed to at least 70 degrees Fahrenheit. Although ornamental peppers can be grown as perennials in USDA growing zones 9b through 11, they are usually grown as annuals. They can also be grown indoors and make attractive houseplants.
Are ornamental peppers edible?
Yes, ornamental peppers are edible and safe to eat, but gardeners grown these peppers for their attractive color and ornamental qualities rather than their flavor. But beware, most are too hot to really enjoy their flavor! The leaves, however, are toxic to humans and pets.
Ornamental pepper basics
Common Name: Ornamental pepper
Botanical Name: Capsicum annuum cultivars
Family: Solanaceae
Plant Type: Perennial vegetable, usually grown as an annual
Plant Size: 6 in. to 3 ft. tall
Sun Exposure: Full sun
Soil Type: Organically rich, well-drained soil
Soil pH: Slightly acidic (6.0 to 6.8)
Bloom Time: Early summer
Hardiness Zones: 9-11 (USDA)
Native Area: Central America, South America
Plant Toxicity: Leaves are toxic to people and pets
Bloom time: Flowers appear in mid-to-late sprin
FLOWER color: Pink, Purple, White, yellow and red
FOLIAGE color: Blue/Green
Propagation: Seed, Stem Cuttings
Problem Solvers: Drought Tolerant
How to start ornamental peppers from seeds indoors
Starting your own ornamental peppers from seed indoors can be very rewarding. To start, pick out your selections from here!
As ornamental peppers need warm temperatures and a long growing season. Start indoors 5-7 weeks before last frost in your area.
Important things to know before starting!
Ornamental pepper seeds require moisture and warmth to break their dormancy and sprout. Dormancy is the seed's built-in survival mechanism which prevents seeds from germinating in cold conditions, which would kill the young seedlings. Just be aware that the germination process can be slow and irregular, as the degree of dormancy varies considerably between species.
On you have your seeds, soak them overnight in warm water to give them a head start before planting. Simply pop the seeds in a glass with warm water overnight, and then plant in the next morning.
- Fill a seedling tray with good quality seed starter potting mix.
- Sow your seeds 1 cm (½”) deep
- Cover the seeds with soil, then gently press it down to make sure the seeds come in contact with the soil. Don’t compact the soil though, just gently press it down!
- Water with a spray bottle carefully so you don’t disturb the seeds. Don’t over-water them, as this can cause the seeds to rot or cause damping off.
- Cover the plastic tray. The purpose of covering is to keep the moisture in the starter soil from evaporating.
- Keep the soil as warm as possible by placing the seed tray in a warm location: 27°C (80°F) is best.
- You can use a grow light
- The seeds sprout in 10-21 days depending on soil temperature, so you need to be patient!
If the seeds are taking much time to sprout, then it may be too cold. To germinate them faster, you can use a heat mat. Then you will see how much faster they germinate!
Once the first seeds start to sprout, you’ll want to remove the plastic dome, as this can retain too much moisture in the soil and plant environment. After removing the plastic dome, continue to water the seedlings when the soil is dry to the touch.
Make sure your seedlings have enough sunlight, and they are getting between 14–16 hours of light every day, and keep the seedlings under a well-lit window all day.
Try to keep your pepper seedlings at 18-24 °C (64-75 °F) in the day, and 16-18 °C (61-64 °F) at night.
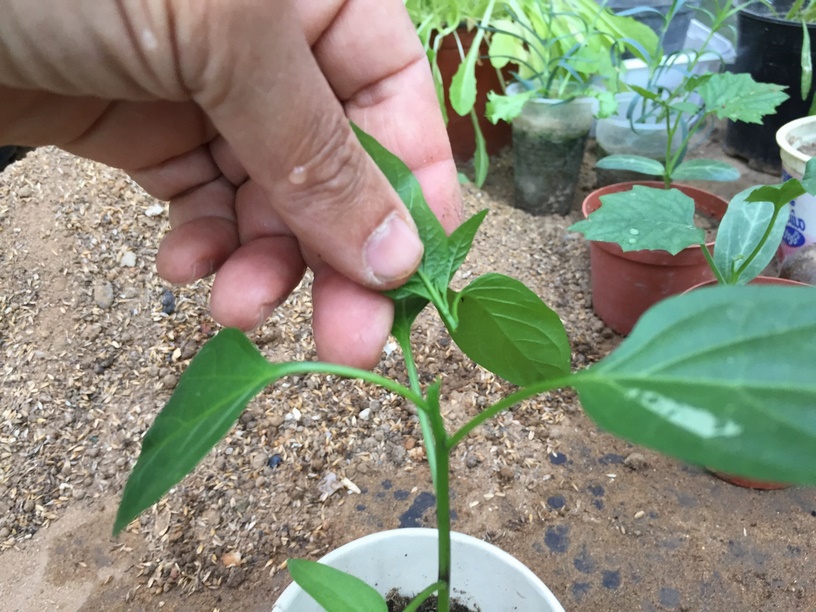
In about 2 weeks, when the first true leaves begin to form, carefully separate the seedlings and transplant each strong and healthy seedling into larger cups once they are about 3″ with their first set of true leaves.
Use a well-drained growing medium in the pots.
Fertilizing seedlings
Once your pepper seedlings start to grow their true leaves, it’s time to start fertilizing them, but you don’t want to feed the seedlings a full dose of fertilizer. It’s best to start with a small dose at first, and slowly increase the strength of the fertilizer as your pepper seedlings grow larger. I recommend using a natural, organic fertilizer rather than chemicals!
Caring for ornamental pepper seedlings
- As your pepper seedlings grow, keep an eye out for downy mildew, aphids, white fly and other pests that can be problematic for your fragil plants.
- Before watering again, wait until the soil is dry and water once or twice a week with an organic fertilizer solution.
- Move the seedlings to a sunny southern window until you can transplant them into the garden.
- Don't set out your pepper transplants until night temperatures average around 55-60 degrees F. Once you have healthy bell pepper seedlings, you're ready for the transplant and growing stage.
Watch starting pepper seeds indoors video
Pruning ornamental pepper seedlings
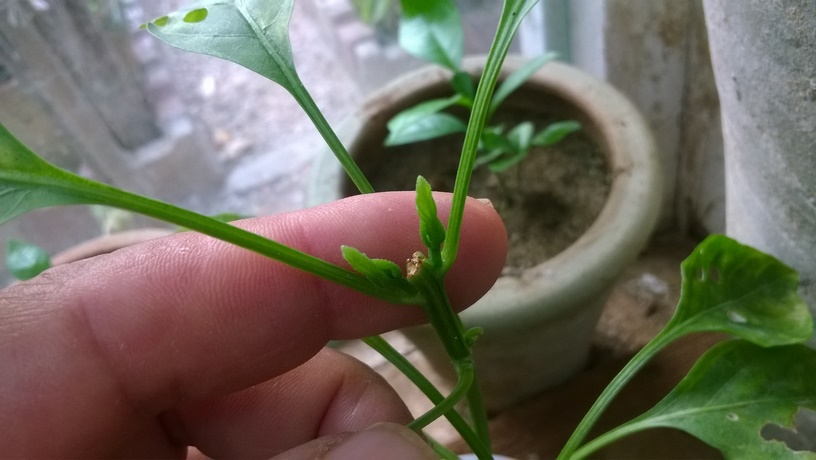
There are several reasons you may want to prune peppers. One reason is to help the pepper plants develop stronger, sturdier stems. Another reason is to force or create a bushier plant with more side shoots, which leads to more flowers and potentially more peppers.
This is just one way I prefer, it's so simple and easy, and soon you will have a bushier plant with more side shoots. Your pruned plant will grow upward, it won't remain stunted, as new growing tips take over.
Watch How to Prune Pepper Plants Video
Once your cuttings or seedlings are a few inches tall, they’ll be ready for transplanting either into containers or into your garden. But first, remember they’ve been growing in an indoor environment and will need to adapt gradually to life outdoors. This process is known as “hardening off”.
Hardening off pepper seedlings
About 7 days before planting your plants outdoors, help acclimate them to temperatures, sunlight, and wind. This is the process of hardening off, or gradually acclimating your new pepper plants to outdoor conditions!
Want to read: How to Harden Off Seedlings for Transplanting
How to transplant ornamental peppers seedlings outdoors
When to plant?
When all danger of frost have passed, and the nights are warm, with air temperatures about 60 degrees Fahrenheit.
The soil temperatures should be at least 70 degrees before planting transplants outdoors.
Selecting a planting site
Ornamental peppers as all peppers prefer a site where the plant can receive 6 to 8 hours of sunlight a day.
Spacing, depth, and support
A good planting hole is very important to how well the transplant adapts and grows. The planting hole should be at least double the width as the root ball of the seedling, and the soil in and around the planting hole should be loosened well to make it easier for the pepper plant roots to grow
Plant ornamental pepper seedlings about 12 to 24 inches apart in holes that are about 3 to 4 inches deep.
Preventing transplant shock!
Transplant shock can be very common when transplanting pepper seedlings, the seedling may need a bit of help recovering. By Adding phosphorus to the planting holes this will help reduce transplant shock, and help the seedlings to develop stronger roots. Phosphorus is essential for root development. Use organic sources of phosphorus such bone meal. Never use fertilizers that are high in nitrogen for newly transplanted seedlings!
Light
Ornamental peppers need full sun to provide the energy for producing flowers and colorful fruit. If you grow these plants indoors, you should use supplemental artificial lighting for healthy plants and good fruiting.
Soil
Ornamental peppers want organically rich, well-drained soil. In advance of planting add plenty of organic fertilizer such well aged chicken manure to the planting bed, this will feed the plants during the growing season.
Water
Ornamental peppers react badly to dry conditions, they do not like to be waterlogged, either. Water whenever the soil's surface feels dry, and aim for a moisture level like that of a wrung-out sponge. About 1 inch or less of water per week is recommended.
Fertilizer
Ornamental peppers are moderate feeders and need a steady stream of nutrients to keep up with blooming and fruiting. A 5-10-10 fertilizer with more phosphorus and potassium than nitrogen will encourage fruit and bloom production without making plants too leafy.
Flowers
Ornamental peppers produce small flowers with color that varies by types. Beginning in May, followed by lovely peppers. Pinch off all early blossoms that appear on your pepper plants. Don't worry, this won’t harm the plants. In fact, it helps them direct their energy into growing, and you will get lots of large fruits later in the season.
Pruning pepper plants
You can prune you pepper plants if you want to encourage a more compact form, but pruning isn’t necessary. You can pinch the growth tips if you want to promote a more bushy plant. To keep them looking beautiful.
You can trim off about a half an inch of new growth from the main stem and side stems when they are about four to six inches long. Don’t trim any stems that have started flowering.
Growing ornamental peppers in containers or pots
- Ornamental peppers grow well in pots or containers but they must be at least 6 inches in diameter and have bottom drainage.
- Locate your containers in a very bright location.
- The plants much have al least 6-8 hours of direct sun to thrive and produce fruits.
- Ornamental peppers as all other peppers require consistently moist soil, and keep in mind that plants growing in containers generally require more frequent watering than those in the ground.
- In the summer check daily your containers. When it's hot the soil dry quickly so you must water daily.
- When the plants begin to bloom fertilize twice monthly with a liquid houseplant fertilizer until the peppers appear. Once they fruit there's no need for additional fertilizer.
Ornament pepper care
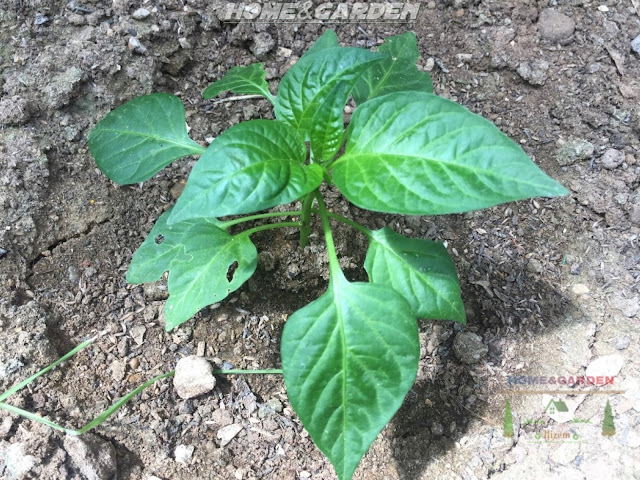
Ornamental pepper care is easy, and you can expect fruit from mid-spring until fall. Bushy, glossy green foliage and colorful fruit that stand in upright clusters at the end of the stems combine to create an outstanding ornamental plant. The fruit comes in shades of red, purple, yellow, orange, black or white, and the peppers change colors as they ripen, so you may see several different colors on the same plant. Use them as bedding plants in the garden or plant them in pots so you can enjoy them on sunny decks and patios.
Companion planting
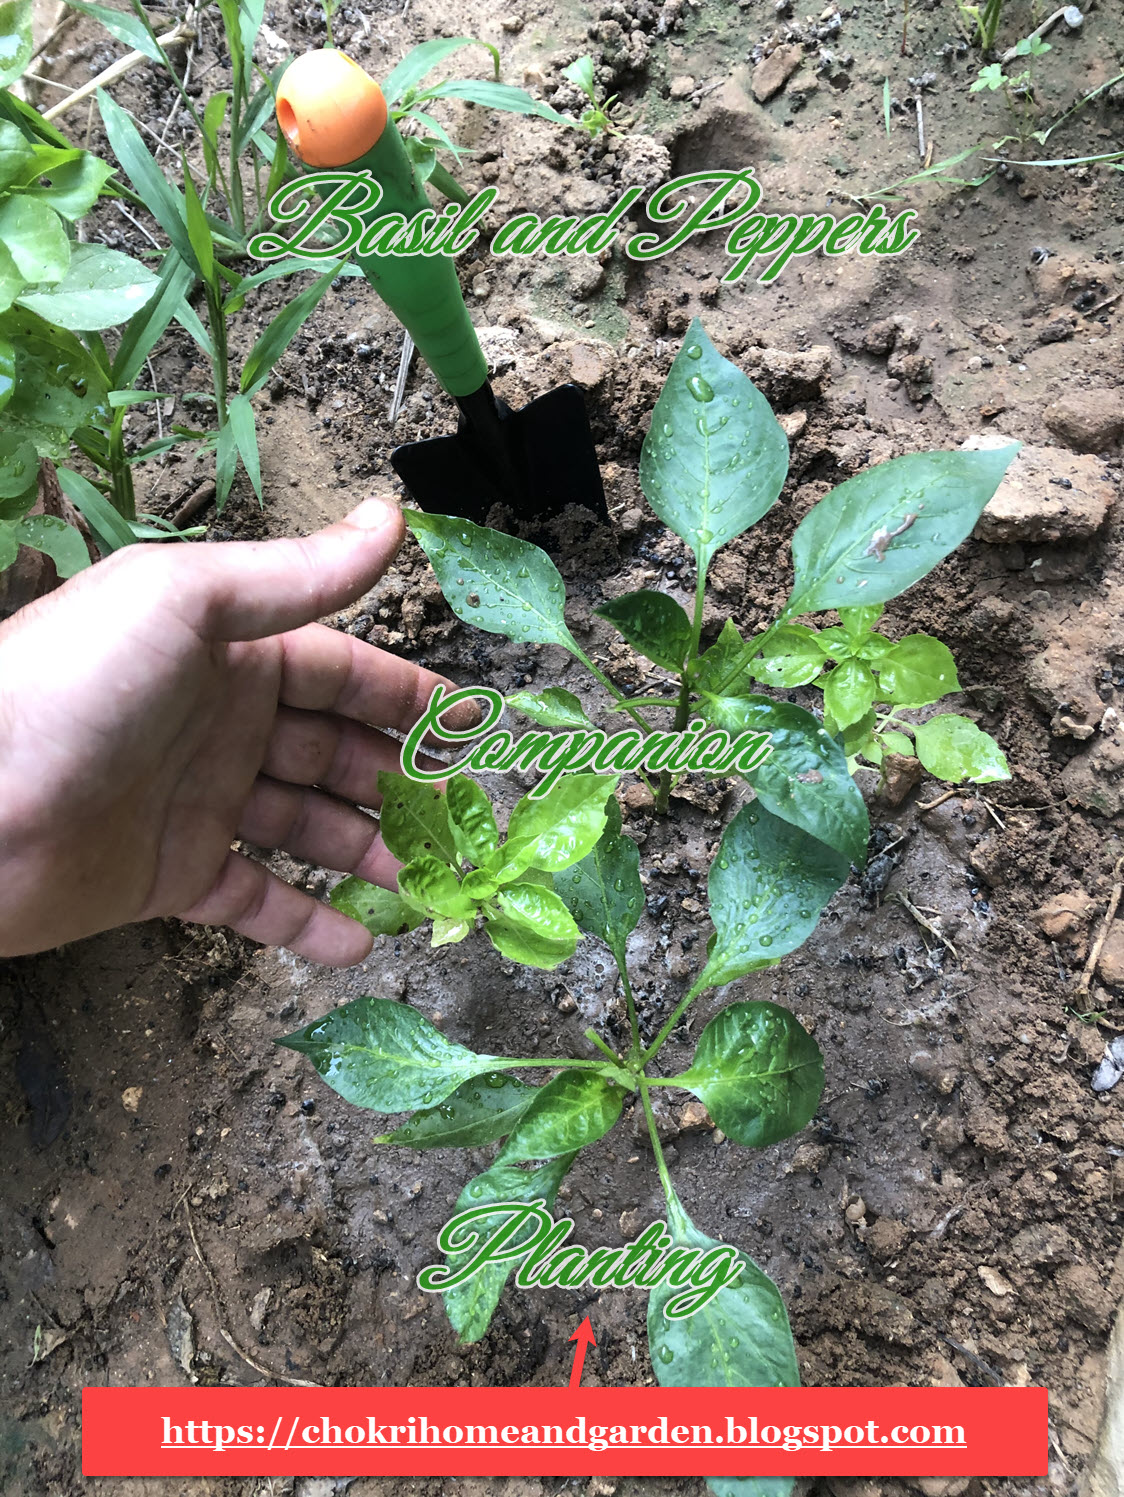
Basil Companion Planting with peppers work together symbiotically, each giving or receiving something from the other. Companion planting simply means grouping different plants together. This may accomplish several things. Companion planting may provide shade or act as a wind barrier, or deterring harmful pests and disease from our plants. Basil is a wonderful pepper plant companions. Basil wards off thrips, flies, mosquitoes, and basil flowers attract beneficial predatory wasps that feed on aphids.
Want to read: Basil and Peppers Companion Planting
Harvesting ornamental peppers

Ornamental peppers usually can be harvest in late summer, and the best time to harvest is when they peppers are in full size and have matured to their full red color. As there may be multiple colors present on one plant at the same time, they can be red, orange, yellow, purple, black, and white, and they change colors as they mature and ripen. Once they've matured and taken on their vibrant hues, it's time to harvest these beautiful and spicy gems. You can harvest peppers by pinching or pulling the peppers off the plant. For beginner gardeners, gently hold the pepper stem and cut it from the plant using clean, sharp scissors or pruning shears. Be careful not to damage the plant or neighboring peppers. You can eat them if you are a hot peppers lover as they can be very hot! Or you can save seeds to grow next season, and don't forget to offer some to your friends as you will have so many seeds!
Watch How To Harvest Ornamental Peppers Video
How to save seeds from ornamental peppers
- Saving ornamental pepper seeds can really benefit your gardening budget and is well worth the time to keep your beloved plants from year to year.
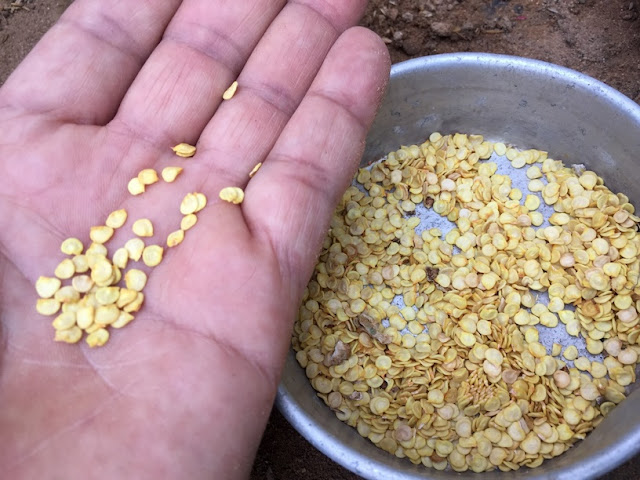
- The first, and most important step to save pepper seeds is to choose fully ripened peppers. The reason for this is to ensure that the seeds within the peppers are fully developed.
- Extracting ornamental pepper seeds is so easy but take caution because these peppers can be very hot! You can burn your fingers while trying to chop the seeds.
- It's better to use a glove to protect your fingers while collecting the seeds!
- To extract the seeds used a knife and cut each pepper in half. Then use the tip of the knife to Inspect them and remove any bed and damaged.
- Spread them out on paper towels to dry.
- Place them in a warm area out of direct sunlight.
- Turn the seeds every couple of days to make sure hey are drying well.
- When your pepper seeds are dried, they must be kept dry and cool.
- Label with the name and variety, but also the date you collected them and store them in a in tightly sealed glass containers.
- Well stored pepper seeds can last for 5 years.
If you want a colorful addition to your garden or borders. Try growing your own ornamental peppers that are both beautiful and delicious.
I hope this guide helps you learn how to grow and care of ornamental peppers ! Don’t hesitate to ask questions or reach out with any suggestions. So please let us know your thoughts, experiences, or questions in the comments below. If you like this, you can share with your friends!
Want to read more:
Peppers videos to watch
This web site is a participant in the Amazon Services LLC Associates Program, an affiliate advertising program designed to provide a means for sites to earn advertising fees by advertising and linking to amazon. Some of the links to products on this site are affiliate links. These are products that i've used or recommend based from homesteading experience. I do make a small commission (at no extra cost to you) from these sales.(alert-warning)


